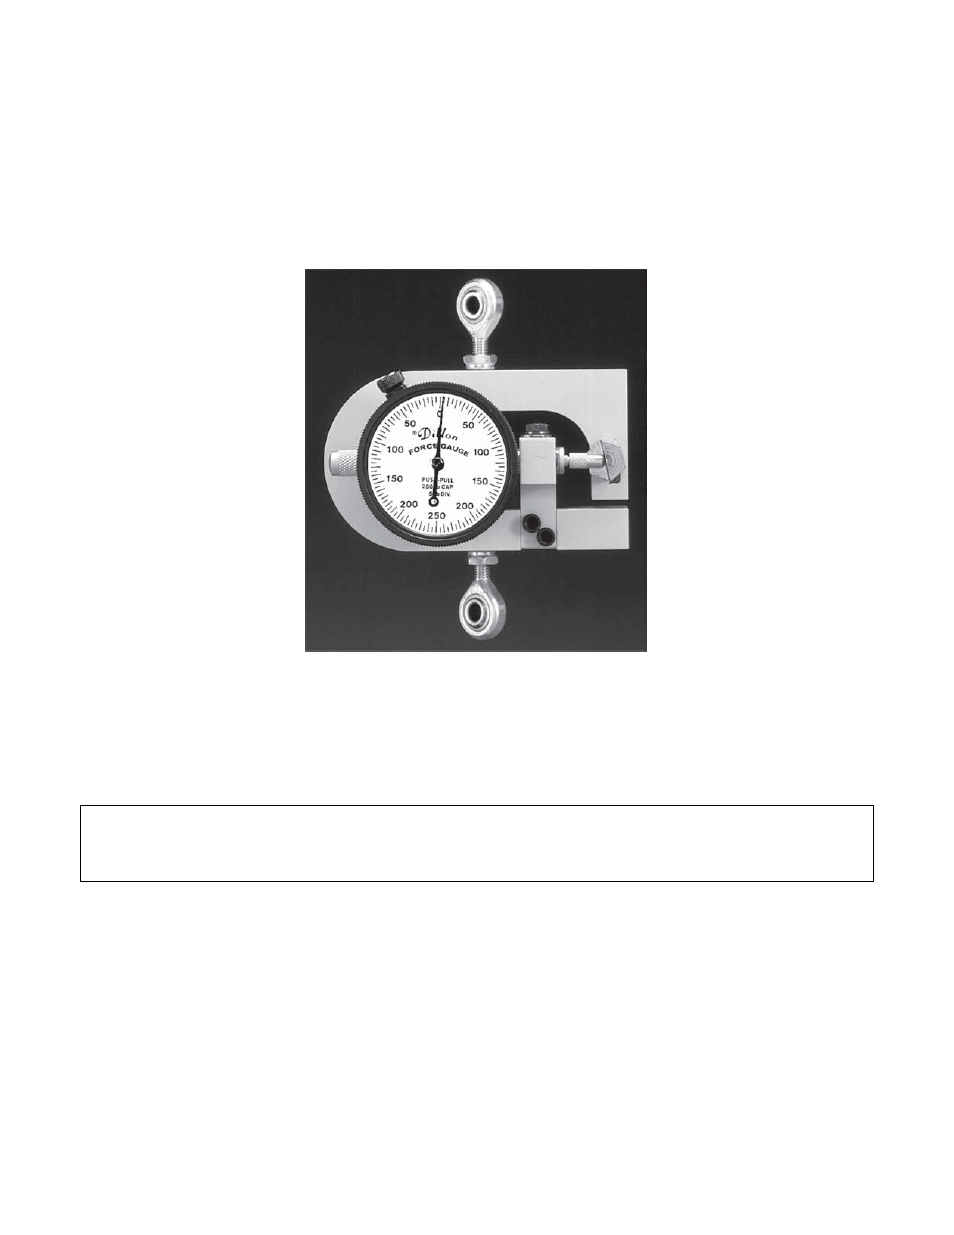
Tensile model – Cooper Instruments & Systems XST Tension Only Mechanical Force Gage User Manual
Page 4

then pass through this solid path without harm to the Force Gauge. Note the method of mounting the dial
indicator to the supporting bracket on the reverse side of the case. Allen screws are used. Be sure to check
these screws at intervals, making sure that they are always tight. Vibration may in time loosen them slightly,
and it is best to take this precaution.
TENSILE MODEL
Generally speaking, the same requirements and suggestions applying to the compression model Force Gauge
also apply to the tensile unit. The main exception, of course, is that on the tensile model, load is applied through
the use of special end rod bearings.
Model XPP
These bearings are available for all tensile models as standard equipment. They are a perfect fit and without
any side play. Bearing pins can be machined from drill rod to suit your particular test plan. Remember that if
you require a special adapter of some kind in place of these bearings; be sure that such adapters are self-
aligning so that applied force is always able to assume a vertical line.
Caution
: Because there is the possibility that in service the ball-socket connectors can become unscrewed from
the beam, the operator should check these parts at intervals to make sure that some of the threaded shank is
ALWAYS showing on the inside of the “U” shaped beam. If it is not showing, no further loads should be applied
until the connector is screwed down to its normal position.
Do not attempt to weld, cotter pin, or otherwise make tensile connectors a solid part of the bar since every
requirement is different as to the length of the shank that has to be utilized. In summation, we must emphasize
that Cooper will not be liable for any incident that might result from accidental or intentional screw-out or break
away of the ball-socket connectors. For your own protection, keep these parts properly seated at all times.
Tare settings cannot be made on the Force Gauge without a slightly resultant loss in accuracy. This is due to
the fact that the dial layout is not 100% linear. Each unit is individually machined and thus must be individually
calibrated. While this makes for split-hair accuracy, division marks are not equidistant and hence do not lend
themselves to tare adjustment. Instead, any tare weight encountered in a typical test should simply be deducted.
CF 109
3
11/02
