Amico Chemetron Retro-fit Gas Control Panel User Manual
Page 2
2
Amico Pipeline
C h e m e t r o n G a s C o n t r o l P a n e l R e t r o - F i t
P a g e : 2
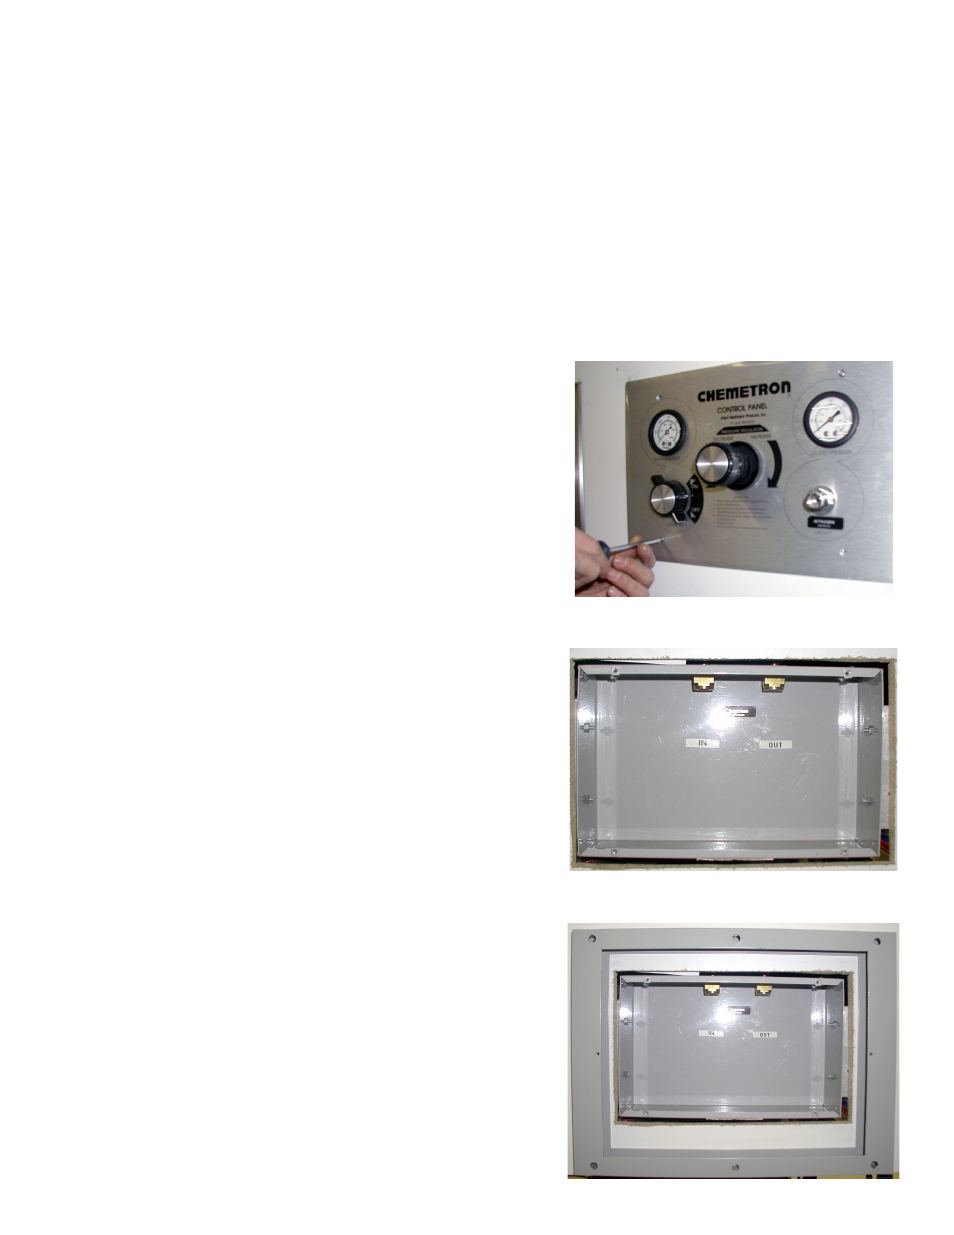
Chemetron Gas Control Panel.
Remove screws from panel.
Mount the filler frame to the wall
using the appropriate hardware for
the type of wall you are mounting to.
There are 6 holes provided for
mounting the frame, 3 on top and 3
on the bottom.
Note: The frame can not be mounted
on the wall centered on the existing
back box. The retrofit is shipped with
the filler frame attached to the control
panel. Before you take these apart,
push the assembly into the existing
back box and position it into place
and mark off the corners of the frame
on the wall. These lines will be your
reference for mounting the frame to
the wall.
Remove all internal components.
Remove the screws from the Chemetron Gas Control Panel.
Remove all internal components.
Mount the filler frame to the wall using the appropriate
hardware for the type of wall you are mounting to. There are
6 holes provided for mounting the frame, 3 on top and 3 on
the bottom.
NOTE:
The frame cannot be mounted on the wall centered
on the existing back box. The retrofit is shipped with the
filler frame attached to the control panel. Before you take
these apart, push the assembly into the existing back box
and position it into place and mark off the corners of the
frame on the wall. These lines will be your reference for
mounting the frame to the wall.
Retro-Fit Instructions
Important Note
Due to unknown factors of the existing equipment, projects requiring Retro-Fit Conversions must be fully investigated by
the installer.
It is the responsibility of the installer to determine if the Retro-Fit will function correctly and if additional components are
required. Amico is not responsible for any additional components required.
C h e m e t r o n G a s C o n t r o l P a n e l R e t r o - F i t
P a g e : 2
Chemetron Gas Control Panel.
Remove screws from panel.
Mount the filler frame to the wall
using the appropriate hardware for
the type of wall you are mounting to.
There are 6 holes provided for
mounting the frame, 3 on top and 3
on the bottom.
Note: The frame can not be mounted
on the wall centered on the existing
back box. The retrofit is shipped with
the filler frame attached to the control
panel. Before you take these apart,
push the assembly into the existing
back box and position it into place
and mark off the corners of the frame
on the wall. These lines will be your
reference for mounting the frame to
the wall.
Remove all internal components.