Great Plains 1205NT Installation Instructions User Manual
General information, Before you start, Installation instructions
Great Plains Mfg., Inc.
Installation Instructions
1
2014-02-10
©Copyright 2014
116-156M
Spring Tine Harrow
Installation Instructions
General Information
These instructions explain how to install a spring tine
harrow on the model 1205NT drill.
These instructions apply to an installation of:
One kit equips one drill.
Compatibility
This kit is compatible with all vintages and row spacings
of model 1205NT drills. It is not compatible with model
1200, 1210 or 1220 3-point drills.
Parts and Tools Required
• A towing vehicle compatible with the drill hitch.
• A hydraulic source for lowering the drill.
• A hoist with 150 pound (68 kg) capacity, or three
workers.
• Basic hand tools, including a protractor.
Related Documents
Have the Operator Manual at hand for drill movements.
Have the current Parts Manual at hand for parts ID.
Notations and Conventions
“Left” and “Right” are facing in the
direction of machine travel. An
orientation rose in the line art
illustrations shows the directions of
Left, Right, Front, Back, Up, Down.
Call-Outs
Before You Start
Inventory
1.
Make sure all parts are present.
Comprehension
2.
Review these instructions. Make sure the installers
understand where each part or assembly is
installed, and what tools are required for the task.
Used with:
• 1205NT
Kit
Kit Description
116-162A
12’EWNT COIL TINE HARROW
150-131M
1205NT Operator Manual
150-131P
1205NT Parts Manual
U
D
B
F
R
L
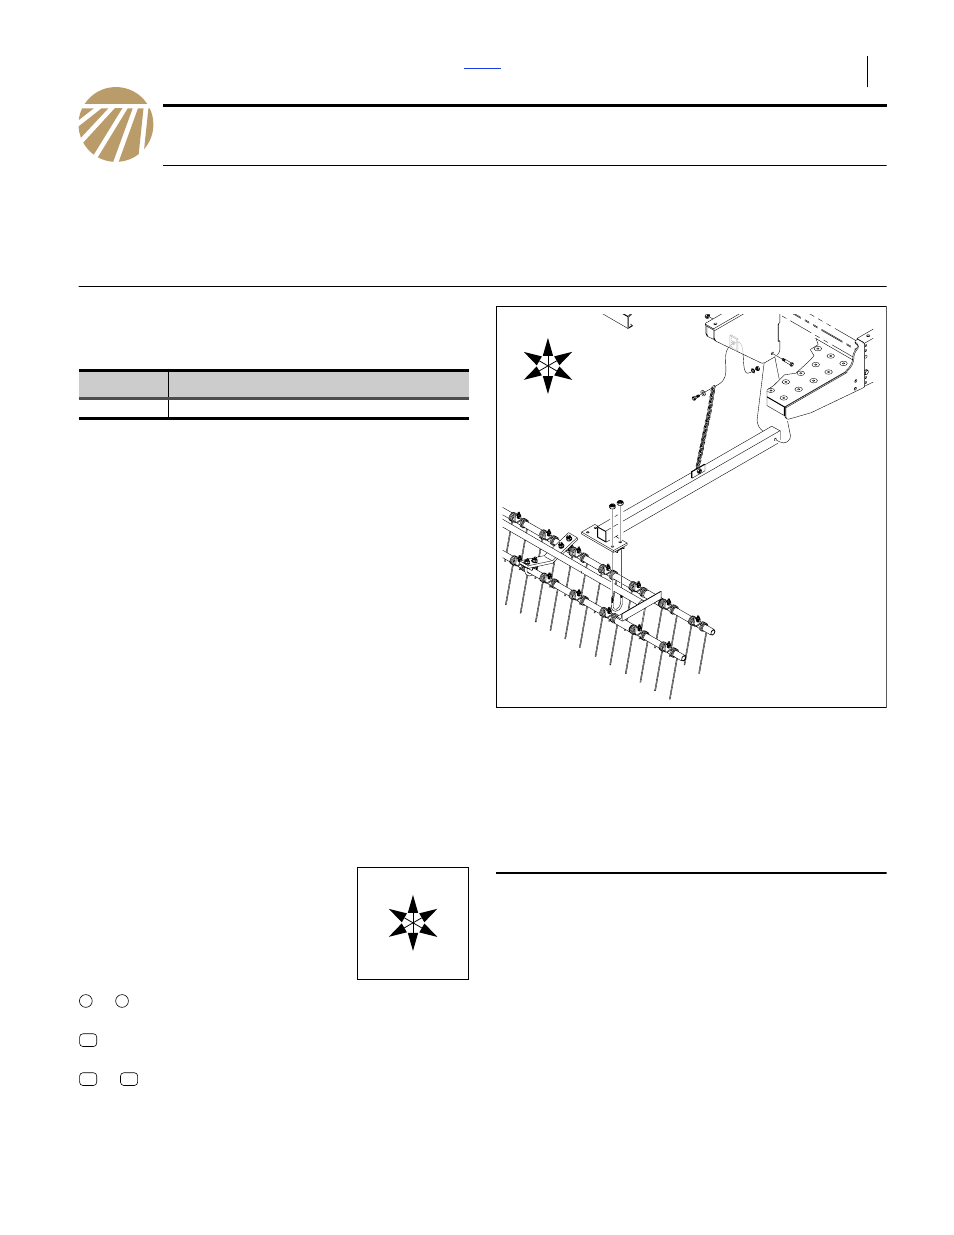
Figure 1
Harrow Kit
14613
to
Single-digit callouts identify components in
the currently referenced Figure or Figures.
The two-digit callout 11 references an
existing part (see page 6).
to
Two-digit callouts in the range 21 to 43
reference new parts (see list on page 6).
U
D
F
B
L
R
1
9
21
43