4 setting the calibration interval, 5 setting the printing function, 6 completing selectable parameters – HF scientific Micro100 Laboratory Turbidimeter User Manual
Page 15
Micro 100 (5/10)
Page
9
Rev. 3.3
6.4
Setting the Calibration Interval
After pressing the
key, the upper row of the display will have the letters “Int” printed in it. This
corresponds to the calibration time interval. The number in the lower row of the display corresponds to
the number of days that you wish to have between scheduled calibrations (default is 30 days). Select the
desired number of days between scheduled calibrations by pressing the
or
key to change
the displayed day. In normal automatic mode, if you exceed this number of days between calibration,
the "Cal" block will flash until you re-calibrate the instrument. When you have selected the desired
calibration interval press the
key.
6.5
Setting the Printing Function
After pressing the
key, the upper row of the display will have the letters “Prt” printed in it. This
feature allows you to turn the printing option on the instrument on or off. Select the desired printing
action (on or off) by pressing the
or
key. When you have selected the proper printing
option press the
key.
If you selected to turn off the printing function, pressing the
key will return you back to the normal
mode of the instrument. If, on the other hand, you chose to turn on
the printing function, pressing the
key will cause the "Baud"
block to be highlighted and you can select the correct baud rate for
operation of your printer. Select the desired baud rate (1200, 2400,
4800, or 9600) by pressing the
or
key to change the
displayed baud rate. The other RS 232 parameters are fixed at 2
stop bits, 8 data bits and odd parity. Once you have selected the
proper baud rate press the
key. Pressing the
key will
return you back to the normal automatic mode of the instrument.
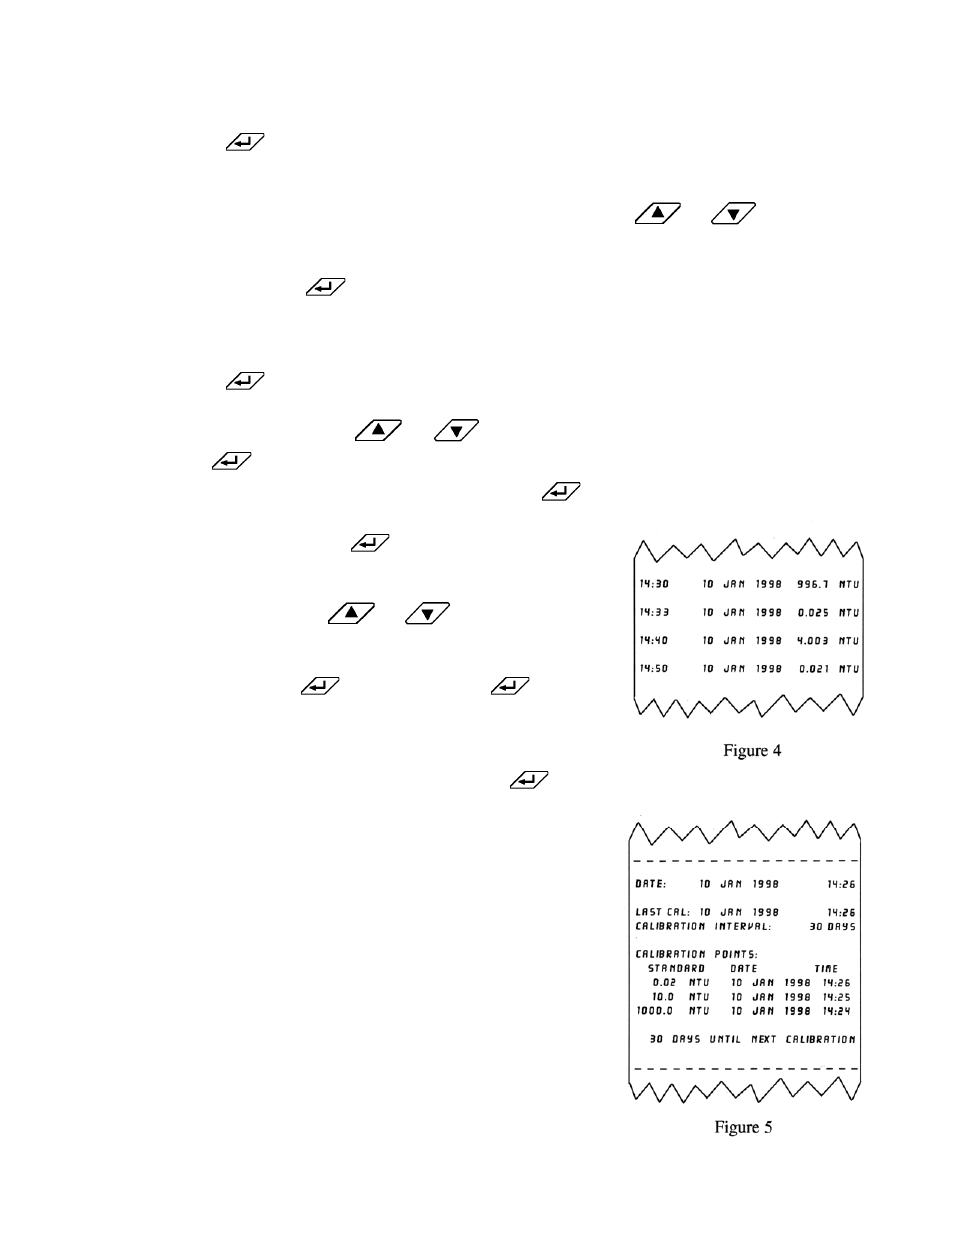
By turning on the printing function, you have instructed the
instrument to print out specific information. When the
key is
pressed during the normal mode, information is output on the
sample in the optical well (See Figure 4). This figure shows the
information printed for four different samples. The format of the
information is time, date and turbidity level.
Also, a specific message will be printed out upon exit or completion
of the calibration routine (See Figure 5). This printout shows all of
the information that is pertinent to the calibration status of the
instrument.
6.6
Completing Selectable Parameters
You have now completed the customer selectable parameters
section of the instrument. You can enter this menu at any time to
re-set, or change any of the parameters.