Flying tips and repairs – E-flite Carbon-Z Yak 54 3X BNF Basic User Manual
Page 14
EN
Flying Tips and Repairs
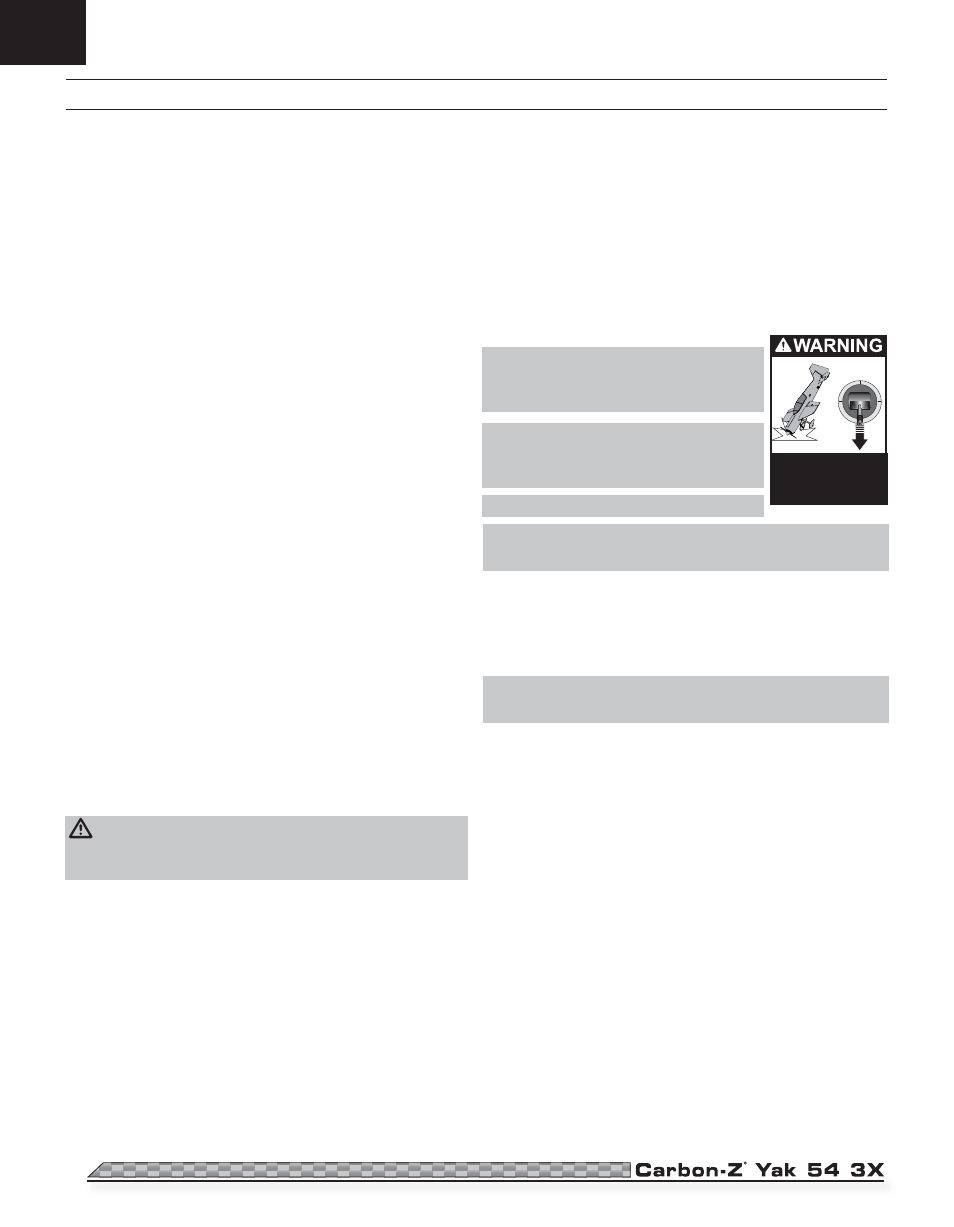
Always
decrease throttle at
propeller strike.
Consult local laws and ordinances before choosing a fl ying location.
Flying Field
Always choose a wide-open space for fl ying your aircraft. It is ideal for you to
fl y at a sanctioned fl ying fi eld. If you are not fl ying at an approved site, always
avoid fl ying near houses, trees, wires and buildings. You should also be careful
to avoid fl ying in areas where there are many people, such as busy parks,
schoolyards, or soccer fi elds.
Range Check your Radio System
Before you fl y, range check the radio system. Refer to your specifi c transmitter
instruction manual for range test information.
Oscillation
Once the AS3X system is active (after advancing the throttle for the fi rst time),
you will normally see the control surfaces react to aircraft movement. In
some fl ight conditions, you will see oscillation. If oscillation occurs, decrease
airspeed. If oscillation persists, refer to the Troubleshooting Guide for more
information.
Takeoff
Place the aircraft in position for takeoff (facing into the wind). Set your trans-
mitter in low rate and gradually increase the throttle to ¾ to full and steer with
the rudder. Pull back gently on the elevator and climb to a comfortable altitude.
Flying
Fly the airplane and trim it for level fl ight at ¾ throttle. After landing, adjust
the linkages mechanically to account for trim changes, then reset the trims to
neutral. Before changing fl ight modes, ensure the aircraft will fl y straight and
level with no trim or sub-trim.
Tip: If using more than 8 clicks of fl ight trim, mechanically adjust the linkage
so less trim is needed, or AS3X operation may be affected.
This aircraft is extremely responsive to control input. Fly in General Flight mode
(Channel 5, position 0) until you are familiar with the aircraft’s response. Fly
fi rst attempts in 3D mode at high altitude and slow speeds.
General Flight and 3D Flight
The receiver’s default gain settings for General Flight and 3D modes are set at
the factory for safe and reliable performance.
CAUTION: Flying in level forward fl ight and calm wind conditions above
1/2 throttle in 3D mode or long high-speed dives may result in strong
oscillation that can damage the aircraft.
If there is oscillation in either mode (General Flight or 3D), decrease throttle
immediately. If oscillation persists, refer to the Troubleshooting Guide to adjust
(decrease) the axis gain to stop oscillation. For additional instructions on
changing the gain settings, refer to the receiver manual.
Landing
For your fi rst fl ights and with the recommended battery pack (EFLB28004S30),
set your transmitter timer or a stopwatch to 4 minutes. Adjust your timer
for longer or shorter fl ights once you have fl own the model. When the motor
pulses, land the aircraft immediately and recharge the fl ight battery. It is not
recommended to fl y the battery to LVC.
Make sure to land into the wind. Fly the aircraft to approximately 36 inches
(90 cm) or less above the runway, using a small amount of throttle for the
entire descent. Keep the throttle on until the aircraft is ready to fl are. During
fl are, keep the wings level and the aircraft pointed into the wind. Gently lower
the throttle while pulling back on the elevator to bring the aircraft down on its
wheels.
NOTICE: If a crash is imminent, reduce the throttle and
trim fully. Failure to do so could result in extra damage
to the airframe, as well as damage to the ESC and
motor.
NOTICE: After any impact, always ensure the receiver
is secure in the fuselage. If you replace the receiver,
install the new receiver in the same orientation as the
original receiver or damage may result.
NOTICE: Crash damage is not covered under warranty.
NOTICE: When you are fi nished fl ying, never leave the aircraft in direct sunlight
or in a hot, enclosed area such as a car. Doing so can damage the foam.
Repairs
Thanks to the Z-Foam
™
material in this aircraft, repairs to the foam can be
made using virtually any adhesive (hot glue, regular CA, epoxy, etc). When parts
are not repairable, see the Replacement Parts List for ordering by item number.
For a listing of all replacement and optional parts, refer to the list at the end of
this manual.
NOTICE: Use of CA accelerant on your aircraft can damage paint. DO NOT
handle the aircraft until accelerant fully dries.
14