Assembly, Step 16: apply decals, Step 15: attach the side foot support platforms – Bowflex TreadClimber 3000 User Manual
Page 20
16
Assembly Manual
Illustration 16-A:
TreadClimber
®
Drive and
Treadle Decals
Treadle decal
1 per side
Drive decal
1 per side
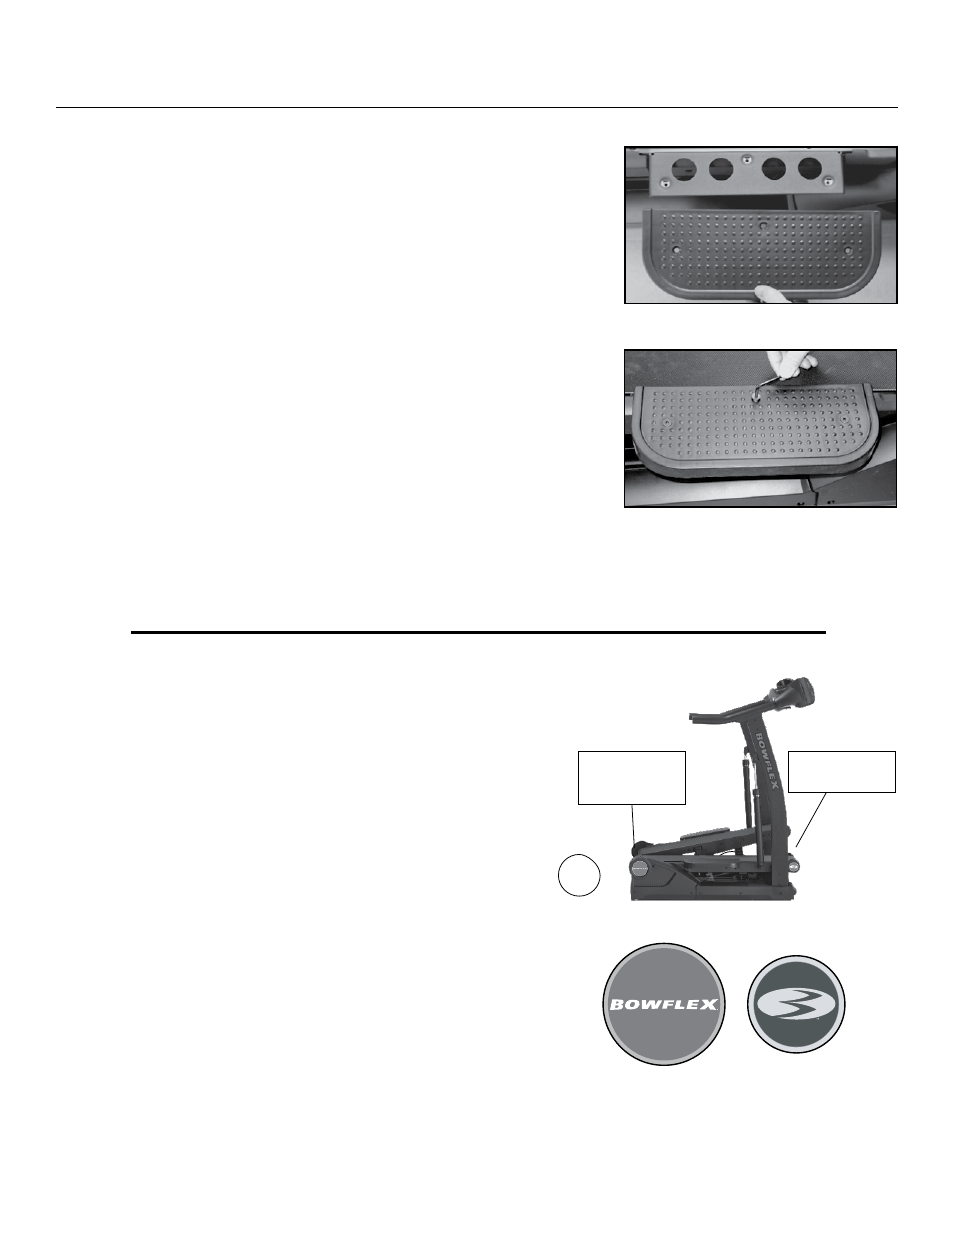
Figure 16-1
Step 16: Apply Decals
Parts:
• TreadClimber® Base and Treadle assembly from Step 15
• (2) Treadle Decals
• (2) Drive Cover Decals
Tools:
• #2 Phillips Head Screwdriver (included)
16-1 Clean the application surface with a wet cloth and dry
thoroughly with a towel.
16-2 Remove the backing on the decal.
16-3 Center the decal on the appropriate application surfaces
(See Figure 16-1) for locations.
16-4 Rub the decal onto the surface to force out the air bubbles.
Assembly
Figure 15-1
Figure 15-2
Step 15: Attach the Side Foot
Support Platforms
Parts:
• TreadClimber
®
Base and Treadle assembly from Step 14
• (1) Left Foot Support Platform
• (1) Right Foot Support Platform
Hardware:
• (6) 1/4” x 1” Flat Head Screws
Tools:
• 5/16” Hex Key (included)
15-1 Attach the right and left side foot support platforms to each treadle
with (6) 1/4” x 1” Flat Head Screws (3 per side). (See Figures 15-1
and 15-2.)