Adobe media encoder 5.0/5.5/6.0/cc, Getting started – Calibrated Software AVC-Intra Create v2 User Manual
Page 36
Page | 37
Adobe Media Encoder 5.0/5.5/6.0/CC
Getting Started
1. Please make sure you have QuickTime Player 7.6 or 7.7 installed
2. Please make sure you have the Adobe CS5.0/5.5 Performance booster installed: This modified Adobe XML
file is necessary to export at 10-bit YUV422 in Adobe Media Encoder 5.0.3/5.5.0. You can learn more and
download it by clicki
(This is not needed for AME CS 6.0 as it already ships with the necessary
modifications in the XML file)
3. Exporting an Adobe Premiere Pro Project or Sequence from AME: To preserve the maximum bit depth,
please make sur
e you have the ‘Maximum Bit Depth’ and ‘Maximum Render Quality’ CHECKED in the Premiere
Pro ‘Sequence Settings’ for any sequence in the Premiere Pro Project.
4. Exporting an After Effects Project from AME: To preserve the maximum bit depth, please make sure you have
the ‘Depth’ in the After Effects ‘Project Settings’ to either 16 or 32-bits per channel.
5. Exporting an After Effects Composition from AME: To preserve the maximum bit depth, please make sure you
have the ‘Preview’ in the After Effects ‘Composition Settings’ to UNCHECKED.
6. You can then choose to either manually configure the export setting or you can use one of our pre-built preset to
configure the export settings.
Using a Preset Setting for 10-bit YUV422 Export in AME
1. Calibrated AVC-Intra Create ships with pre-configured Adobe Export Presets that can be used in Premiere Pro
5.0/5.5 or Adobe Media Encode 5.0/5.5. If you’d like to manually configure the export in AME, please go to the
next section Manually configuring for 10-bit YUV422 Export in AME
2.
In the ‘Export Settings’, please choose ‘QuickTime’ for the format
3.
If you’ve already installed the preset that you want to use just choose it from the ‘Preset’ drop-down menu and
skip to step 6. If you haven’t installed the preset you want to use please go to step 4 on how to import a preset.
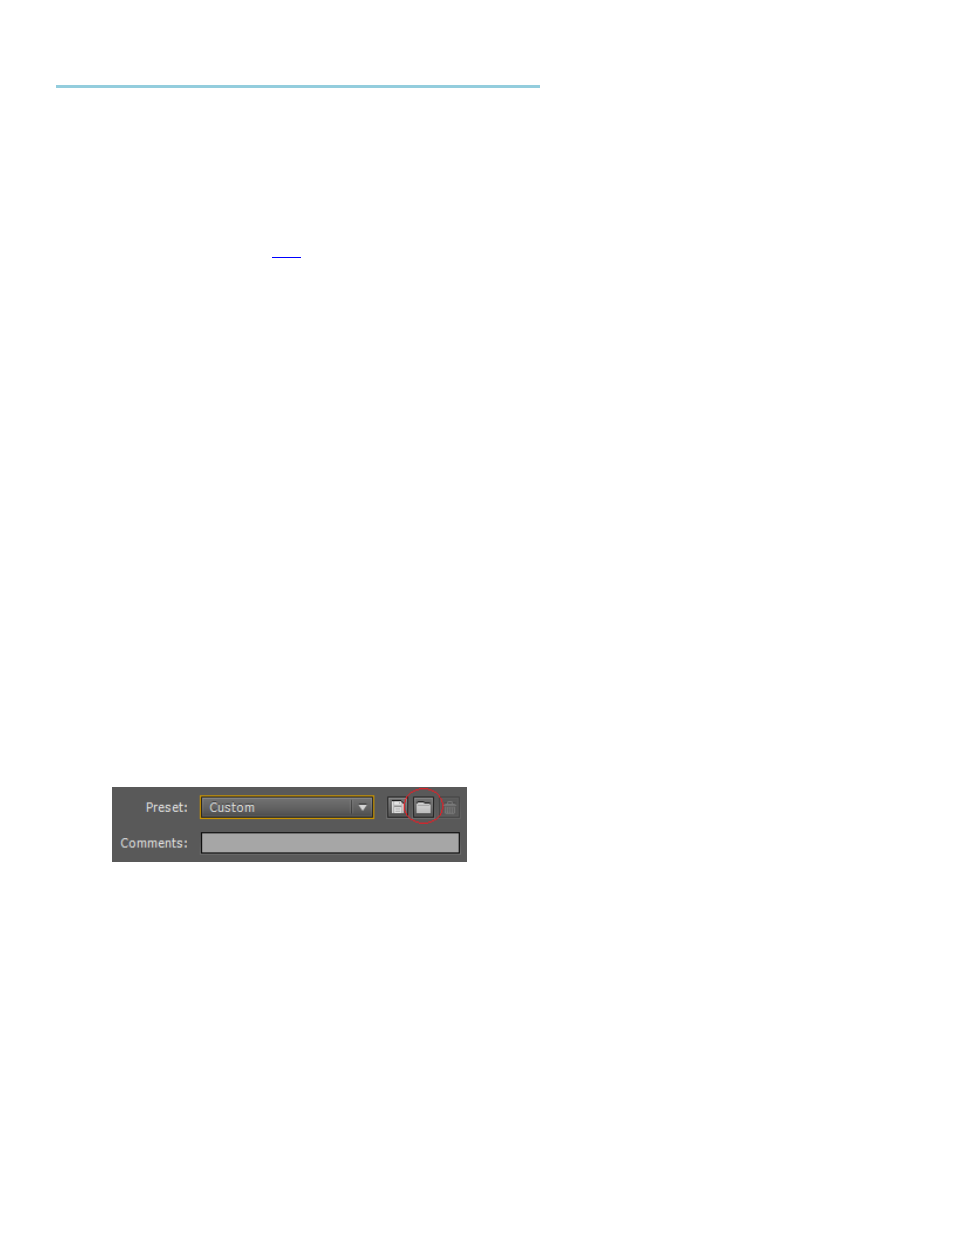
4. Right-click on the source you are exporting from AME and from the drop-
down menu choose’ Export Settings’ for
the Adobe Export Panel window to appear. To import the preset you want to use - p
ress the ‘Import Preset’ button
on the Adobe Export Panel - t
he ‘Import Preset’ button is circled in red in the picture below
In the window that pops-up, please go to the below folder and choose the preset best matches your Sequence
Settings. There is also ReadMe PDF in the below folders that describes the presets to help you better choose.
Mac OSX: /Applications/Calibrated/Presets/AVC-I Create/PPro
5.
Click on the ‘Video’ Tab in the ‘Export Settings’
a.
Make sure that ‘Use Maximum Render Quality’ is CHECKED
b.
Make sure that ‘Use Previews’ is NOT CHECKED
6. And
you’re ready to export