Operating adjustments, Addr, 03ch – Blizzard Lighting 252 COLORStorm User Manual
Page 5: P3ch, 09ch, D001, Pg00, Pg12, Sp99, Fs.00
Page 9
COLORStorm 252 Manual Rev. B
Copyright (c) 2010 Blizzard Lighting, LLC
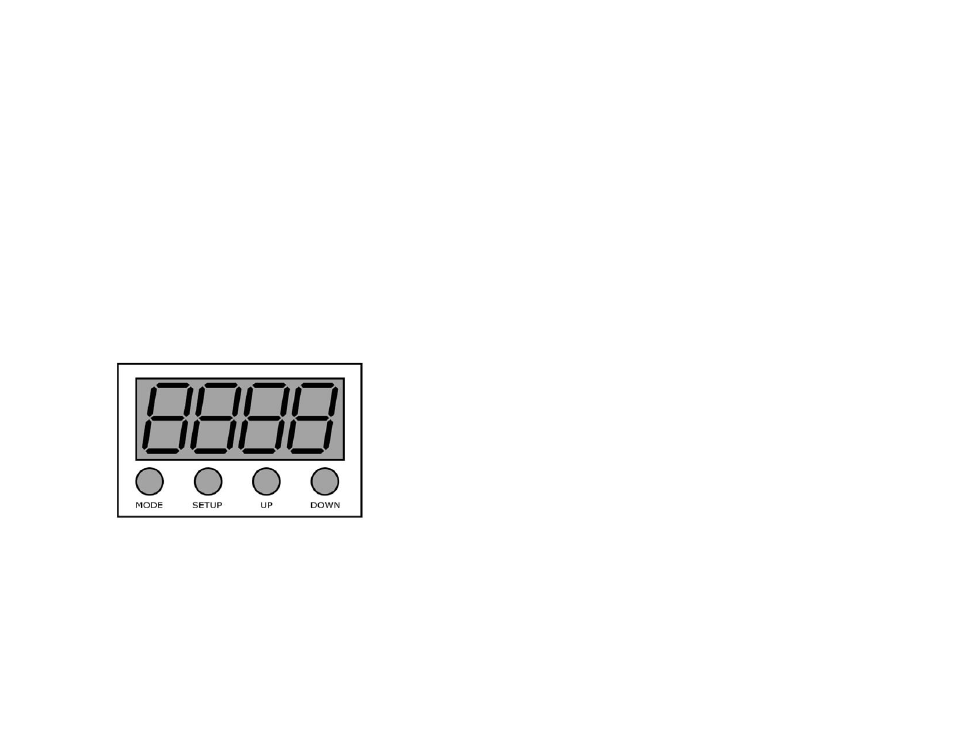
4. OPERATING ADJUSTMENTS
The Control Panel
All the goodies and different modes possible with the COLORStorm™
252 are accessed by using the control panel on the front of the fi xture.
There are 4 control buttons below the LED display which allow you to
navigate through the various control panel menus.
to the previous higher-level menu item.
Scrolls through menu items and numbers in ascending order.
The Control Panel LED Display shows the menu items you select from
the menu map on page #11. When a menu function is selected, the
display will show immediately the fi rst available option for the selected
menu function. To select a menu item, press
Press the
menu function. Use the
menu options. Press the
currently displayed, or to enable a menu option. To return to the previ-
ous option or menu without changing the value, press the
Page 10
COLORStorm 252 Manual Rev. B
Copyright (c) 2010 Blizzard Lighting, LLC
To set the unit in DMX Mode
To control the COLORStorm 252 in DMX mode, fi rst select from one of the three
DMX control modes (3 Channel Mode 1, 3 Channel Mode 2, or 9 Chnanel Mode.)
1.) Press the
Addr
.
2.) To select 3 Channel Mode 1, press the
03Ch
.
3.) To select 3 Channel Mode 2, press the
P3Ch
.
4.) To select 9 Channel Mode, press the
or
09Ch
.
To set the DMX address:
1.) Press the
Addr
.
2.) Press the
d001
.
3.) Use the
To run one of 13 built-in programs:
1.) Press the
PG00
to
PG12
.
For all programs except PG00, PG05, PG06:
1.) Use the
2.) Press the
SP99
.
3.) Use the
4.) Press the
FS.00.
5.) Use the
For PG00 (Static Color Selection):
1.) Press the
C-.-1.
2.) Use the
For PG05 (Flash Color Selection):
1.) Press the
C-.-1.
2.) Use the
To step through all built-in programs:
1.) Press the
AU70
.
To step through all built-in programs in Sound Active Mode:
1.) Press the
SO.31
.
2.) Use the
and 31.
To set additional units as slaves while in Program/Sound Ac-
tive/Auto Mode:
1.) Press the
SLA-