Removal, Disassembly, Installation – Bendix Commercial Vehicle Systems FCS-9700 FAN CLUTCH SOLENOID User Manual
Page 2
2
If the solenoid does not function as described above, or if
leakage is excessive, it is recommended that it be replaced
with a genuine Bendix
®
service replacement.
REMOVAL
1. Prior to removing the solenoid, apply the parking brakes
and drain all the vehicle reservoirs. Refer to the General
Safety Guidelines in this manual before performing any
service.
2. Identify, and mark, and disconnect the air lines to the
solenoid. Push-to-connect fi ttings require the collar to
be pressed toward the valve body before the nylon line
can be pulled.
3. Identify, mark, and disconnect the electrical connector
from the solenoid.
4. Remove the mounting bolt and remove the solenoid
from the vehicle.
DISASSEMBLY
The Bendix
®
FCS-9700
™
solenoid can not be serviced or
repaired, it can only be replaced with service replacement
solenoids.
INSTALLATION
1. Install the valve on the vehicle by tightening the
mounting bolt to 150-200 inch pounds.
2. Reconnect the air lines and electrical connectors.
3. Charge the reservoirs, then check for operation and
leakage.
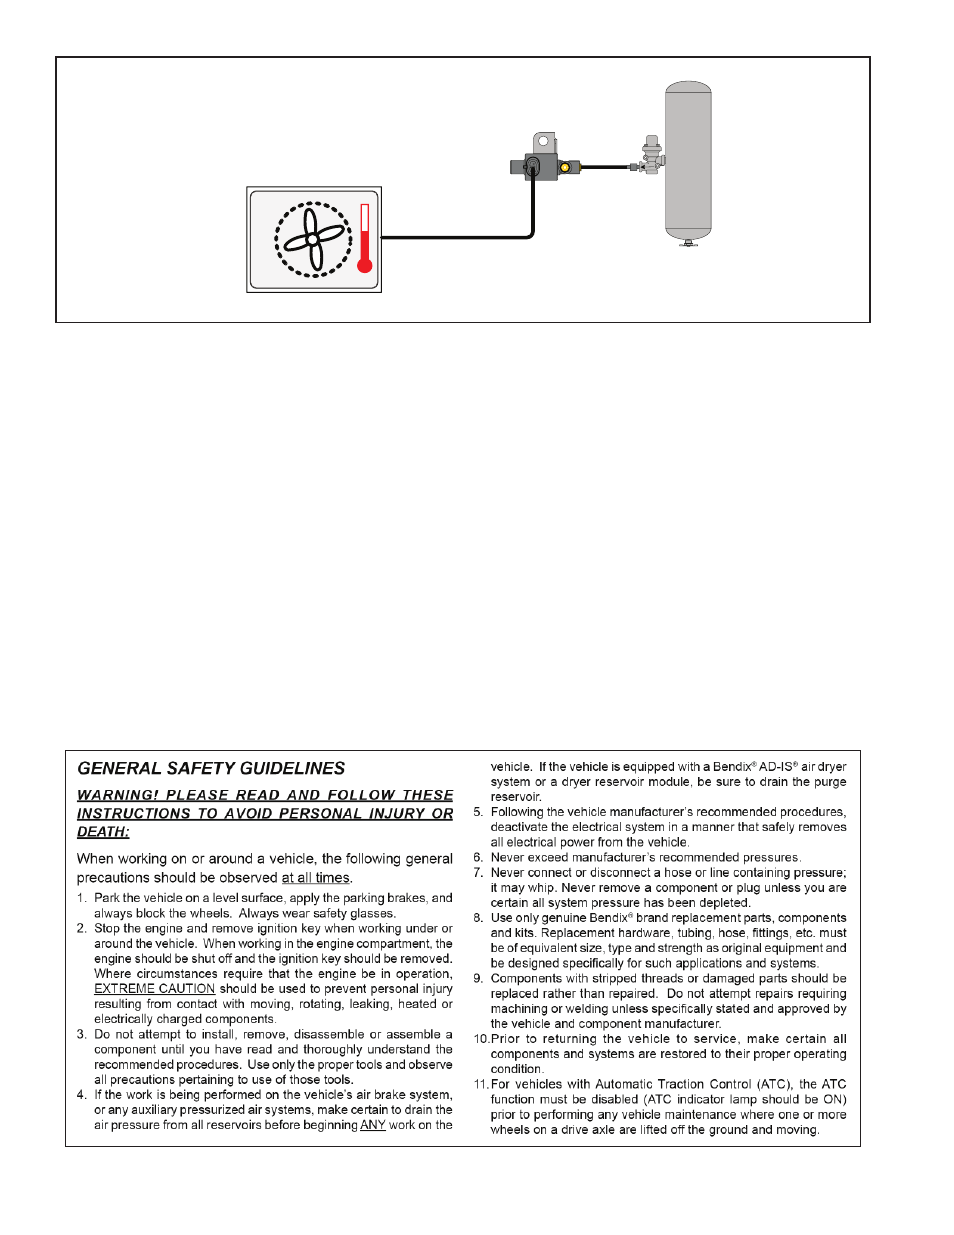
FIGURE 2 - TYPICAL SYSTEM CONFIGURATION
FAN CLUTCH
THERMOSTAT
CONTROL SWITCH
SUPPLY
RESERVOIR
BENDIX
®
FCS-9700
™
FAN
CLUTCH SOLENOID
PRESSURE
PROTECTION
VALVE
BW2902 © 2012 Bendix Commercial Vehicle Systems LLC, a member of the Knorr-Bremse Group • All Rights Reserved • 09/12