Traditions Outfitter User Manual
Page 15
Traditions breech plug grease before you install it back into the barrel. This will help
prevent the breech plug from getting stuck inside the barrel after shooting.
Note:
Breech plugs will wear out over time and should be replaced periodically. We
recommend that you purchase at least one extra breech plug for emergencies in the field
or at the range. We recommend that you replace your breech plugs after every year.
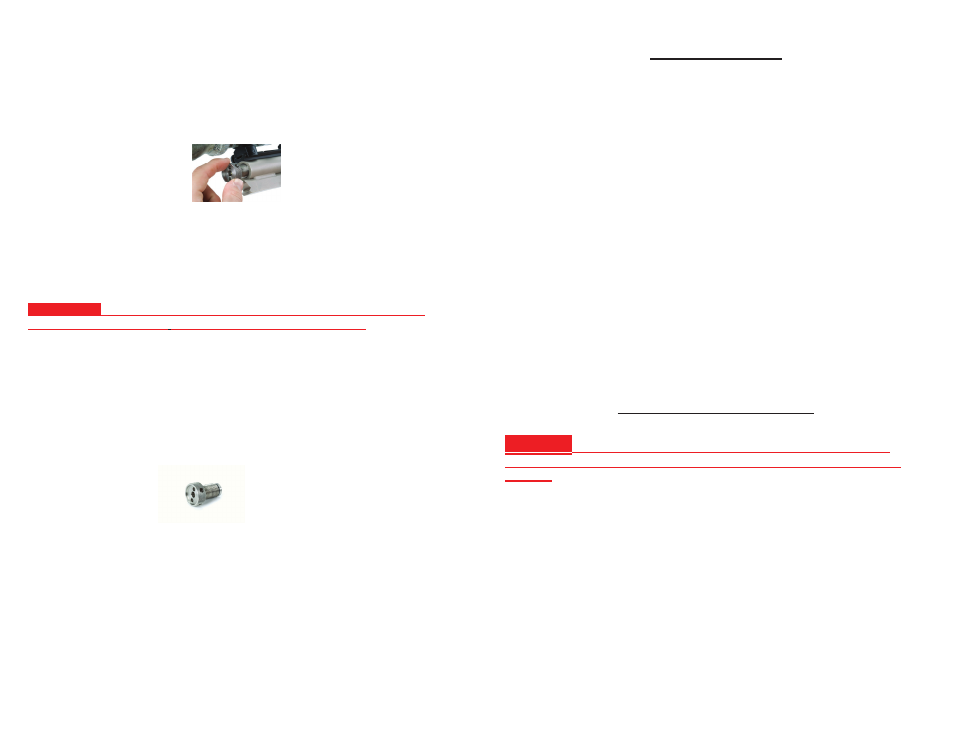
Removal of the Breech Plug:
1. Turn the wrench counter-clockwise, unscrew the breech plug and remove from barrel.
It may require some extra force to free up the breech plug after shooting.
TIPS FOR STUCK BREECH PLUGS:
IMPORTANT
:
Always make sure to lubricate the breech plug threads liberally
with Traditions breech plug
grease before using your muzzleloader.
a. With the breech plug wrench fitted over the breech plug, actually try to tighten the plug
and then rock it back and forth to loosen up the fouling.
b. Remove the barrel from the receiver. Pour some hot water into the barrel and let it soak
for about 1/2 hour. Secure the barrel in a padded vise. Position the wrench onto the
breech plug and remove. Be careful not to scald yourself with the hot water.
c. If you still cannot remove plug, contact Traditions Customer Service Department.
Installation of the Breech Plug:
1. Spray the breech plug inside and out with Traditions Easy Clean™ solvent or use the
EZ Clean™ bath system to loosen the residue and fouling on the plug. Use a stiff brush to
clean the outside threads and inner area of the breech plug. A pipe cleaner can be used to
get the smaller areas clean and dry.
2. Wipe with a clean cotton cloth. Repeat until all residue is off.
3. Liberally apply Traditions breech plug grease onto the threads of the breech plug and
o-ring
4. Place the breech plug in the barrel.
5. Screw it in clockwise with your fingers.
Enfocus Software - Customer Support
XIV: RE-ASSEMBLY
1. Insert the barrel by sliding downward and forward until the monoblock meets the
pin.
2. Using one hand to support the barrel and the other to support buttstock and frame,
pivot the barrel in an upward motion to close the action.
3. With the barrel attached and the action closed re-insert the forearm. With the nose
of the forend pointing up insert the rear part of the forend against the frame and
pivot up until it meets the screw post.
4. Use a 4mm Hex wrench to draw screw into screw post and tighten.
5. With the firearm reassembled, make sure to do a thorough function check of the
rifle. At this time the barrel and action should work smoothly. The hammer
should not bind and all safeties should be in good working order. If the firearm
does not function properly, consult a qualified gunsmith immediately or call
Traditions for immediate assistance. Do NOT attempt to fire the rifle without the
forearm in place.
NOTE: Store your rifle in a cool, dry, secured area. Storage in a gun case is discouraged,
as it may hasten condensation and corrosion. During long periods of storage, periodically
check for signs of pitting or rusting on the surface and in the barrel bore.
NOTE: The myth that stainless steel & nickel doesn’t have to be cleaned as much as
blued steel is false. You need to clean and lubricate your stainless barrel just as you
would a blued steel barrel. The stainless and nickel barrels are more rust resistant than
blued steel, but over time can rust.
XV: BARREL OBSTRUCTIONS
!
WARNING
: Firing a firearm with an obstructed barrel could cause a burst
barrel and injury and/or death to the shooter and/or bystanders and damage to
property.
Before loading, verify that the bore it is free of obstructions (cleaning patches, excess oil,
mud, snow or other foreign materials). If the firearm is dropped it must be unloaded and
inspected to ensure that the bore has not become clogged with foreign material. If, when
firing, (particularly reloads) the report is weak or peculiar, stop immediately. Inspect the
barrel for a stuck bullet. If the bore is obstructed return the barrel to a qualified
gunsmith. Do not continue to fire the firearm.
Failure to Fire
If the firearm fails to fire, keep the barrel pointed in a safe direction for at least 1 minute
If the firearm does not fire after 1 minute, carefully open the action and remove the
cartridge. If the primer is indented, the cartridge must be disposed of in a safe
manner. If the primer is not indented, or only lightly indented you must take the firearm
to a qualified gunsmith for service
Enfocus Software - Customer Support
22
15