Bunn espress® model es•1af, Site requirements, Physical – Bunn ESPRESS ES.1AF User Manual
Page 4: Adjustable legs, Plumbing, Electrical, Frother disconnect assembly
BUNN
Espress®
Model
ES•1AF
4
SITE REQUIREMENTS
PHYSICAL
The brewer is for indoor use only on a sturdy counter or cart. It is 16” (40.5 cm) wide, 20” (50.8 cm) tall and
19.25” (48.9 cm) deep. The brewer weighs approximately 88 pounds (40 kg) with the water tank filled.
ADJUSTABLE LEGS
Remove the four rubber feet from the brewer and install the four 4” adjustable legs supplied with the brewer.
Place the brewer on a counter or cart having sufficient space for easy access to water, electricity and drainage.
PLUMBING
The brewer must be connected to a cold water source with operating pressure between 20 and 90
psi (1.5-6.5 bar) from a .5” or larger supply line. Install a shutoff valve in the water line before the brewer.
Install a regulator before the brewer when the pressure is greater than 90 psi (6.3 bar) to reduce it to
45-60 psi ( 3-4 bar). The enclosed water strainer, water inlet hose assembly and drain hose must be
installed.
NOTE-Only softened or demineralized water should be used in this espresso brewer to reduce the service
problems caused by naturally occurring elements in your local water supply. A polyphosphate feeder is
not recommended because it does not remove minerals.
NOTE-Bunn-O-Matic recommends .375” copper tubing for no more than 25 feet from the .5” water supply
line. Bunn-O-Matic does not recommend the use of a saddle valve to install the brewer. The size and shape
of the hole made in the supply line by this type of device may restrict water flow.
ELECTRICAL
The brewer is equipped with an attached cordset and requires a 2-wire, grounded mating receptacle
rated 120 volts ac, 20 amp, single phase, 60 hz. An electrician must properly install a NEMA 5-20R
connector to the appropriate electrical service on an individual branch circuit to install this brewer.
CAUTION- The brewer must be properly grounded. A plumbing line will not provide an adequate ground.
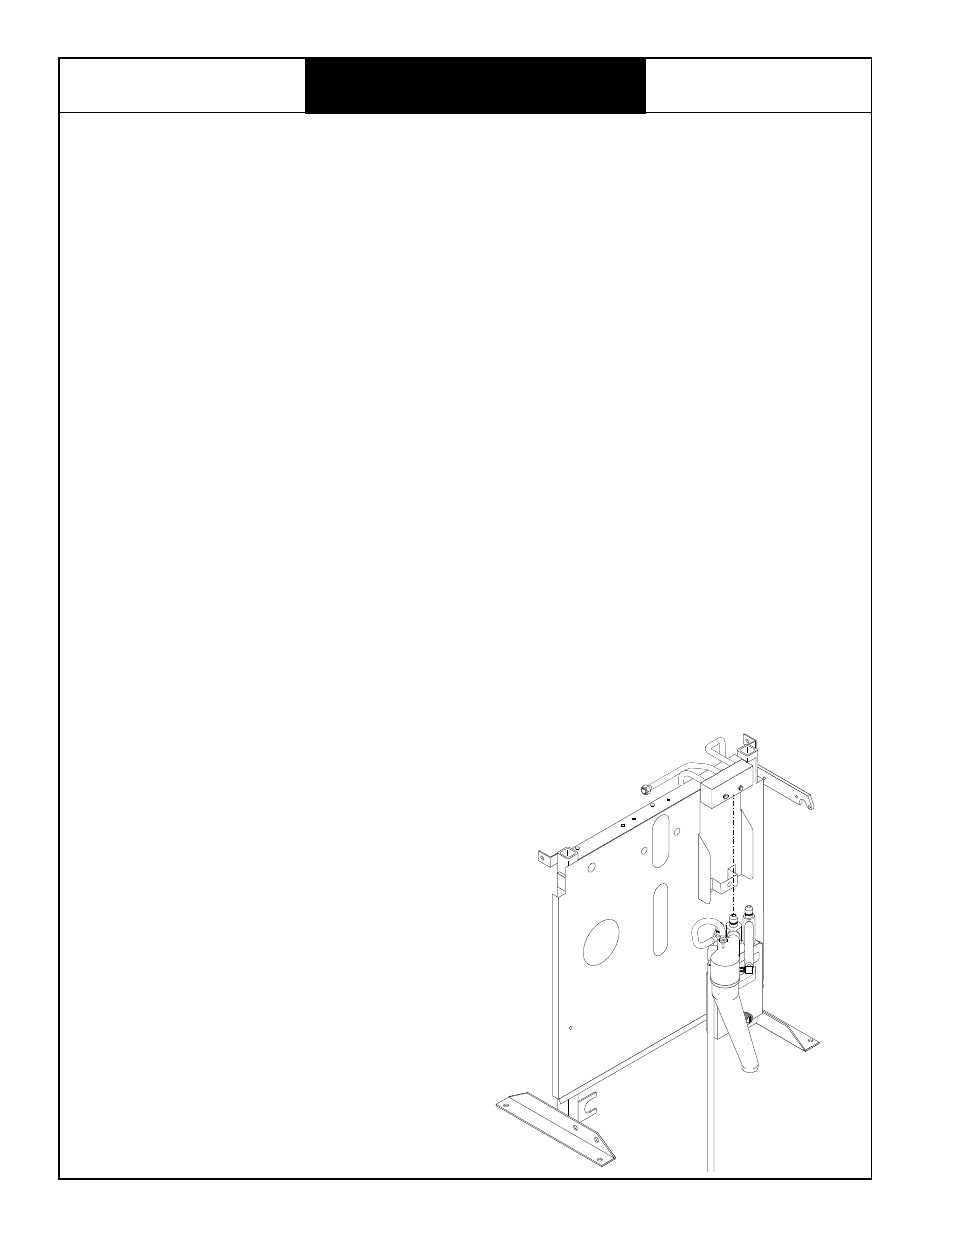
FROTHER DISCONNECT ASSEMBLY
When installing frother assembly thoroughly wet O-rings
with water. Using the slide bracket on the front panel as a guide,
slide frother assembly into the frother manifold as far as it will
go. Secure frother assembly with attached thumb screw.
Mu
st w
et o
-rin
g w
ith
cle
an
wa
ter b
efo
re in
CA
UT
IO
N
HOT
Liquid-Steam-Surfaces
P911