MBT Lighting SC4PKG User Manual
Page 5
5-
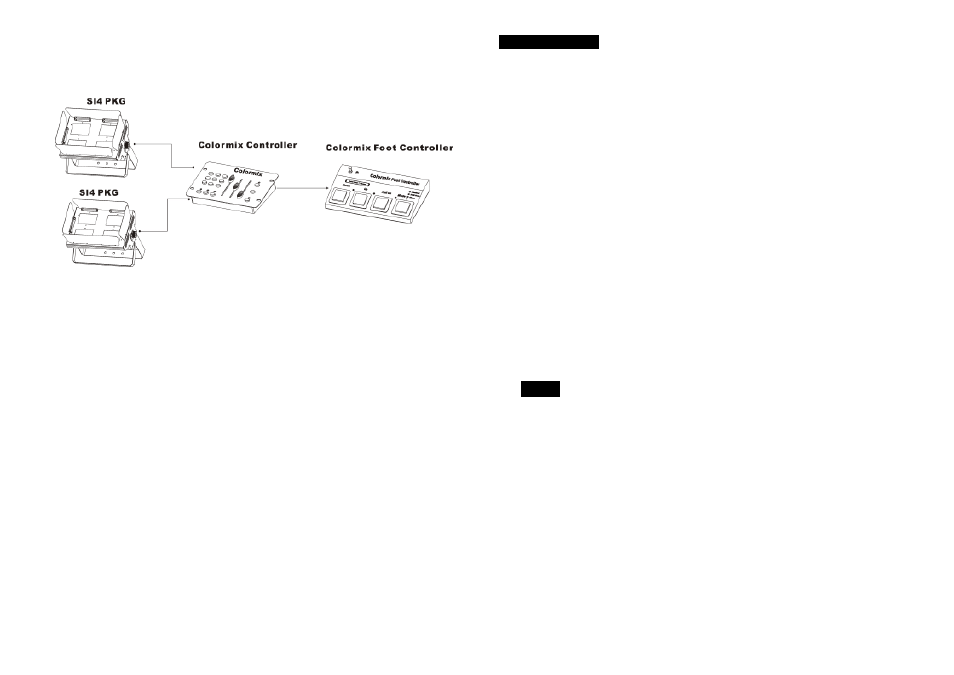
C. By Colormix controller
By link the Colormix controler to the unit , you have to use 3 pin XLR cable and use 5
pin XLR cable between Colormix controller and Colormix foot controller.
Colormix Controller
•
A professional, user friendly DMX 4ch.controller for colorimixing.
•
Equipped with 9 different hold-color buttons for instant access of colors.
•
Comes with 32 spectrum mix colors, color fade, and 12 different chase patterns,
•
Providing the richest changing colors for the show.
•
Speed and dimmer adjustable for both color fade and chase.
•
Sound activated function is available.
•
Full on and Blackout functions .
Colormix Foot Controller
•
Colormix Foot controller is a extended controller of Colormix.
•
To be liked with Colormix. Add a switch to change the control between Colormix and
Colormix Foot Controller.
•
Mode i.) Blackout (LED on)
ii.) Hold Color(LED off)
iii.) Chase (LED blinking)-Stamp on the button over 2 seconds for chase
•
Up and Down buttons:To select the hold colors and chase patterns.
• Full on:Stamp the button for full on.
2. Main Features
Voltage:AC 120V 60 Hz
• Bulb: J Type 120V 300W
• 3 dichroic mirrors red, blue, and green or 4 dichroic mirrors red, yellow, blue, and
green.
•
With lamp saving switch-off function. When the unit receives stand by signal from a
easy controller or an universal DMX controller, it will switch off the lamp extending the
lamp
’s lifetime.
Ÿ Easy door to bulb change lamp.
Ÿ Standard DMX-512 control and address. By DMX linking and XLR cable.
Ÿ This units can be linked together in a master/slave combination and run by built-in
programs.
Ÿ Compatible with easy controller or universal DMX controller.
Ÿ DMX signal / sound activation indication LED.
Ÿ Efficient axial fan cooling.
•
Dimension : 450 x 270 x 175mm
Weight: 7 kg
3.
Lamp
J Type 120V 300W
• Always switch off the mains supply and never handle the lamp or luminaire when
it is hot.
•
Do not touch the bulb with bare hands. If this does happen, clean the lamp with denatured
alcohol and wipe with a lint free cloth before installing.