4 installation – Brita 1200 User Manual
Page 7
4 Installation
!
Caution: Prior to installation read the technical data (Chapter 10) and the operating
and safety information (Chapter 3). After the product has been stored at temperatures
below 0°C, it must be stored (with the original packaging open) at the ambient
temperature of the place of installation for at least 24 hours before use.
4.1 Scope of Delivery
Prior to installation, remove the entire delivery scope from the packaging and check that
everything is there:
1x pressure vessel
1
1x pressure vessel lid
3
1x fi lter cartridge
2
, Note: Blue marking on PURITY 1200 Clean fi lter cartridge, Red
marking on PURITY 1200 Clean Extra fi lter cartridge.
1x manual
1x carbonate hardness test or total hardness test
1x sticker for Service Pass, Note: Light blue sticker for PURITY 1200 Clean, red sticker for
PURITY 1200 Clean Extra.
1x reducer 1”– 3/4”
1x flush valve with flush hose
If part(s) of the delivery scope are missing, please contact your local BRITA Offi ce (see
back of cover).
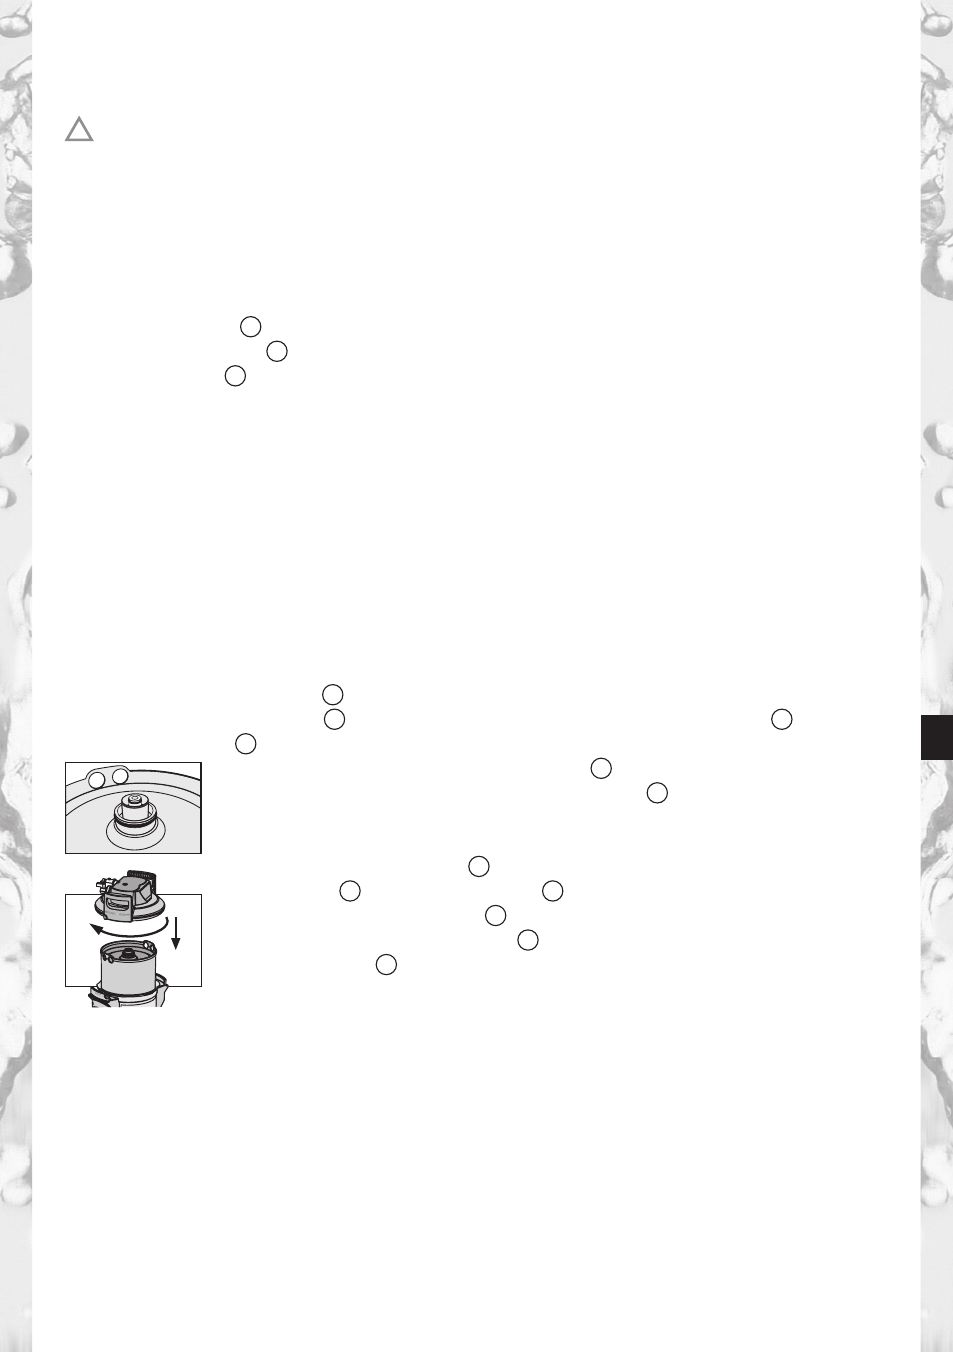
4.2 Assembly of the pressure vessel and the pressure vessel lid
Stand on the kick loops
9
with both feet.
Lift the pressure vessel
1
and turn it clockwise until the mantle handles
11
are over
the kick loops
9
.
Remove the transport protective cap
12
from the fi lter cartridge.
Check the O-ring seal of the fi lter cartridge
2
for correct seat in the
groove, dirt and damage. Note: The cartridge seat has been
lubricated with food-safe lubricant at the factory.
Stand on the kick loops
9
with both feet and place the pressure
vessel lid
3
on the pressure lid
1
. The positioning of the arrow
marking on the lid handle
14
must line up with the “INSERT” groove.
Press the pressure vessel lid
3
down and turn clockwise until the
lock engages
8
.
•
•
•
•
•
•
15