General operations, Turning the power on, Turning the power off – Blaupunkt porto SILVERSTONE C34 User Manual
Page 4: Volume control, Switching the display, Setting the clock 1, Switching the source, Adjusting the sound characteristics 1
ENGLISH
E-3
General Operations
Turning the power On
Press the
PWR
button to turn the unit On.
Turning the power Off
Press the
PWR
button for more than 2 seconds. Display will
revert to clock indication.
Tip
When you turn on the unit, “HELLO” will be displayed then
“WELCOME” will momentarily be displayed before actual
power on.
When you turn off the unit, “SEE YOU” will be displayed then
“GOOD-BYE” will momentarily be displayed before actual
power off.
You can edit these messages. (See “Turn on/off message edit”).
Volume Control
Rotate the VOL dial to adjust the volume.
Volume down
Volume up
Muting the sound
Press
PWR
. The R-ch/L-ch Level Meter flashes.
To restore the previous volume level, press
PWR
again.
Mute level can be adjustable. (See “
Adjusting the Sound
Characteristics”)
Switching the Display
Press the
MENU
to display the temporary indication (initial
setting is clock display) for few seconds. Then automatically
returns to the previous indication.
• Radio mode
• AUX mode
Frequency or Clock.
AUX title or Clock.
• Tape mode
• CDC mode
Tape Status or Clock.
CDC Status or Clock.
Setting the Clock
1.
Turn the ignition key to the ON position.
2.
Press the
PWR
to turn on the unit.
3.
Press the
MENU
, then press the
or
to dis-
play “CLK SET”.
4.
Press the
PWR
to enter the clock adjustment mode.
5.
Use the following buttons and dial to set the clock. (The blink-
ing section can be adjusted.)
PWR
: To switch Hour/Minute blink
or
: Adjust the Hour and minute
6.
Press the
MENU
momentarilfly to complete the Clock set-
ting mode.
Ignition-off Clock Recall
The display will illuminate showing the time and then auto-
matically shut off after 5 seconds.
Press the
MENU
while the ignition switch is in the “ OFF ”
position.
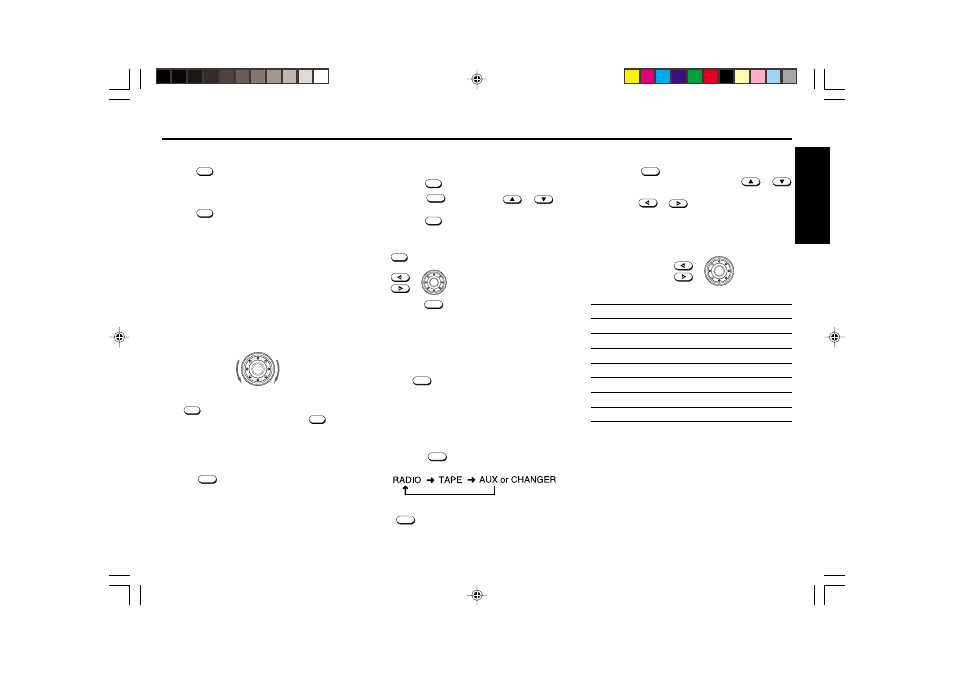
Switching the Source
You can connect auxiliary equipment (Portable MD player,
etc) to this radio via optional AUX-IN cable.(See page 9)
Each time the
SRC
is pressed, the operation source will
change over as shown below;
Note
If the
SRC
button is pressed when no Tape has been loaded
into the unit, The Tape mode will skip to the AUX or CHANGER
mode.
Adjusting the Sound Characteristics
1.
Press the
MENU
for more than 2 seconds to enter the
audio adjustment mode, then press the
or
to select the desired adjustment item as table below.
2.
Press the
or
or rotate the VOL dial to adjust
the selected item.
Use the following tables as a guide for adjusting the set-
tings in each item.Adjust within 5 seconds after selecting
the item. After 5 seconds, the unit returns to previous
indication.
or
Adjustment Range
EQ OFF
(Equalizer will be displayed if set up)
BASS
BAS –5
0
BAS +5
TREBLE
TRE –5
0
TRE +5
LOUDNESS LOUD
OFF
LOUD ON
BALANCE
BAL L9(Full left)
0
BAL R9(Full right)
FADER
FAD R9(Full rear)
0
FAD F9(Full front)
ON VOL
0
50
80
MUTE
0
20
80
•A italicized letter is an initial value.
Tips
• EQ OFF (EQ Display)
Displays the current setting of equalizer curve, if the equal-
izer has been set. (See page 5)
• ON VOL (Limit volume)
Adjust the volume at the time of power on. You can adjust
with the actual sound.
• MUTE (Mute level)
You can adjust the mute level with the actual sound.
• Settings for BASS, TREBLE, and LOUDNESS can be made
to each of the following modes independently:
Each radio band, TAPE, CDC.
04.4.11, 2:27 PM
3