Shade, Sensitivity and delay – ArcOne Auto-Darkening Filters (Vision Python & Carrera) N America User Manual
Page 2
- 1 -
A
RC
O
NE
®
auto-darkening filters protect your eyes against harmful ultra-violet and infrared rays, both in
the dark and light state. No matter what shade the filter is set to, the filter will provide UV/IR protection.
When used properly, the filter will prevent your eyes from being burned due to optical radiation. User’s
eyes can be severely burned if welding with a damaged lens (cracked, pitted, etc.).
For complete safety, primary protection, such as spectacles or goggles, should be used in
conjunction with welding helmets. Protective clothing and accessories such as leather bibs
attached to the welding helmet will protect the user from spatter and optical radiation indirectly
entering from areas underneath and behind the helmet. Protection for those near you while
welding should also be considered.
Not for use in overhead welding.
Shade
x54Di: Press (Do Not Hold) the SHADE
button until the LED indicates the desired
shade setting (see Figure 1).
x54V, x60Vx, and x81Vx: Press the “M” Mode button until “Shade” flashes then use the +/- buttons to
adjust the shade number (see Figure 2). Note: the function buttons may be located to either side of the
digital display depending on the model. Refer to the front cover of this manual for the configuration of
each model.
iDF81: Adjust the shade using the shade adjustment knob (see Figure 3) on the helmet. The LCD
readout will indicate the shade number.
Sensitivity and Delay
These filters have arc detection sensitivity and delay. Delay mode is normally used in most welding
applications except spot welding. Longer delay can be used at very low amps (<20A) to ensure filter stays
dark.
x54Di: Press the SENSITIVITy button until the LED indicates the desired shade setting. The LED below
“TIG” indicates when the filter is in TIG mode. Press Delay button to change between fast and slow
delay (see Figure 1).
x54V, x60Vx, and x81Vx: Press “M” Mode button until “Sensitivity” flashes. Use +/- buttons to
change. More bars equals higher sensitivity. At the highest sensitivity setting the x60Vx and x81Vx
will display “x-TIG” to designate the filter is in x-TIG mode (not available on the x54V). Press “M”
button till “Delay” flashes. Use +/- to change delay from 0.1 to 3.5 seconds.
iDF81: Change the sensitivity with external analog control (See Figure 3). Sensitivity Level is not
displayed on iDF81 LCD readout. Press Delay button to change delay bars from 0.1 to 2 seconds.
Figure 1: Controls with LED (X54Di)
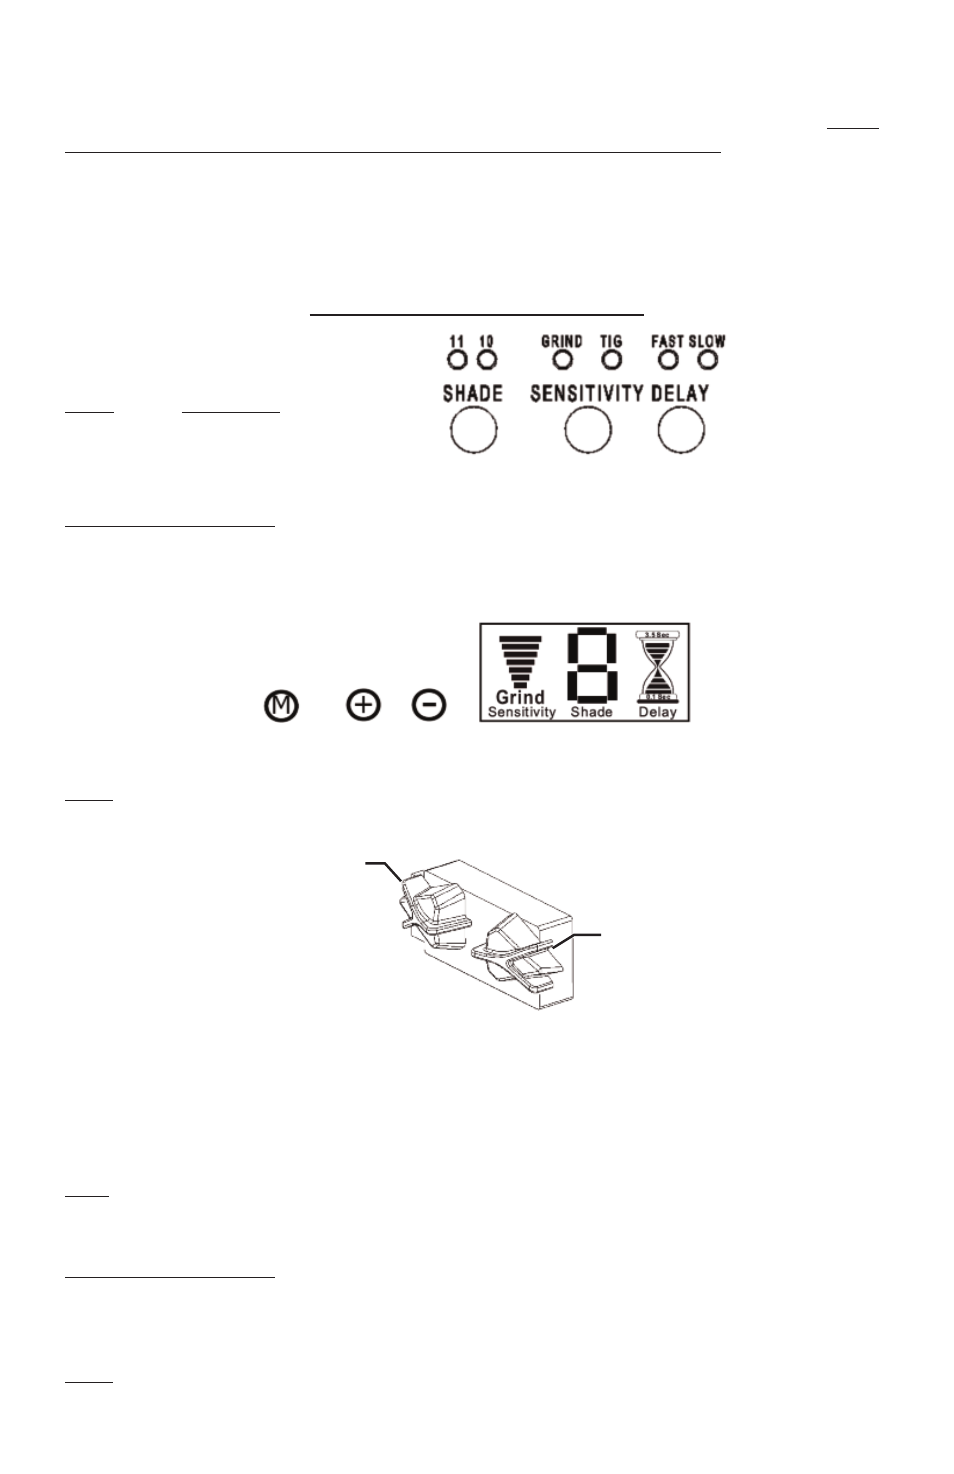
Figure 2: Controls with LCD Readout (X54V, X60VX, and X81VX)
Shade
Adjustment
Sensitivity Adjustment
Figure 3: External Controls (iDF81)
LED Indicators
Function Buttons
x-TIG