BenQ SL 705X/S User Manual
Sl 705x/s, Features, Dlp projector
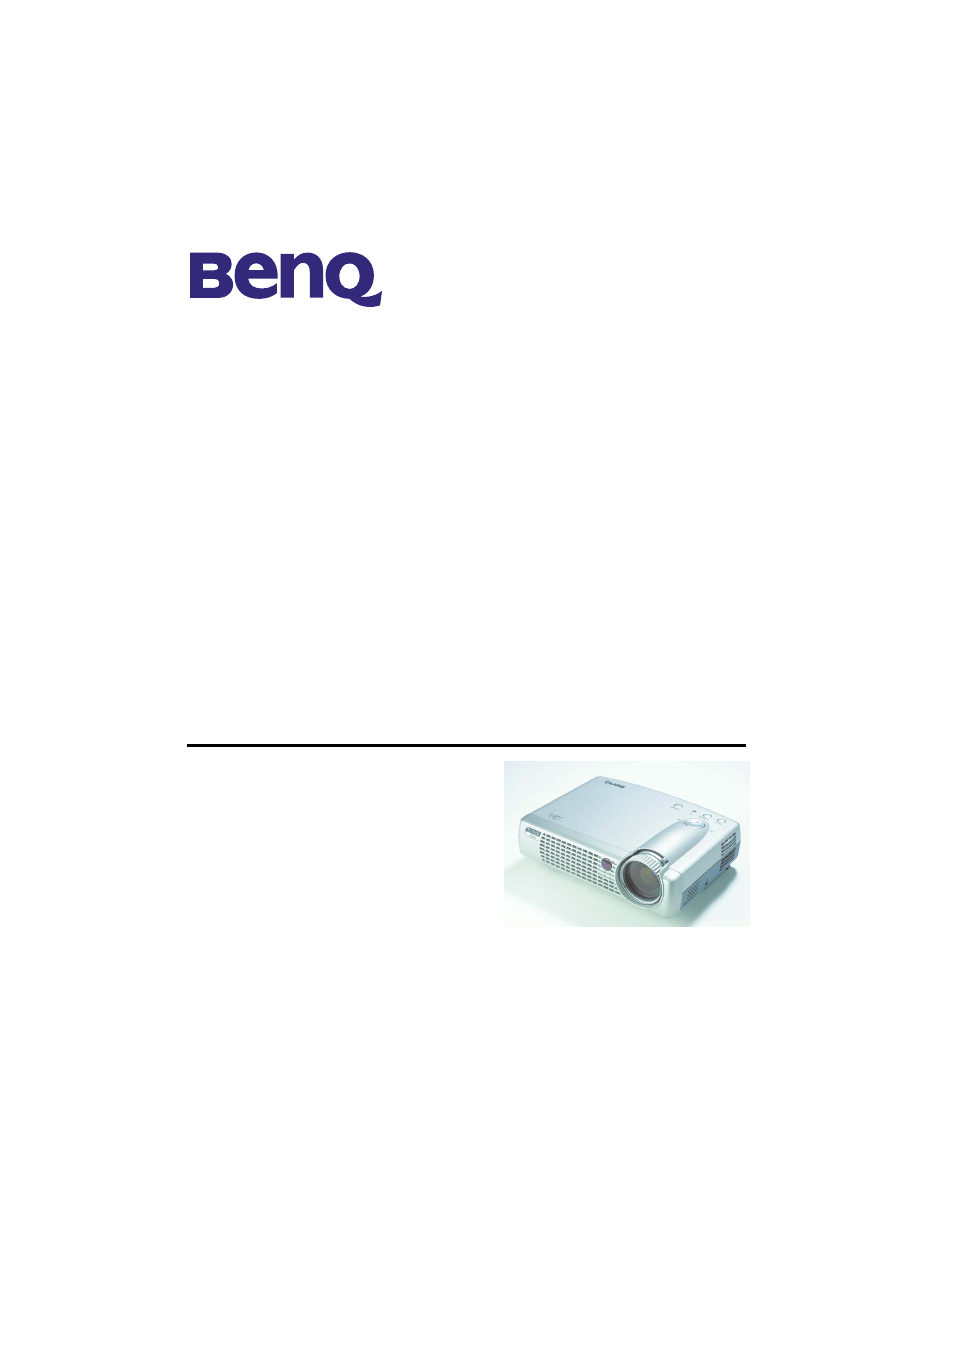
DLP PROJECTOR
SL 705X/S
USER’S MANUAL
Thank you for purchasing the Benq DLP Projector.
Please read this user’s guide to ensure correct use of the device. Save this user’s
guide for future reference.
OUTLINE
This DLP Projector can display various computer signals and NTSC/PAL/SECAM video
signals.
FEATURES
1. High Brightness
2. High Resolution
3. Compact Size, Feather Weight for
Portability
4. Durable Magnesium Alloy Body
5. RGB Input Terminal
6. One Touch Auto-Adjustment Function
7. Easy Keystone Adjustment
Table of contents
Document Outline
- DLP Projector
- SL 705X/S
- Features
- Fill this in!!
- Introduction
- Safety Instructions
- 1. Read this user’s guide before you operate your projector and save it for future reference.
- 2. The lamp becomes extremely hot during operation. Allow the projector to cool for approximately...
- 3. Never replace lamp assembly or any electronic components unless the projector is unplugged.
- 4. To reduce the risk of electric shock, do not disassemble this appliance. Take it to a qualifie...
- 5. Do not place this product on an unstable cart, stand, or table. The product may fall, causing ...
- 6. This product is capable of displaying inverted images for ceiling mount installation. Please u...
- Warranty
- Shipping Contents
- Projector Description
- Projector
- 1. External control panel (see next page)
- 2. Projection lens
- 3. Front adjustment feet
- 4. IR remote sensor
- 5. Ventilation grill
- 6. Kensington lock
- 7. AC power cord input
- 8. S-video connector
- 9. Video connector
- 10. D-sub connector (for computer/ HDTV input)
- 11. Audio input
- 12. Rear adjustment feet
- 13. Lamp access door (underneath unit)
- External Control Panel
- Adjuster
- Projector Features
- Projector
- Remote Control Description
- FREEZE
- Safety Instructions
- Installation
- Operation
- Maintenance
- Lamp Information
- Lamp Replacement
- 1. Press the POWER button to switch off the projector. Disconnect the power cord from the outlet ...
- 2. Loosen the screw and remove the lamp cover. If the lamp is hot, avoid burns by waiting 45 minu...
- 3. Loosen the 3 screws. (It is strongly recommended you use a magnetic-headed screwdriver.) Pull ...
- 4. Replace the lamp with a new one. Insert it into the projector, and tighten the screws firmly. ...
- 5. Re-install the lamp cover and tighten the screw. Do not turn on the power with the lamp cover ...
- Resetting Lamp Hours
- Service Information
- Troubleshooting
- Specifications
- Projector Specifications
- Timing Chart
- Resolution
- H Sync (kHz)
- V Sync (Hz)
- Remark
- 640x350
- 31.5
- 70.1
- 640x400
- 37.9
- 85.1
- VESA
- 720x400
- 31.5
- 70.0
- 720x400
- 37.9
- 85.1
- VESA
- 640x480
- 31.5
- 60.0
- VESA
- 640x480
- 37.9
- 72.8
- VESA
- 640x480
- 35
- 66.7
- Macintosh
- 640x480
- 43.3
- 85.0
- VESA
- 800x600
- 35.2
- 56.3
- VESA
- 800x600
- 37.9
- 60.3
- VESA
- 800x600
- 46.9
- 75.0
- VESA
- 800x600
- 48.1
- 72.2
- VESA
- 800x600
- 53.7
- 85.1
- VESA
- 832x624
- 49.7
- 74.5
- Macintosh
- 1024x768
- 48.4
- 60.0
- VESA
- 1024x768
- 56.5
- 70.1
- VESA
- 1024x768
- 60.0
- 75.0
- VESA
- 1024x768
- 68.7
- 85.0
- VESA
- 1280x1024
- 64.0
- 60.0
- VESA
- Dimensions