Annealing process – Hornady Annealing Kit User Manual
Page 6
ANNEALING PROCESS
1. Clean excessive debris from empty cases using a vibratory tumbler and
cleaning media (Hornday offers these tools). Clean cases are easier
to inspect and they heat more consistently and show change in the
temperature sensing material more clearly.
2. Visually inspect all cases. Verify that no case contains any of the following:
Primer cup, powder, debris of any kind, obvious defects, split neck, excessive
thinning near web-to-body juncture.
3. Use propane torch fitted with medium sized tip, on suitable work area flat,
stable, and free of flammable materials or air currents. (Clamping the
propane bottle loosely into a bench vise prevents the torch from tipping
over.)
4. Position a large can that is about 1/2 full of water near the torch so it is
convenient to dump annealed cases from tool into water.
5. Install Hornady Case Neck Annealing Tool in electric screw driver or drill.
If you are using a drill, securely tighten the chuck and adjust the speed
to about 200 RPMs, which is near the slowest adjustment speed of most
drills.
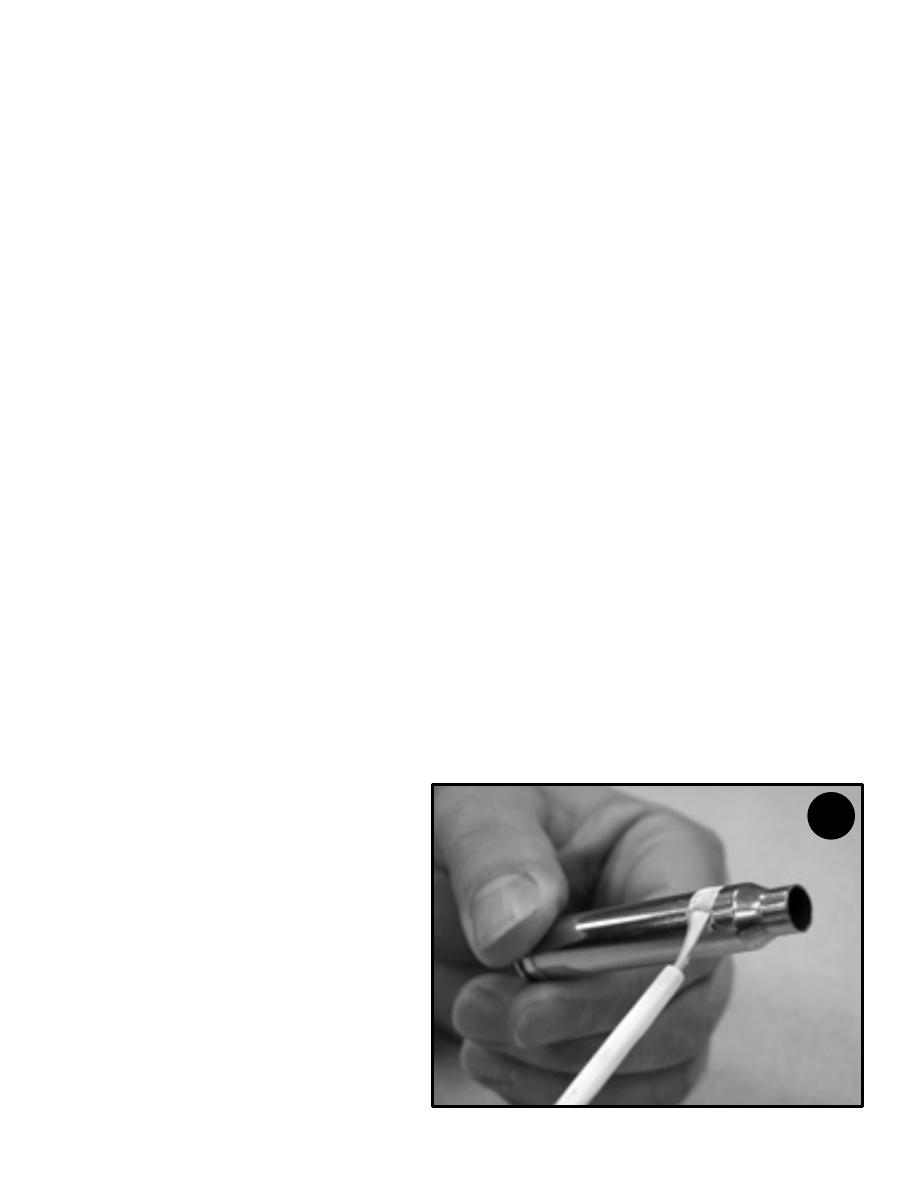
6. Apply the temperature
indicating paste to case body
at a point about 1/4” below
case shoulder, and mark all
cases. (See photo A.)
7. Light torch, adjust valve to
produce a visible medium
length blue flame and rotate
torch so that flame is pointed
in a convenient direction.
A