Philips PT734-41 User Manual
Page 11
ENGLISH
C
5
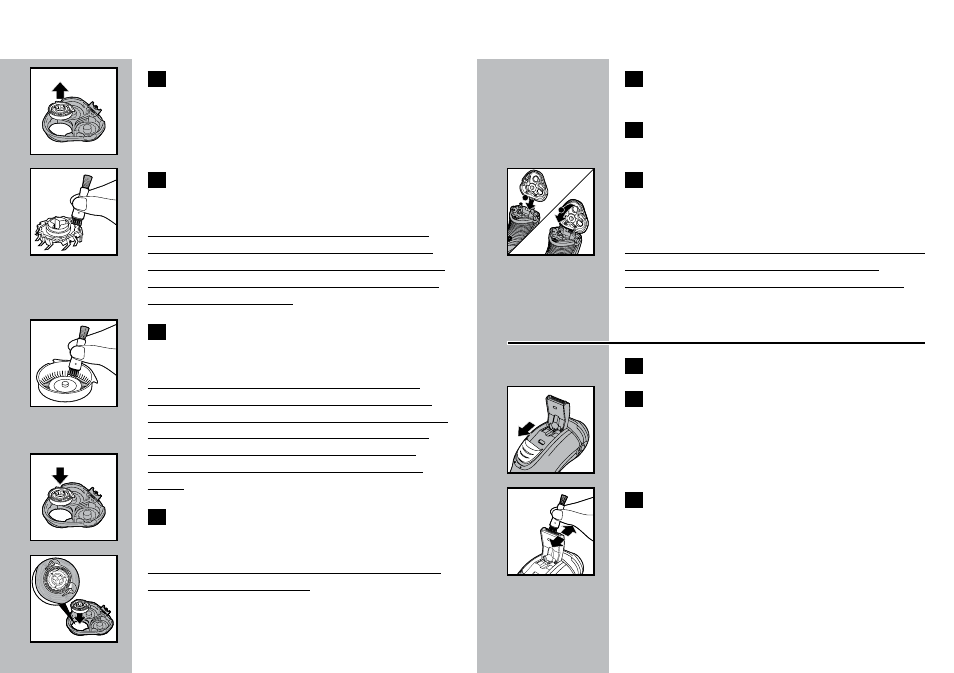
Remove and clean one set of cutters and
combs at a time.
C
6
Separate the cutter from the comb and
clean it with the brush supplied.
Do not clean more than one cutter and comb
at a time, since they are all matching sets. If you
accidentally interchange the cutters and combs, it
could take several weeks before optimal shaving
performance is restored.
C
7
Clean the inside and outside of the comb
with the brush supplied.
For optimum performance, razor cutters and
combs should be cleaned in a degreasing liquid
(e.g. Philips Norelco Shaving Head Cleaning Spray,
Model HQ110 or alcohol) and lubricated with
one drop of mineral oil (in the center of the
head). This helps prevent wear of the shaving
heads.
C
8
Replace the set back into the Razor Head
Assembly.
C
Make sure that the two pointy edges of the head
fit exactly into the recesses.
20
ENGLISH
9
Repeat the process for the other two sets
of cutters and combs.
10
Replace the frame and turn the lock
clockwise until it locks into place.
C
11
Insert the notch of the shaving unit into
the slot in the top of the razor (1) and
then close the shaving unit (2).
NOTE: If the shaving unit does not close smoothly,
make sure you inserted the shaving heads
properly and that the retaining frame is locked.
After Each Use: Trimmer
1
Turn razor OFF.
C
2
Push down spring-release trimmer switch.
C
3
Clean trimmer with the short-bristled side
of the brush every time you use it.
21
1
2