Basic functions, Clock, Switching on – Philips MC118C3799 User Manual
Page 6: Adjusting volume and sound, Setting the clock
6
MC 118 / 22 page 6
English
BASIC FUNCTIONS
Switching on
There are 3 ways to switch the set on:
• press y STANDBY ON on the set and the last selected
source switches on;
• press SELECT SOURCE on the set and the last selected
source switches on;
• press CD, TUNER, TAPE or AUX on the remote control.
To switch the set to standby, press y STANDBY ON once
on the set (y on the remote control).
• If in tape mode, press STOP•OPEN
9/ first
– The volume level, interactive sound settings, last
selected source and tuner presets will be retained in the
set's memory.
Adjusting volume and sound
1 Turn the VOLUME control anti-clockwise to decrease or
clockwise to increase volume on the set (or press
VOLUME –, + on the remote control).
™ Display shows the volume level
VOL and a number
from 0-32.
2 Press the Interactive sound control, DSC on the set or
remote control once or more to select the desired sound
effect:
OPTIMAL
(no indication)
/ROCK
(
)
/JAZZ
(
)
/POP
(
)
/OPTIMAL
....
3 Press DBB to switch bass enhancement on or off.
™ Display shows:
if the DBB is activated.
4 Press INCREDIBLE SURROUND (INC. SURR. On the
remote control) to switch the surround sound effect on
or off.
™ Display shows:
if activated
Note: The effect of INCREDIBLE SURROUND may vary with
different types of music.
5 Press MUTE on the remote control to interrupt sound
reproduction instantly.
– Playback will be continued without sound and the
display shows
MUTE.
• To reactivate sound reproduction you can:
– press MUTE again;
– adjust the volume controls
CLOCK
Setting the clock
There are two possible methods for setting the clock:
manually or automatically by using RDS.
Automatic clock setting (RDS versions only)
1 Tune to a RDS station (see DIGITAL TUNER).
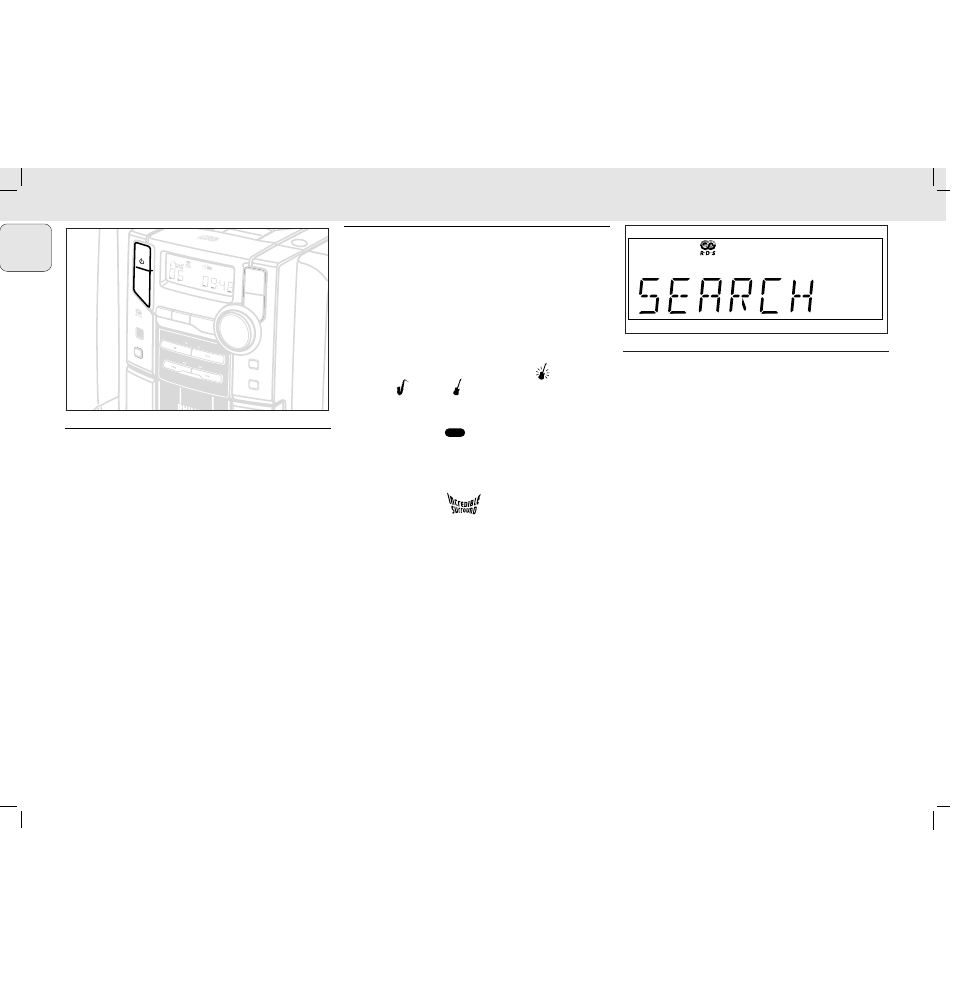
2 Press RDS/ CLOCK for 2 seconds or more.
™
SEARCH RDS TIME is displayed for a maximum
of 90 seconds; the time is then displayed.
™
NO RDS TIME is displayed if no time signal has
been received and you will have to set the clock
manually.
Manual clock setting
1 In standby, press RDS/ CLOCK.
™ The clock digits for the hours flash.
2 Turn VOLUME to set the hours: clockwise for hours up;
anti-clockwise for hours down.
3 Press RDS/ CLOCK again.
™ The clock digits for the minutes flash.
4 Turn VOLUME to set the minutes: clockwise for minutes
up; anti-clockwise for minutes down.
5 Press RDS/ CLOCK to confirm the time.
TUNER
CD
DBB
TIMER
CD
PROGRAM
M C 1 1
8 M I C
R O S
Y S T E
M
OPEN•CLOSE
VOLUME
INCREDIBLE
SURR
OUND
DBB
DSC
INTERA
CTIVE SOUND
STANDBY
ON
TIMER
ON • OFF
PROGRAM
SELECT
RDS
CLOCK
SHUFFLE
REPEA
T
BAND
IR
SENSOR