Broiling guide using perfect broil™ system, Rotate knob past 20 then se t to des ired tim e – Black & Decker CTO800 User Manual
Page 7
12
13
en
GL
is
H
BroiLinG GuiDe usinG perFeCt BroiL™ sYsteM
FooD
WeiGHt
BroiLinG
teMperature
approXiMate
CooKinG tiMe
proCeDure
Breaded
Chicken
Cutlets or
Tenderloins
1 to 6
(up to 1½
lbs)
375º F
12 to 15 minutes
Turn over
halfway through
broiling
Chicken should
register 180º F on
meat thermometer
Chicken
Parts
(up to 1½
lbs)
375º F
20 to 25 minutes
Turn over
halfway through
broiling
Chicken should
register 180º F on
meat thermometer
Fish fillets,
such as
salmon or
tilapia
1 to 3
(up to 1½
lbs)
400º F
10 to 12 minutes
145º F or flakes
easily when tested
with fork
Broiled
vegetables
6 to 8
pieces
350º F
10 to 12 minutes
Turn over
halfway through
broiling
160º F until
vegetables are
tender when
pierced with a fork
Shell or nY
strip steak
1 to 2,
about 8
oz., each
450º F
18 minutes to
medium
Turn over
halfway through
broiling
Internal
temperature of
160º F for medium
BroiLinG tips
• Placing food on rack reduces calories, allows the drippings to
flow into the bake/broil pan and helps to eliminate or prevent
smoking from the broiler (L).
• For best results, thaw frozen meat, poultry and fish before
broiling.
• If frozen steaks and chops are broiled allow 1½ to 2 times the
broiling time as required for fresh meats.
• Trim excess fat from meat and score edges to prevent curling.
• Brush foods to be broiled with oil and season as desired before broiling.
• Fish fillets and steaks are delicate and should be broiled directly on bake/broil pan
placed on the slide rack.
• There is no need to turn fish fillets during broiling. Carefully turn thick fish steaks
midway through broiling cycle.
• If broiler “pops” during broiling, reduce the temperature or lower the food in the oven.
• Wash bake/broil pan and clean inside of oven after each use with non-abrasive cleaner
and hot soapy water. Too much grease accumulation will cause smoking.
toastinG BreaD
It is not necessary to preheat the oven for toasting.
1. Open oven door and insert slide rack into position 2 (see illustration e on page 7);
the lower slot position with rack up.
2. Place desired pieces of bread to be toasted directly on slide rack and close the door.
3. Turn temperature selector knob to BAGel/TOAST.
4. Turn cooking FUnCTIOn selector knob to TOAST.
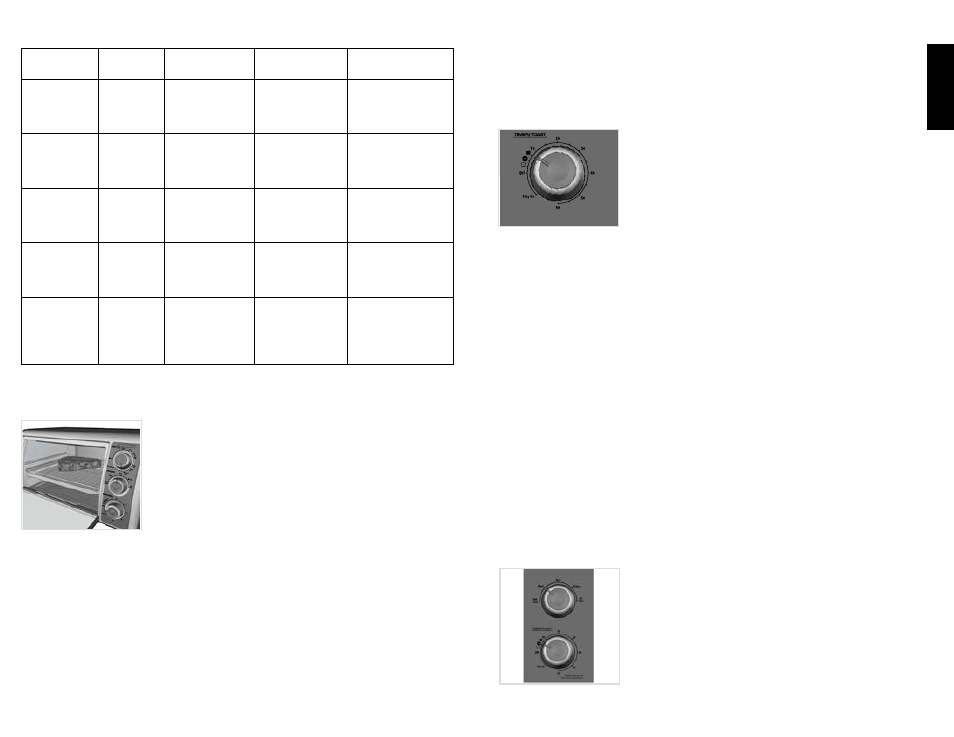
5. Turn toast shade selector knob past 20 and then turn
back to desired toast shade (M).
note: You must set the toast shade selector knob as
desired for the oven to begin toasting.
6. For best results on first toasting cycle, set the toast
selector knob to medium which will be midway between
light and dark setting, then re-adjust for next cycle to
lighter or darker to suit your preference.
7. The On indicator light comes on and remains on until toasting cycle is complete.
8. When toast cycle is complete, there will be an audible signal. The oven and the On
indicator light will go off.
9. Open the oven door. Using oven mitts or pot holders, slide the rack out to remove
the toast.
iMportant: this oven gets hot. When in use, always use oven mitts or potholders
when touching any outer or inner surface of the oven.
10. Turn the temperature selector knob to MIn, the cooking FUnCTIOn selector knob
to KeeP WArM and the TIMer/TOAST selector knob to OFF before removing plug
from electrical outlet. Unplug appliance when not in use.
toast tips
1. You must turn the toast shade selector knob to OFF to discontinue toasting.
2. When repeating the toast cycle immediately, it is suggested that the toast shade
selector knob be set to a slightly lighter setting.
3. On first toasting cycle set the toast selector knob to medium which will be midway
between light and dark setting, then re-adjust for next cycle to lighter or darker to
suit your preference.
toastinG BaGeLs
It is not necessary to preheat the oven to toast bagels.
This oven is designed to toast the side facing the top of oven and to warm the side
facing the bottom.
1. Follow first 3 steps for TOASTInG BreAd.
2. Turn cooking function selector knob to BAGel.
3. Turn toast shade selector knob past 20 and then turn
back to BAGel (n).
note: You must set the toast shade selector knob to BAGel
for the oven to begin toasting.
4. Follow directions 7 through 10 for TOASTInG BreAd.
Keep WarM
note: This feature is designed to keep already cooked foods
warm after they have been cooked. This function should be
used for short periods of time; to prevent food from drying
out cover with foil.
Rotate
knob past 20
then se
t to des
ired tim
e
L
Rotate knob past 20
then set to desired time
M
n