Caution, How to use – Black & Decker CTO800 User Manual
Page 4
6
7
How to use
This product is for household use only.
GettinG starteD
• remove all packing material and any stickers.
• remove and save literature.
• Please go to www.prodprotect.com/applica to register your warranty.
• For additional information about your countertop oven go to www.blackanddecker.com
• Wash all removable parts as instructed in Care and Cleaning section of this manual.
• Wipe outside of appliance with a damp cloth; dry thoroughly.
• Insert slide rack into lower rack position with the rack up (a).
• If planning to broil, insert bake/broil pan into slots under the slide
rack. If planning to bake, use the bake/broil pan or other oven safe
baking utensil (B).
• Select a location where this unit is to be used allowing enough
space for back of the unit and the wall to allow heat to flow
without damage to cabinets and walls.
• Insert crumb tray below lower heating elements (C).
note: Once the oven has been heated let the oven cool to room
temperature before removing crumb tray.
• remove tie from cord and unwind.
• Plug unit into electrical outlet.
$ "65 *0/
THIS OVEN GETS HOT. WHEN
IN USE, ALWAYS USE OVEN
MITTS OR POT HOLDERS
WHEN TOUCHING ANY OUTER
OR INNER SURFACE OF THE
OVEN
tHis oven Gets Hot.
WHen in use, aLWaYs use oven
Mitts or pot HoLDers WHen
touCHinG anY outer or inner
surFaCe oF tHe oven.
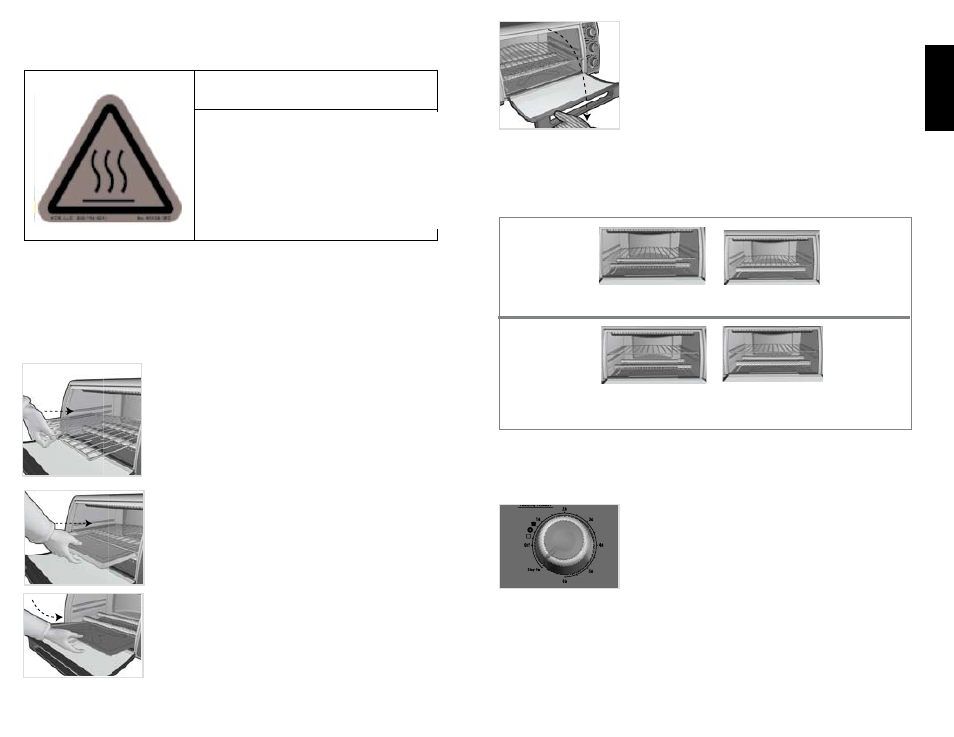
Caution
a
B
iMportant: this oven gets hot. When in use, always use oven
mitts or potholders when touching any outer or inner surface of
the oven (D).
note: Set oven to BAKe at 350º F and set timer to 20 minutes
without any food in oven to burn off any oils used in production.
The On indicator light comes on and will remain lit during the
entire baking time. during first few minutes of use you may
notice smoke and a slight odor. This is normal and should cause
no concern.
sLiDe raCK positions
There are 4 possible positions for the slide racks. There is an upper and a lower slot; the
rack can also be inverted for 2 additional positions (e).
note: All 4 positions can be used when baking; when broiling because the bake/broil pan is
inserted under the rack, the rack can only be placed in 2 positions: Position 2 and 4.
HeLpFuL Hints aBout Your oven
• When the oven is turned on, the indicator light will come on and remain illuminated until
the oven is turned off manually or automatically when the timer has been used.
• When selecting baking time for a particular product or recipe include preheat time.
• This oven has a 60 minute timer. If baking something that will
take longer than 60 minutes, we suggest you use the STAY On
feature (F) (see page 8).
• Metal, ovenproof glass and ceramic bake ware without lids
can be used in the oven. If foods require covering use
aluminum foil.
• Be sure the top of the container or food being baked or broiled
is at least 1½ inches away from the upper heating elements.
C
en
GL
is
H
Rotate k
nob pas
t 20
then set
to desir
ed time
D
position 4
Use upper
slots along
oven walls.
Insert rack
using a rack-up
position.
position 2
Use lower slots
along oven
walls. Insert
rack using
a rack-up
position.
position 3
Use upper slots
along oven
walls. Insert
rack using a
rack-down
position.
position 1
Use lower slots
along oven
walls. Insert
rack using a
rack-down
position.
e
Rotate knob past 20
then set to desired time
F