Installation, Din front/rear-mount, A title (english) – Pioneer DEH-P75BT User Manual
Page 8
7
A Title (English)
DIN Front/Rear-mount
This unit can be properly installed either from “Front” (conventional DIN Front-mount) or
“Rear” (DIN Rear-mount installation, utilizing threaded screw holes at the sides of unit
chassis). For details, refer to the following illustrated installation methods.
Installation
Note:
•
Before making a final installation of the unit,
temporarily connect the wiring to confirm that
the connections are correct and the system works
properly.
•
Use only the parts included with the unit to
ensure proper installation. The use of unautho-
rized parts can cause malfunctions.
•
Consult with your nearest dealer if installation
requires the drilling of holes or other modifica-
tions of the vehicle.
•
Install the unit where it does not get in the dri-
ver’s way and cannot injure the passenger if there
is a sudden stop, like an emergency stop.
•
The semiconductor laser will be damaged if it
overheats, so don’t install the unit anywhere hot
— for instance, near a heater outlet.
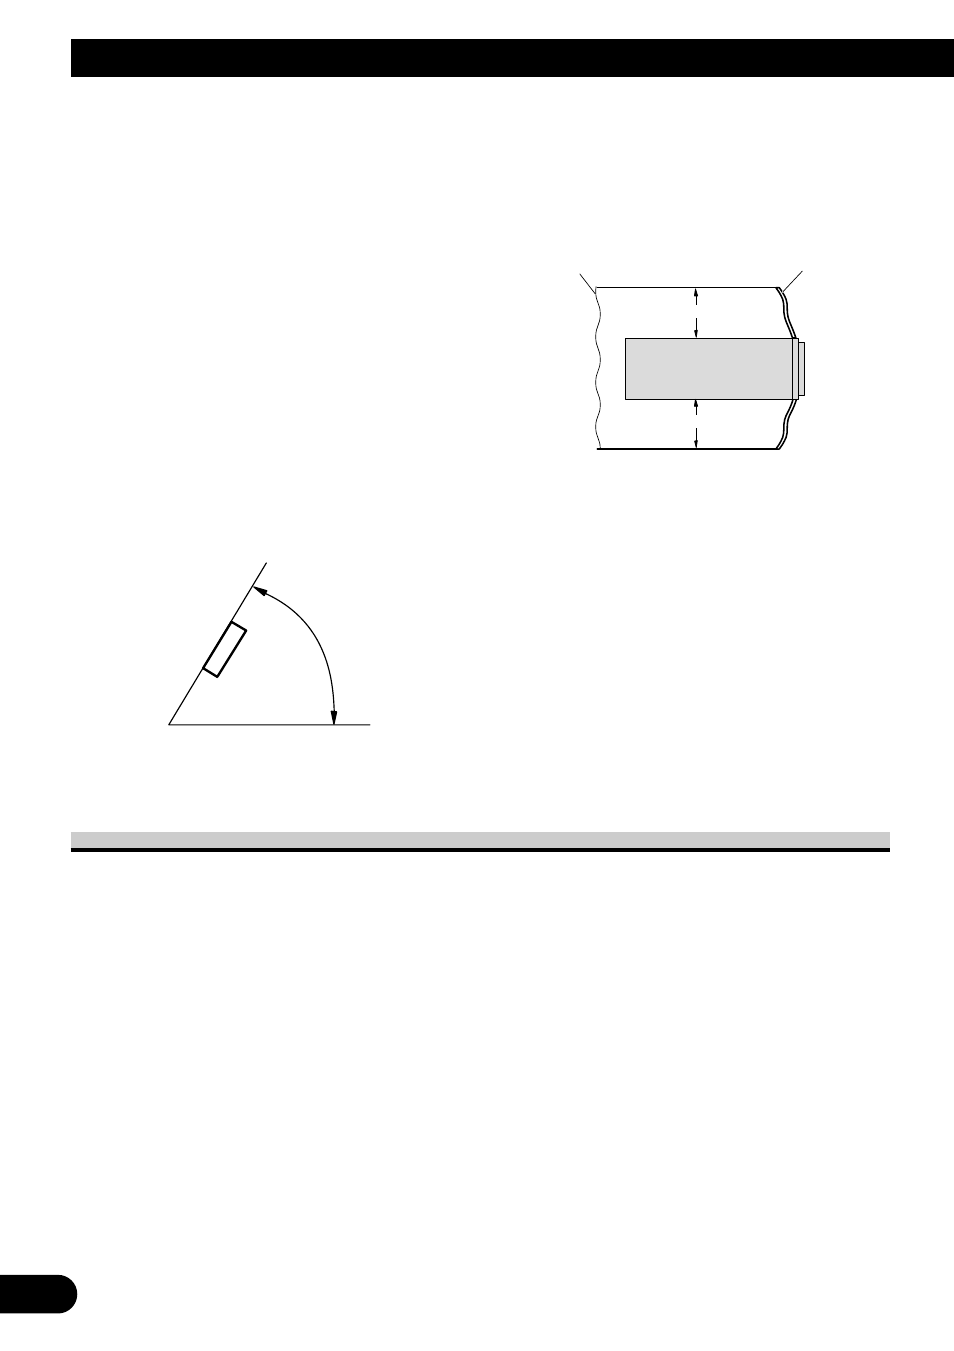
•
If installation angle exceeds 60° from horizontal,
the unit might not give its optimum performance.
(Fig. 4)
Fig. 4
•
When installing, to ensure proper heat disper-
sal when using this unit, make sure you leave
ample space behind the rear panel and wrap
any loose cables so they are not blocking the
vents.
Fig. 5
10 cm
10 cm
60
°
Leave ample space
Dashboard