Installing the driver software, Connecting this unit and the computer, Virtualdj pro 7 settings – Pioneer XDJ-AERO User Manual
Page 4
4
Using the XDJ-AERO as the VirtualDJ Pro 7
controller/audio output device
Installing the driver software
Install this unit’s driver software onto the computer from the CD-ROM included with this unit.
For installation instructions, see “Installing the driver software” in the XDJ-AERO’s operating instructions.
Connecting this unit and the computer
With this unit’s power turned on, connect this unit and the computer using a USB cable.
VirtualDJ Pro 7 settings
1
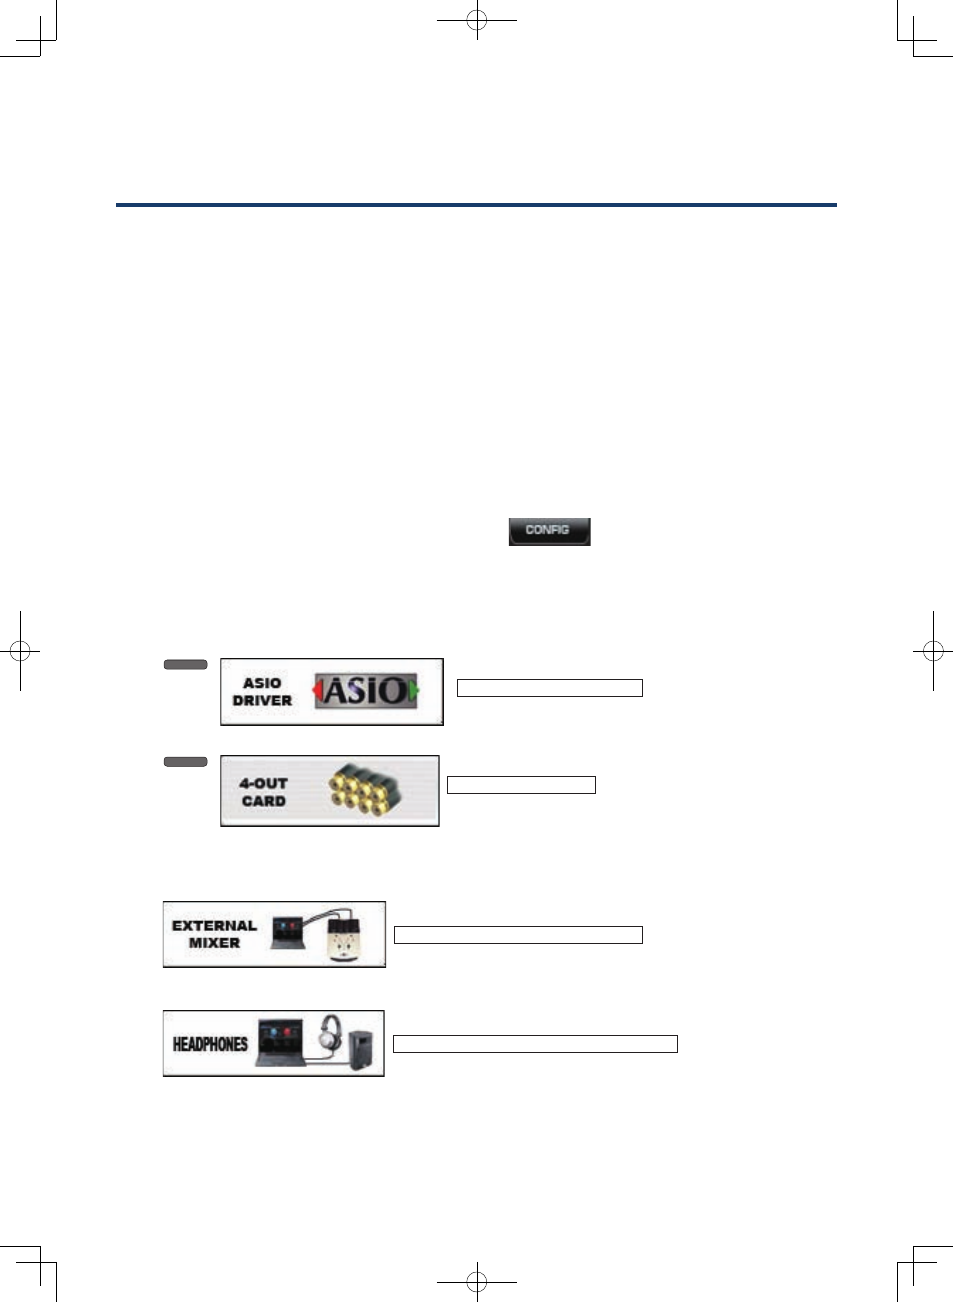
Open the Settings screen.
Launch VirtualDJ Pro 7, then click the [CONFIG] icon.
2
Make the audio output routing setting.
1
Click [Sound Setup].
2
Select as shown below from the [Sound card:] pull-down menu.
Windows
PIONEER XDJ-AERO ASIO
Mac OS
PIONEER XDJ-AERO
3
Select as shown below from the [Outputs:] pull-down menu.
To use this unit’s mixer section to mix the sound:
Deck 1: Chan 1&2 / Deck 2: Chan 3&4
To mix the sound internally in VirtualDJ Pro 7:
Master: Chan 1&2 / Headphones: Chan 3&4