Adjusting the equalizer curves (equaliz, Audio adjustment – Pioneer MEH-P9100R User Manual
Page 48
47
Audio Adjustment
2. Select the desired Equalizer curve. (e.g. Press button 1.)
Note:
• When you have performed Auto-equalizing (refer to page 56), you can turn AUTO EQ ON and
OFF by pressing the button for the equalizer curve that was called.
7 Sequential Recall
1. Press the AUDIO button and select the Graphic Equalizer mode (Equaliz
E
r)
in the Audio Menu 1.
2. Select the desired Equalizer curve in the following order:
Super Bass
+
= Powerful +
= Natural +
= Vocal +
= Custom +
= Flat
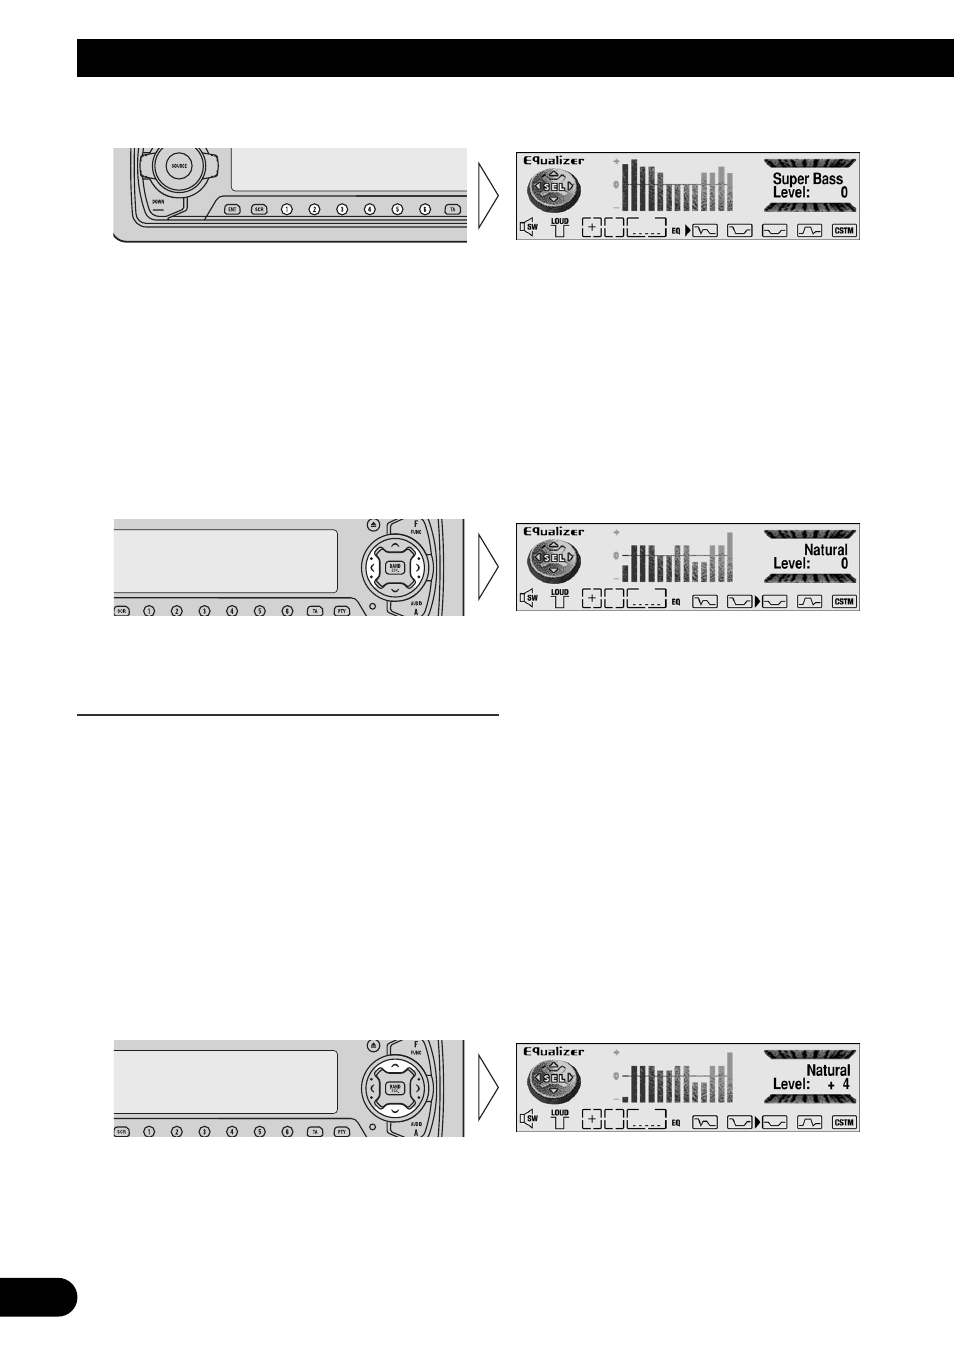
Adjusting the Equalizer Curves (Equaliz
E
r)
All curves but Flat can be adjusted (fine adjustment).
Adjustment can be made by either using Graphic Equalizer or 13-Band Graphic Equalizer
Adjustment.
7 Graphic Equalizer
The factory curves can be adjusted at fine levels (nuance control).
1. Press the AUDIO button and select the Graphic Equalizer mode (Equaliz
E
r)
in the Audio Menu 1.
2. Recall the Equalizer curve you want to adjust. (Refer to previous section.)
3. Adjust the Equalizer curve.
Display shows “+6” – “–6”.
Note:
• Adjustment range is subject to the curve.
• You can store the equalizer curve in CUSTOM by pressing button 5 for 2 seconds.