Part names and functions, 2fx beats control, 3fx assign buttons – Pioneer DDJ-SP1 User Manual
Page 4: 4tap button, 5effect parameter buttons, 2slip button, 3censor button, 4param.1/param.2 button, 5auto loop control, 6pad mode button
En
4
Part names and functions
The typical functions of the buttons and controls when using Serato DJ
are described below.
For the functions and details of buttons and controls not described here,
see the Operating Instructions (Advanced Edition).
3
1
2
1
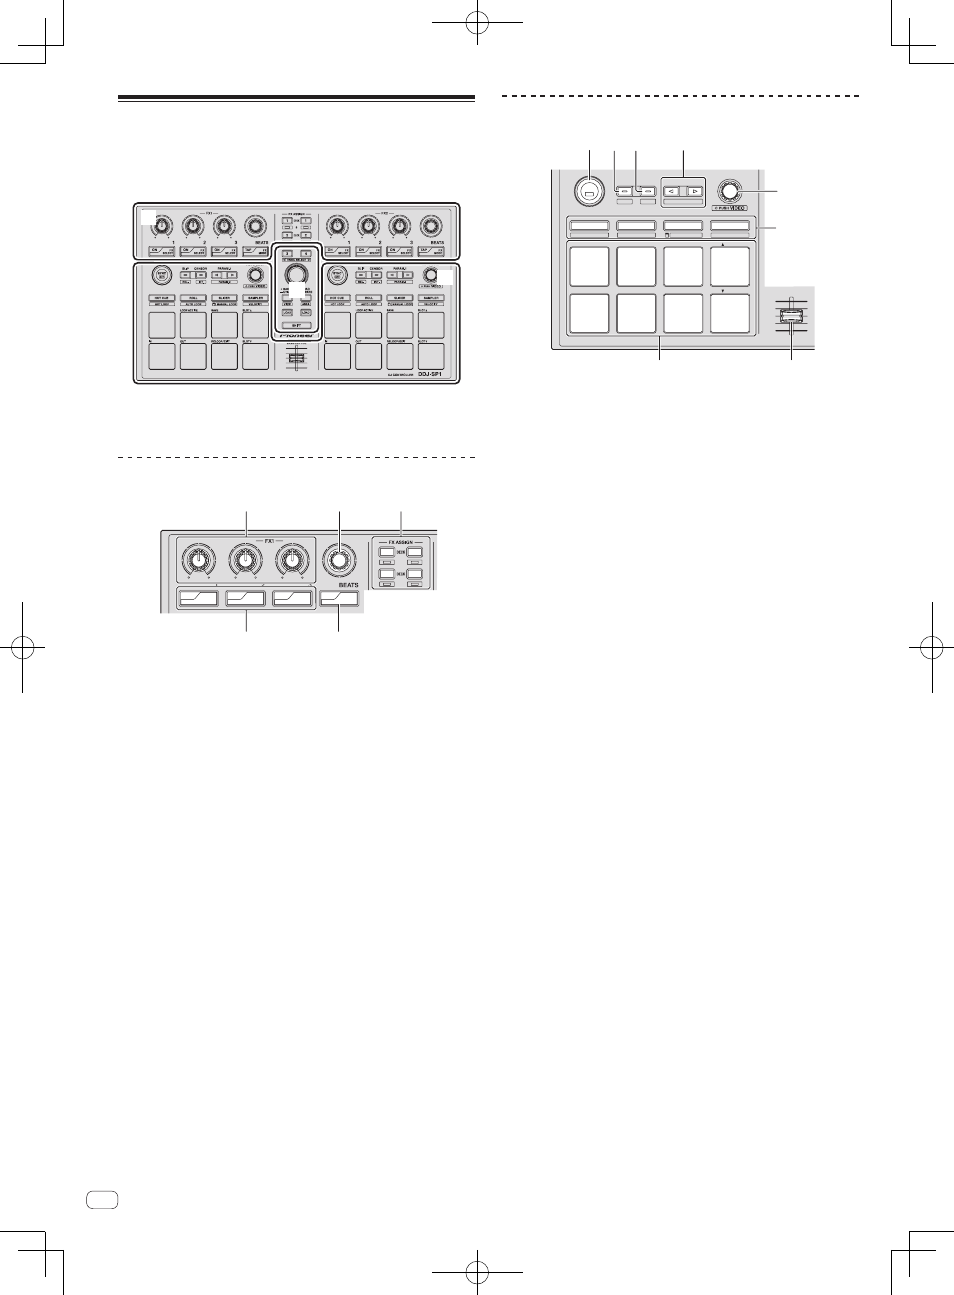
Effect section
2
Deck section
3
Browser section
Effect section
1
3
4
2
3
4
2
1
PANEL SELECT
ON
FX
SELECT
ON
FX
SELECT
ON
FX
SELECT
TAP
FX
MODE
1
2
3
5
4
1
Effect parameter controls
These adjust the effects’ parameters.
2
FX BEATS control
Adjusts the effect time.
3
FX ASSIGN buttons
Press:
Turns the effects unit for deck 1 or deck 2 on and off.
[SHIFT] + press:
Turns the effects unit for deck 3 or deck 4 on and off.
4
TAP button
Press:
When the [TAP] button is pressed three times or more while in the
auto-tempo mode, the mode switches to the manual tempo mode.
When the tap tempo mode is set to manual, the BPM value to serve
as reference for the effect is calculated from the intervals at which
the button is tapped.
When the [TAP] button is pressed for over 1 second while in the
manual-tempo mode, the mode switches to the auto tempo mode.
[SHIFT] + press:
Switches the effect mode.
5
Effect parameter buttons
Press:
These turn the effects on and off or switch the parameters.
[SHIFT] + press:
Switches the effect type.
Deck section
PANEL SELECT
• BACK
— UTILITY
LOAD
PREPARE
VIEW
LOAD
LOAD
AREA
SHIFT
SAMPLER VOL
REL.
INT.
PARAM.2
SLIP
CENSOR
PARAM.1
AUTO LOOP
HOT CUE
HOT LOOP
ROLL
AUTO LOOP
SLICER
MANUAL LOOP
SAMPLER
VELOCITY
IN
OUT
LOOP
ACTIVE
RELOOP / EXIT
SAVE
SLOT
SLOT
SYNC
OFF
1 2 3
4
5
6
7
8
1
SYNC button
Press:
The tempos (pitches) and beat grids between tracks on multiple
decks can be synchronized automatically.
[SHIFT] + press:
Cancels the sync mode.
2
SLIP button
Press:
Turns the slip mode on and off.
[SHIFT] + press:
Sets Serato DJ to the relative mode.
3
CENSOR button
Press:
The track is played in the reverse direction while the [CENSOR] but-
ton is pressed, and normal playback resumes when the button is
released.
[SHIFT] + press:
Sets Serato DJ to the internal mode.
4
PARAM.1/PARAM.2 button
Press:
Sets a parameter for the loop roll, auto loop, slicer, manual loop and
sampler modes.
[SHIFT] + press:
Sets a different parameter for the auto loop, slicer and manual loop
modes.
5
AUTO LOOP control
Turn:
Selects the auto loop loop beat.
Press:
Turns the auto loop function on and off.
[SHIFT] + press:
Switches to the mode for using Serato Video.
6
Pad mode button
Press:
Selects the pad mode from among the hot cue, loop roll, slicer and
sampler (velocity disabled) modes.
[SHIFT] + press:
Selects the pad mode from among the hot loop, auto loop, manual
loop and sampler (velocity enabled) modes.
7
SAMPLER VOLUME fader
Adjusts the sampler’s overall sound level.
8
Performance pads
Used for hot cue, hot loop, loop roll, auto loop, slicer, manual loop
and sampler playback.