Specify the destination – Xerox WorkCentre M118i-6288 User Manual
Page 63
Fax Procedure
Xerox CopyCentre/WorkCentre 118 User Guide
63
2.
Press the
control panel once to cancel any
previous selections.
3.
Select an option for the required
feature.
If necessary, press the or
the fax settings. For more information about Fax features available, refer to Fax
Features on page 68.
3. Specify the Destination
The following explains how to specify a destination. The machine provides the following
dialing methods for fax numbers.
NOTE: Before sending a document, check your entries to make sure you specified
correct destinations.
• Using the numeric keypad on the control panel
• Using Address Book (refer to Address Book on page 66.)
• Using Speed Dial (refer to Speed Dial on page 67.)
• Using One Touch Dial (refer to One Touch Dial on page 67.)
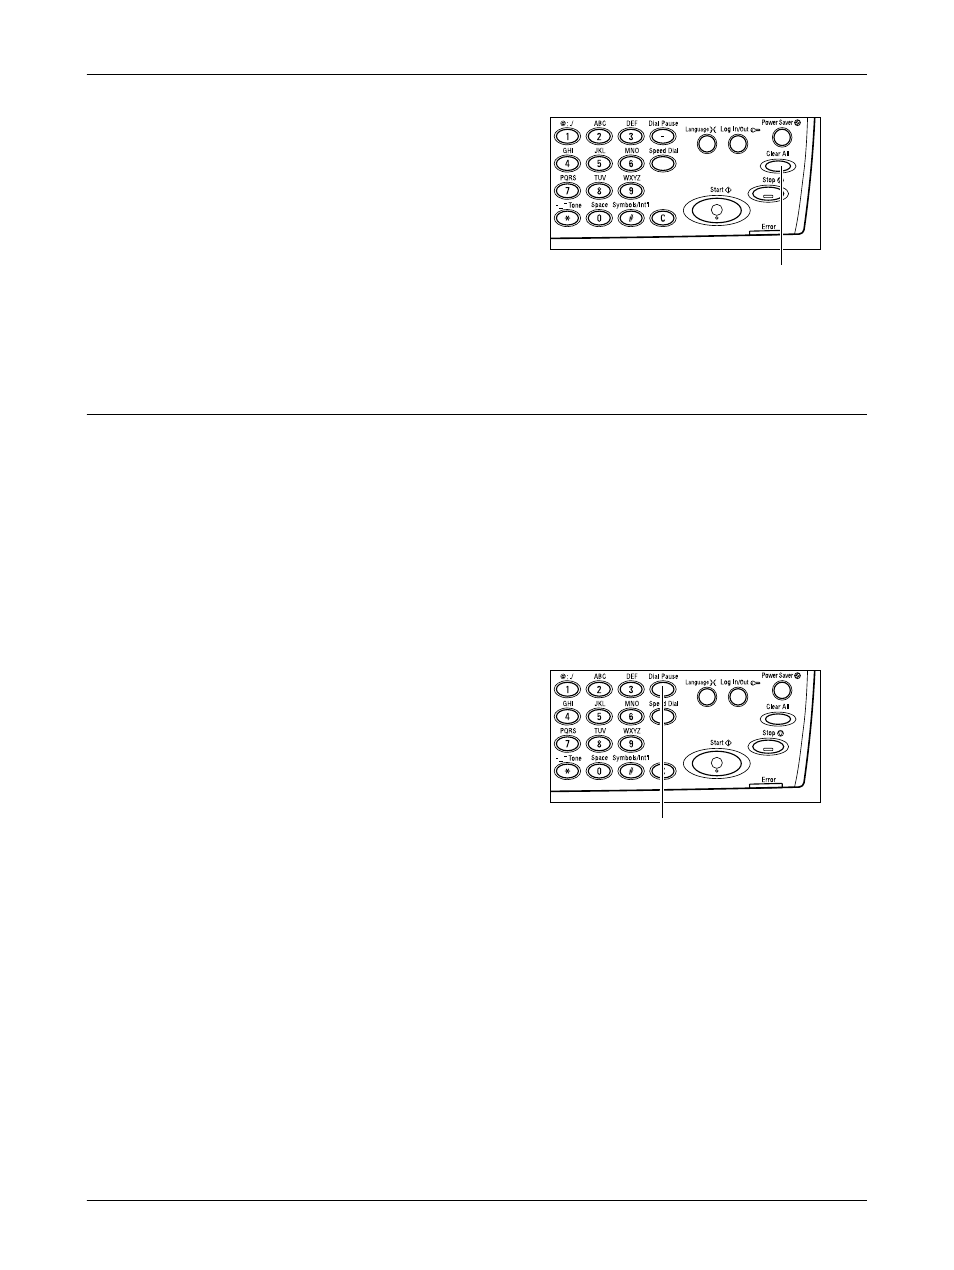
1.
Enter the fax number using the numeric
keypad on the control panel.
You can send a fax to multiple destinations in
a single operation. For more information,
refer to Address Enter/Next on page 66.
If a character is usually dialed before the telephone number, for example 9 for an
external line, a pause is required after this character. Press the
the control panel before continuing to enter the fax number. When you dial manually,
Dial Pause is not required; instead wait for the external dial tone before proceeding.
- WorkCentre M118i-4254 WorkCentre M118-M118i-4181 WorkCentre M118-M118i-6215 WorkCentre M118-6147 WorkCentre M118-4113 WorkCentre M118-M118i-2912 WorkCentre M118i-2985 WorkCentre M118-2844 WorkCentre M118-4133 WorkCentre M118i-6308 WorkCentre M118i-4274 WorkCentre M118-M118i-6242 WorkCentre M118i-3005 WorkCentre M118-6167 WorkCentre M118-M118i-4208 WorkCentre M118-M118i-2939 WorkCentre M118-2864