Hogtunes 692.2 / Lids Complete with 6 x 9 Speakers User Manual
Page 3
Routing the speaker wire harness:
The long supplied harness with 4 wires has 2-2 pin plugs on one end, and a
single 4 pin plug on the other. In all cases, the end with the 4 pin plug will
go nearest the amp your using which typically will be your fairing.
For FLH (Batwing) Models. The harness will pass under the inner fairing
where the main wire harness passes through on the brake side of the bike.
For FLTR (Road Glide) Models, the harness will pass through the inner
fairing where the factory wires pass. Loosen the tank console and run
wires up and over the gas tank, but under the tank console. There is a pro-
vision on the front of the tank console for wires to pass. Once past the bat-
tery, the harness will continue towards the back of the bike along the
frame, and when correctly installed, the 2-2pin plugs will be beside the
back seat on the brake side of the bike. Secure the harness to the bikes fac-
tory harness’ using zip ties. Plug the brake side lid in. Run the clutch side
under the seat and plug it in.
Wiring the lids to your amp.
The 4 pin connector will plug into Hogtunes NCA 70.2-2 channel amp, or
Hogtunes NCA 40.4-4 Channel amp. If your using another brand of am-
plifier, you will see that the wires near the 4 plug are labeled. Simply cut
the plug off and wire the lids to your amp using the labels to identify each
wire.
Striker Plates:
Each kit comes 4 new “striker plates” that will be applied on the outside of
the lid. Use your factory lids as reference for how and where these go. Like
all other adhesive parts in this manual, clean the area first! Also remem-
ber that adhesive works best at room temperature or higher.
6
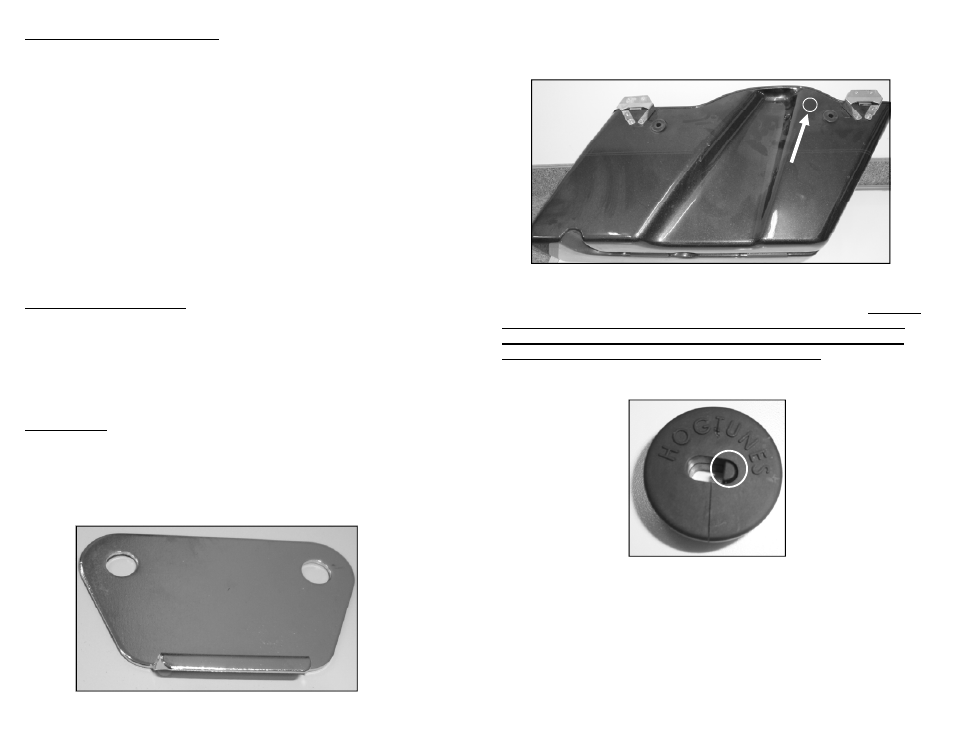
Remove the saddlebag from the bike, and put on a stable padded surface.
For obvious reasons, blankets etc on the bench will help protect the paint.
The white circle in the picture above is where a 3/4” (19mm) hole will be
drilled. This hole is where the supplied Hogtunes rubber grommet will go,
and allow the speaker wire for the lid to pass into the saddlebag. Note: We
strongly suggest putting masking tape over the area to be drilled before
making the hole. We also strongly suggest starting with a small bit, and
gradually working your way up to the 3/4” (19mm) hole.
The supplied grommet is “split” to make installation much easier once the
wire is in the bag. In the above picture, the white circle is showing a “plug”
that can easily be removed. If the only wire you have going into your sad-
dlebag is the speaker wire, leave the plug in place. If you have a second
wire for such things as USB power, or a music device interface, removing
the plug from the grommet will allow the second wire to also pass without
having to drill additional holes in your saddlebag.
3