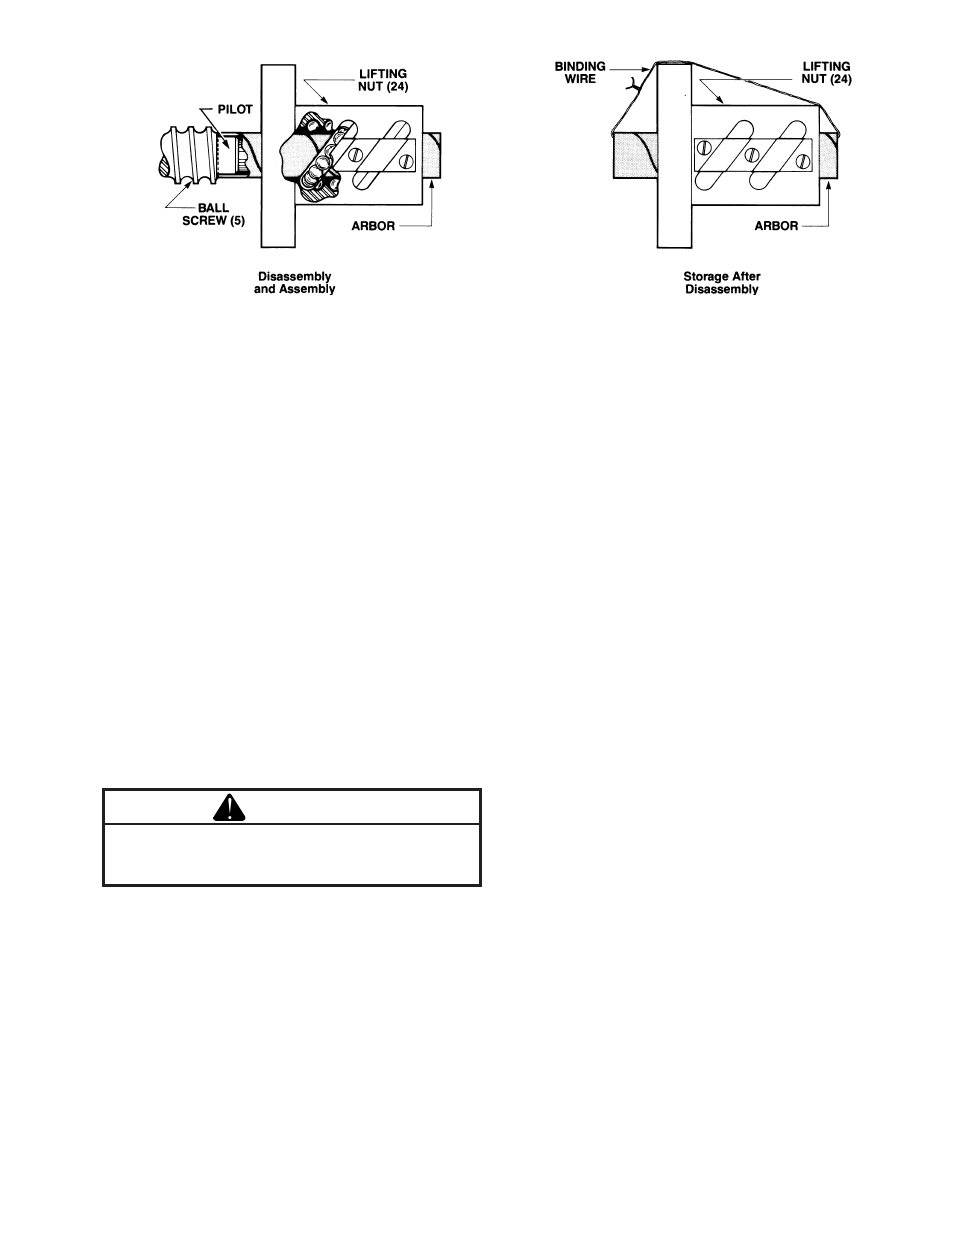
Figure 2-2. ball nut storage arbor – Duff-Norton Ball Screw Rotating User Manual
Page 9
9
16. Remove key (22) from ball screw (5).
17. Remove spacer (23) from ball screw.
Note
On some models spacer is threaded.
Note
Some models do not have a spacer.
18. Inverted Models - Remove guide bushing (16)
from shell (3).
19. For units with an expansion plug (4a) in shell (3)
or shell cap (2), damaged plugs must be re-
moved. Drive or press plug out of shell or shell
cap with a large diameter punch (1˝).
Disassembly is now complete.
2-5. Cleaning
1. Use degreasing solvent to remove dirt, grease
or oil from all parts. Be sure to flush the lifting
nut assembly (24) thoroughly while running the
assembly over the arbor several times.
Warning
Provide adequate ventilation during the use
of cleaning agents; avoid prolonged breath-
ing of fumes and contact with skin.
2. Use clean hot water or a soap solution for
general cleaning of painted surfaces.
3. Dry parts thoroughly after cleaning.
Note
Before installing new parts, remove any rust
preventive, protection grease, etc.
2-6. Inspection
1. Make a visual inspection of shell (3) for broken,
cracked or distorted areas. Check threads of all
bores for burrs or broken threads.
2. Check shell cap (2), bottom pipe (4), worm gear
assembly and flanges (11) for burrs or scratches
on their working or mating surfaces.
3. Check small common components (screws, etc.)
and replace as required.
4. Check bearings (7), (8), and (15) for seizure,
galling or play and replace as required.
2-7. Assembly
1. Refer to Figure 2-3 for replacement of expansion
plug (4a) in shell (3) for upright units or shell cap
(2) for inverted units.
a. Set shell cap (2) [inverted models] or shell
(3) [upright models] over a steel bar which is
approximately 1/8˝ to 3/16˝ shorter in height
than the shell or shell cap. The diameter of
the bar should be close to the I.D. of the
shell or shell cap.
b. Place expansion plug (4a) on the bar (con-
cave surface down) and flatten against the
bar with a large diameter punch or press
making sure that the plug is flattened
throughout its entire diameter.
2. For units with tapered roller load bearings, press
bearing cones onto worm gear (6) with small
end of cones away from gear face. Be sure that
cones are seated properly against gear shoul-
der.
3. Assembly spacer (23) on ball screw (5).
Note
On models with threaded spacers, make sure
that spacer is tightly threaded against ball screw
shoulder.
Note
Some models do not have a spacer.
4. Insert key (22) in ball screw (5).
5. Assemble worm gear (6) on ball screw (5). For
counterbored worm gears, face counterbore
Figure 2-2. Ball Nut Storage Arbor