Figure 9: rc-53d labels setup, Table 4: the commands configuration, As defined in table 4 – Kramer Electronics RC-53D User Manual
Page 12
Operating the RC-53D K-NET™ Auxiliary Control Panel
9
9
7
Operating the RC-53D K-NET™ Auxiliary Control Panel
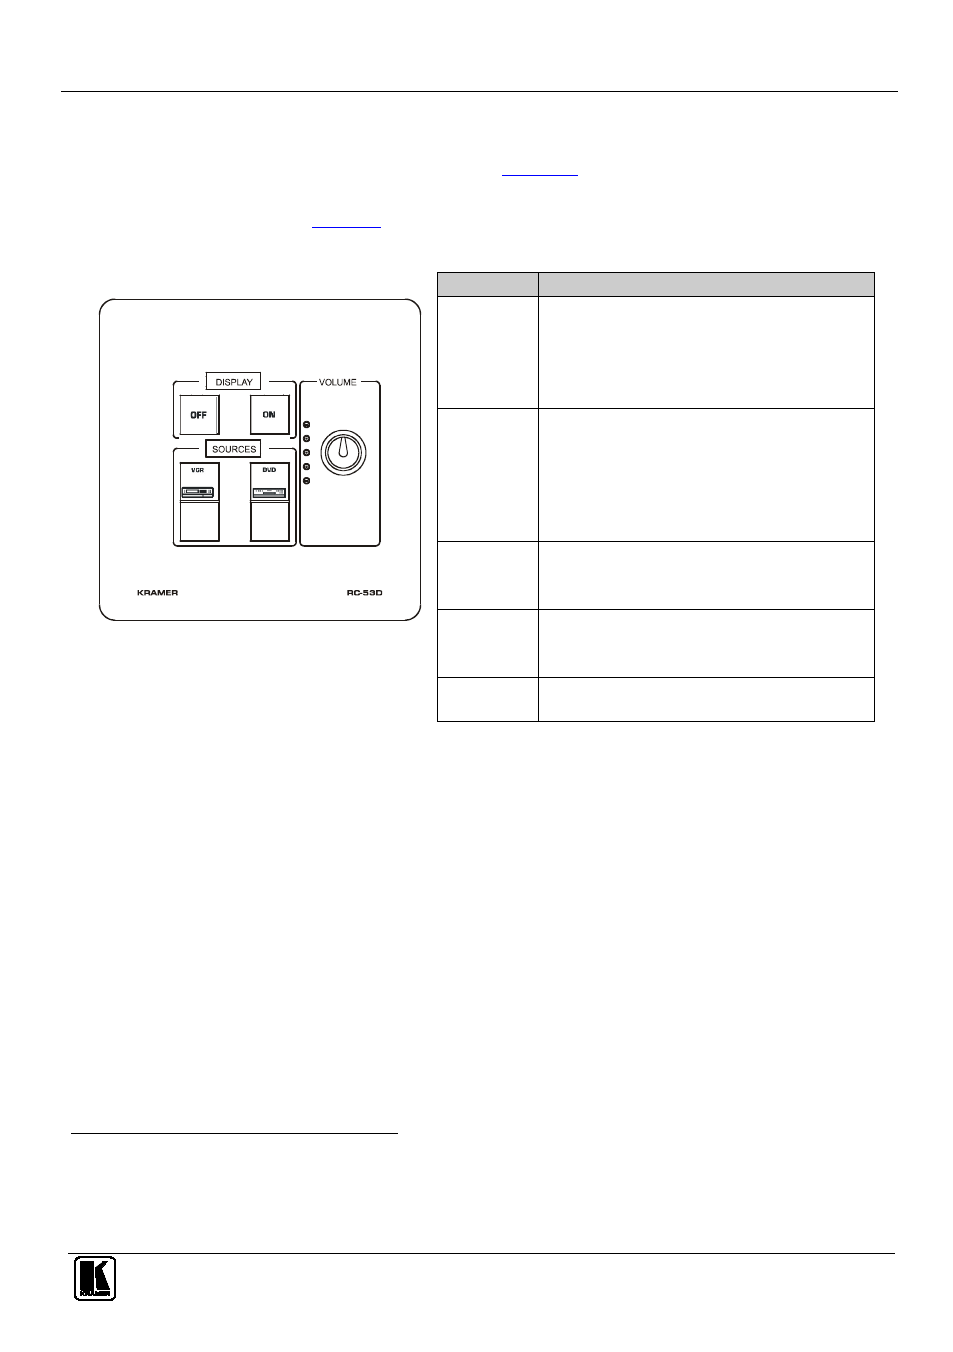
In the following example
1
), the auxiliary control panel is
labeled with specific functions and each button is programmed
2
to perform several
tasks
3
Table 4: The Commands Configuration
The Label
The Macro Sequence
Figure 9: RC-53D Labels Setup
ON
•
Power up the projector
•
Power up the DVD player
•
Roll down the projector screen
•
1 minute delay (for the projector to heat up)
•
The projector selects the DVD input
OFF
•
Power down the projector
•
Stop the DVD player
•
Power down the DVD player
•
Stop the VCR
•
Power down the VCR
•
Roll up the projector screen
DVD
•
Stop the video player
•
The projector selects the DVD input
•
Play the DVD
VCR
•
Stop the DVD
•
The projector selects the VCR input
•
Play the VCR
VOLUME
•
Use the VOLUME knob to adjust the audio
level
1 This is only one example among numerous possibilities, each button can be programmed as required. In this example, two buttons are
not assigned
2 By the technical installer
3 A macro sequence, including several commands per button, carried out one after the other