Dmx powerpanel, Installation & configuration – Pathway DMX PowerPanel Installation & Configuration User Manual
Page 3
PANEL CONFIGURATION
DMXPowerPanel
Installation & Configuration
Each breaker must have a DMX address assigned so that it will respond to DMX control. You can either set a 1-to-1
patch (DMX 1 = relay 1, DMX 2 = relay 2, etc.) or a custom patch where you define each breaker’s DMX address.
To configure the POWERLINK panel for DMX control, press either
Á or  to go to the CONFIGURATION Menu.
Press OK to EDIT PATCH. Note that a two pole breaker will take up two “spaces” in the breaker numbering scheme.
For example, if the first breaker in the panel is a two pole breaker, the second breaker will be breaker number three.
NOTE
As a security feature, the Interface Module will return to status display mode if 15 seconds pass without a
button being pressed. Any unsaved work will be lost.
1-TO-1 PATCH
1-to-1 is often useful for testing. From the EDIT PATCH Menu use the
à or Ä buttons to locate 1-TO-1 PATCH,
then press OK. You will be asked if you wish to discard the existing custom patch, since setting a 1-to-1 patch will
overwrite any existing patches. Press OK to continue. Next you will be asked to define the ‘start address’. In a
situation where there are other devices controlled by DMX (such as dimmers) you may wish to start the breaker
numbering at a number other than 1 in order to accommodate those other devices. Use the
à or Ä buttons to set the
DMX address for the first breaker. In 1-to-1 the rest of the breaker numbers will increment from that number. Press
OK to save the patch.
CUSTOM PATCH
To create your own patch that reflects the requirements of your facility, use the Custom Patch menu. Here you can
assign any valid DMX address to each breaker. If you wish, you may assign the same address to more than one
breaker, in effect ‘grouping’ them under a single control.
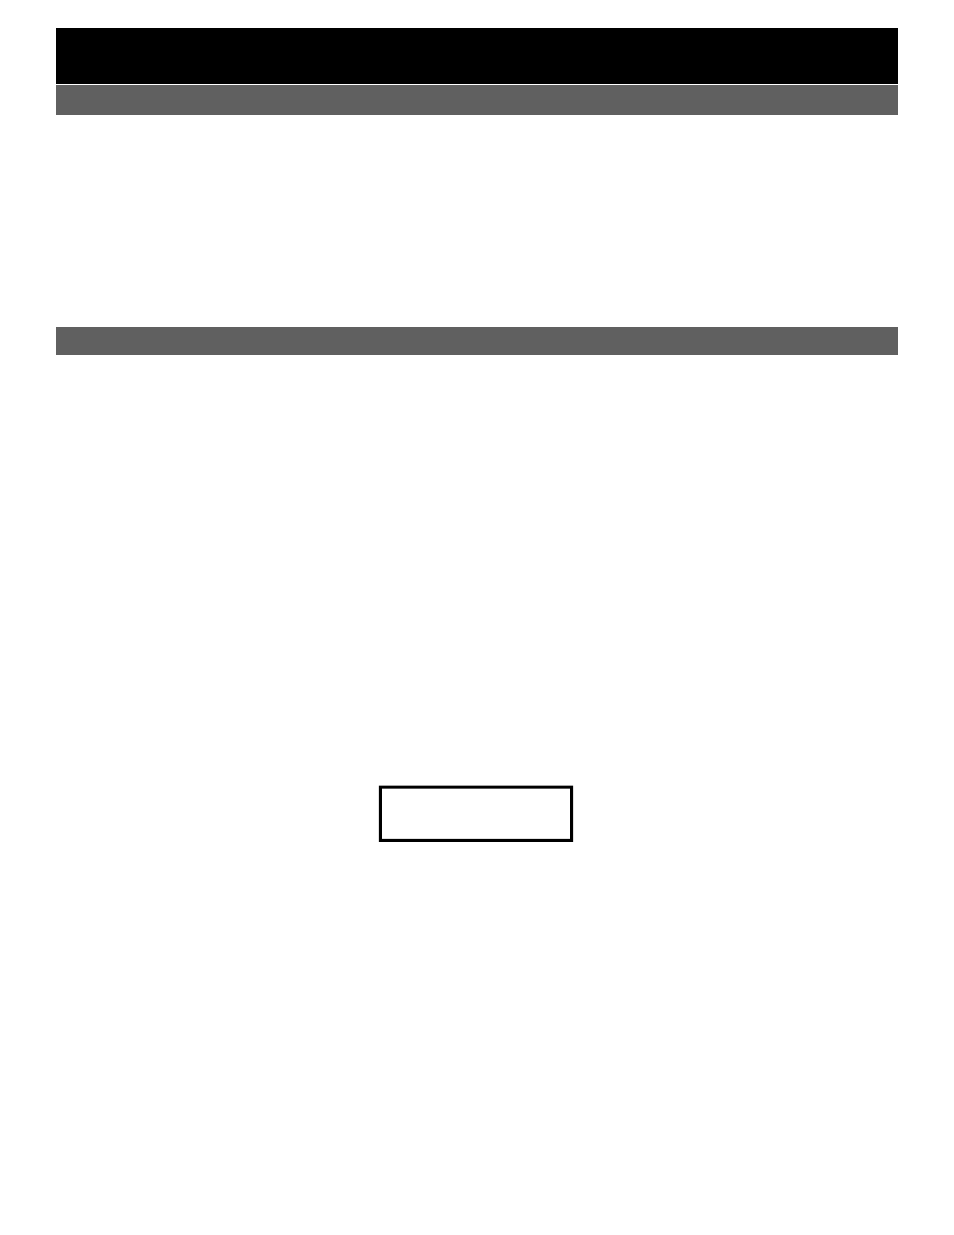
To create your patch, use the arrow keys to go to the CONFIGURATION menu, EDIT PATCH. Press OK. Use the
arrow keys to choose CUSTOM PATCH. Press OK. You should see something like this:
Use the
à or Ä buttons to select a breaker. Then press  to move the cursor to the DMX# field. Now use the à or
Ä buttons to select a DMX address. Once you have indicated the breaker/DMX relationship you want, press the Á
key to move on to the next breaker. If you do not wish a breaker to be under DMX control, set the address to 000.
When all breaker addresses have been set, press OK. You will be asked if you wish to SAVE CHANGES? Pressing
OK will overwrite any existing patch information.
REVIEW PATCH
If you need to review your patch configuration without then possibility of making any changes, use REVIEW PATCH
in the Configuration menu. Use the
à or Ä buttons to move through the breaker numbers. The DMX address set for
that breaker will be shown on the right under DMX#.
STATUS HOLD
In the event that DMX communication from your control system is lost, you have several options for DMX Power-
Panel action. The correct selection will depend on your application. Your options are:
MAINTAINED This will hold the relays in their current state, according to the last DMX information received, until the
DMX signal is restored. This is also referred to as ‘status quo’.
ALL ON
In this mode, all breakers will be turned on (unless tripped or switched off), regardless of their previ-
ous state, when DMX is interrupted.
ALL OFF
All breakers will be turned off when DMX is interrupted.
Status Hold is set in the CONFIGURATION menu.
BRKR# DMX#
01
000
3
STATUS MESSAGES
NO DMX INPUT
Check the DMX INPUT connection, check your DMX
source.
BRKRS: ALL ON
BRKRS: MAINTAINED
BRKRS: ALL OFF
These breaker status messages appear when the DMX
data feed has been interrupted (no DMX input) and indi-
cate what action has been taken as a result. See ‘Status
Hold’ for more information.
1 OR MORE BRKRS NOT RESPONDING
If breakers have been removed from control, this mes-
sage will appear. Breakers are considered to be re-
moved from control if they are tripped, in the ‘off‘ posi-
tion, or have the AUTO/MAN switch on the breaker in
the ’MAN’ position.
COMM ERROR
The communication link with the POWERLINK panel is
not working. Check the connections and power to the
POWERLINK panel.