Woodhead EB Balancer Series User Manual
Page 3
©Aero-Motive Sep-99
Page 3 of 5
SM113201B
•
If tension is reduced to below the rated range, the automatic lock will engage and prevent the cable
drum from turning. Increase the tension until the automatic lock disengages.
•
If a spring should break, the automatic lock will engage to prevent the drum from rotating. The lock
will disengage when a new spring assembly (14) is installed and tension is applied. (See Spring
Replacement)
III. Service
A. Tool Replacement
1. Pull tool down to convenient height and lock drum by lifting manual drum lock lever (31).
WARNING:
To prevent serious injury, death or property damage, do not release manual drum lock lever
(31) without installing load on tool clip. Cable and tool clip will retract rapidly.
2. Install new tool and unlock drum by pulling manual drum lock lever (31) and folding it back to its
original position.
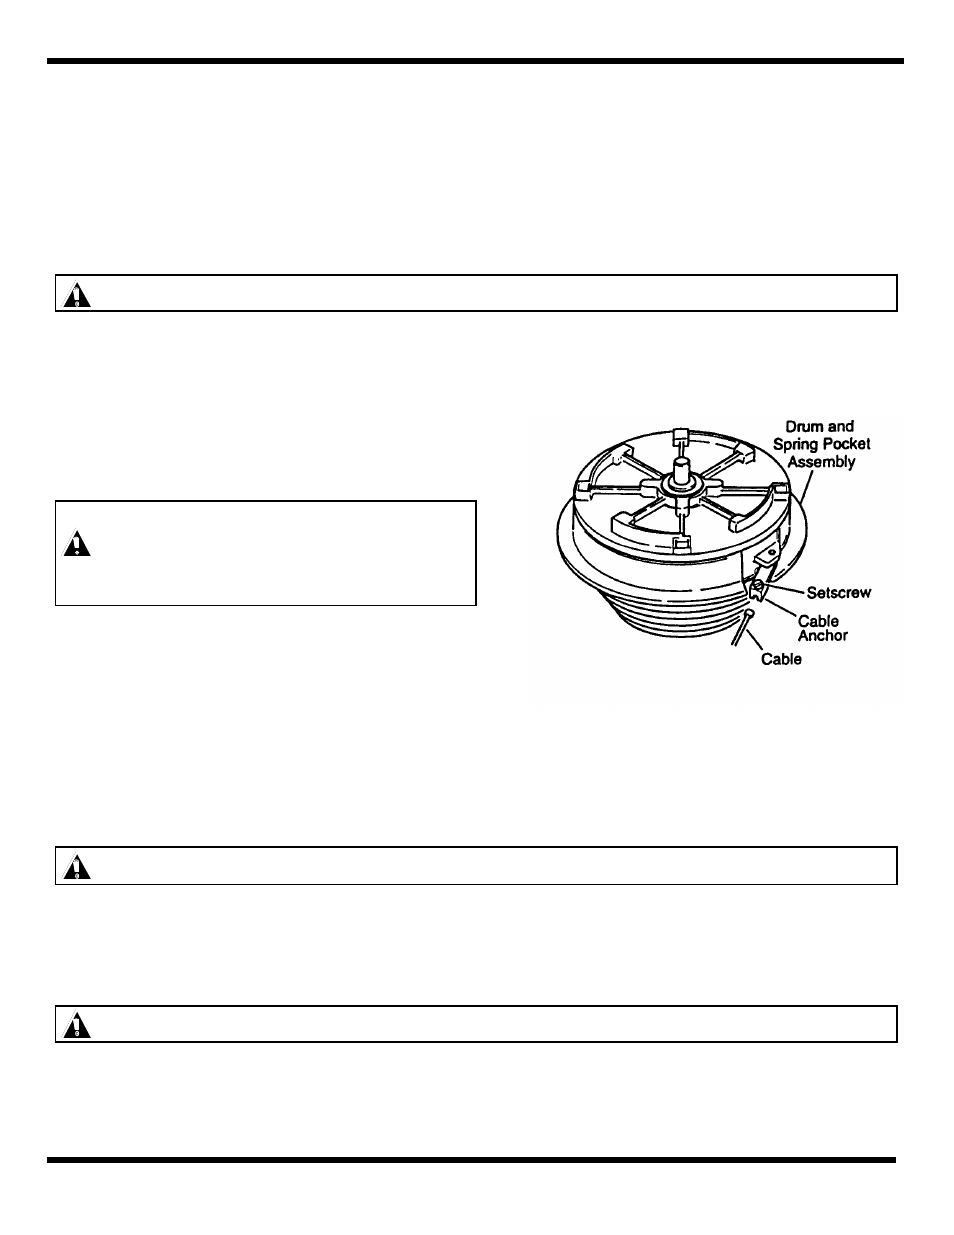
B. Cable Replacement
1. Pull tool down to full payout, exposing cable
anchor (41) in housing window.
2. Lock drum by lifting manual drum lock
lever (31) allowing drum lock shaft (34) to
engage drum.
WARNING:
To prevent serious injury, death
or property damage, do not
release drum lock lever (31)
without installing load on tool
clip. Cable and tool clip will
retract rapidly.
3. Remove tool from tool clip.
4. Swing cable anchor (41) out into housing window.
5. Loosen setscrew (42) in cable anchor.
6. Remove cable by pulling it through cable guide
(38).
7. Install new cable (40) by feeding it in through
cable guide (38) and out housing window.
8. Insert swaged end on cable into cable anchor (41).
9. Tighten setscrew (42).
10. Pull down on cable (40) until cable anchor (41) swings back into position.
11. Install tool onto tool clip.
12. Unlock drum by pulling manual drum lock lever (31) and folding it back to its original position.
CAUTION:
To help prevent personal injury or property damage, do not adjust mainspring tension until
tool and attachments are suspended from balancer.
C. Spring Assembly Replacement
1. Remove balancer from service.
2. Remove
all spring tension from balancer by turning wormgear (37) counter-clockwise.
3. Remove four screws (1 & 2) in cover, one screw (39) in cable guide, and rear case (4).
4. Remove four screws (13) and remove mainspring assembly (14).
WARNING:
To prevent serious injury, death or property damage, never remove spring from drum and
spring assembly. Replacement springs are sealed for safety.
NOTE: Auto stop (18) must be held out to release mainspring assembly (14).
5. Install replacement mainspring (7) in drum (11) by aligning auto-stop windows.
6. Reassemble screws and rear case in reverse order.