Battery low warning lamp, Clutch lock cover – Panasonic EY7411 User Manual
Page 9
- 9 -
Operation Display No. of
seconds
Following the
screw count,
screw driving
within the set
number of
seconds is
not counted.
30
3
seconds
1
0.1
second
0
OFF
● If is pressed, the time setting
saved from the previous setting is
displayed.
3. The settings are activated by press-
ing .
4. To prevent changes in the set values
due to operational errors.
ON
● Turn the HOLD switch
to ON.
To change the screw count while in
use
1. Release the hold switch.
. Adjust the count value with .
● The displayed number of screws
to be driven can be changed within
the range of the screw count val-
ues.
3. To prevent changes in the set values
due to operational errors.
ON
● Turn the HOLD switch
to ON.
■ While setting, if no operations are
conducted for 60 or more seconds
and when the battery is removed
● Operation for the set value be-
comes invalid.
Please reset the operational
values.
■ When batteries are changed while in
use
● When batteries are changed, the
count value is saved. Therefore,
the drill can be used continuously.
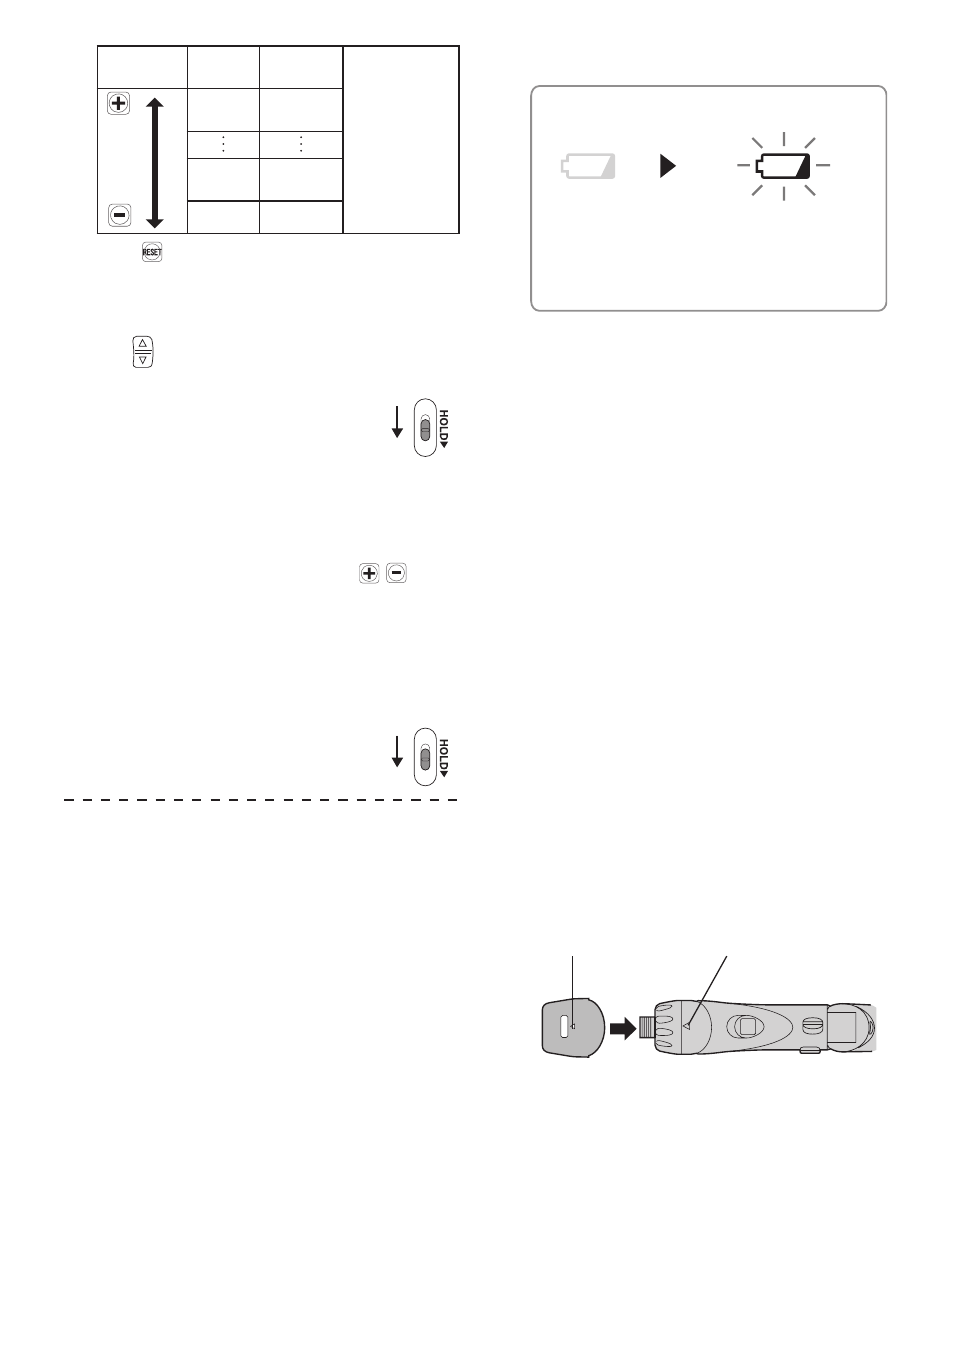
Battery Low Warning Lamp
Off
(normal
operation)
Flashing
(No charge)
Battery
protection
feature active
Excessive (complete) discharging of
Li-ion batteries shortens their service
life dramatically. The driver includes a
battery protection feature designed to
prevent excessive discharging of the
battery pack.
● The battery protection feature acti-
vates immediately before the bat-
tery loses its charge, causing the
battery low warning lamp to flash.
● If you notice the battery low warn-
ing lamp flashing, charge the bat-
tery pack immediately.
Clutch Lock Cover
The clutch lock cover allows you to
lock the clutch at the selected setting.
Attaching the cover
1. Select the appropriate clutch set-
ting for the application.
. Attach the clutch lock cover.
● Align the triangle mark on the
cover with the graduation selec-
tion mark on the drill and attach.
Triangle mark
Graduation selection
mark
Removing the cover
1. Grip the clutch lock cover with your
fingers on the mark and the bot-
tom of the cover, then push in and
twist to remove.