Sony KLV-S19A10 User Manual
Page 4
2
(US)
Tabletop
Stand
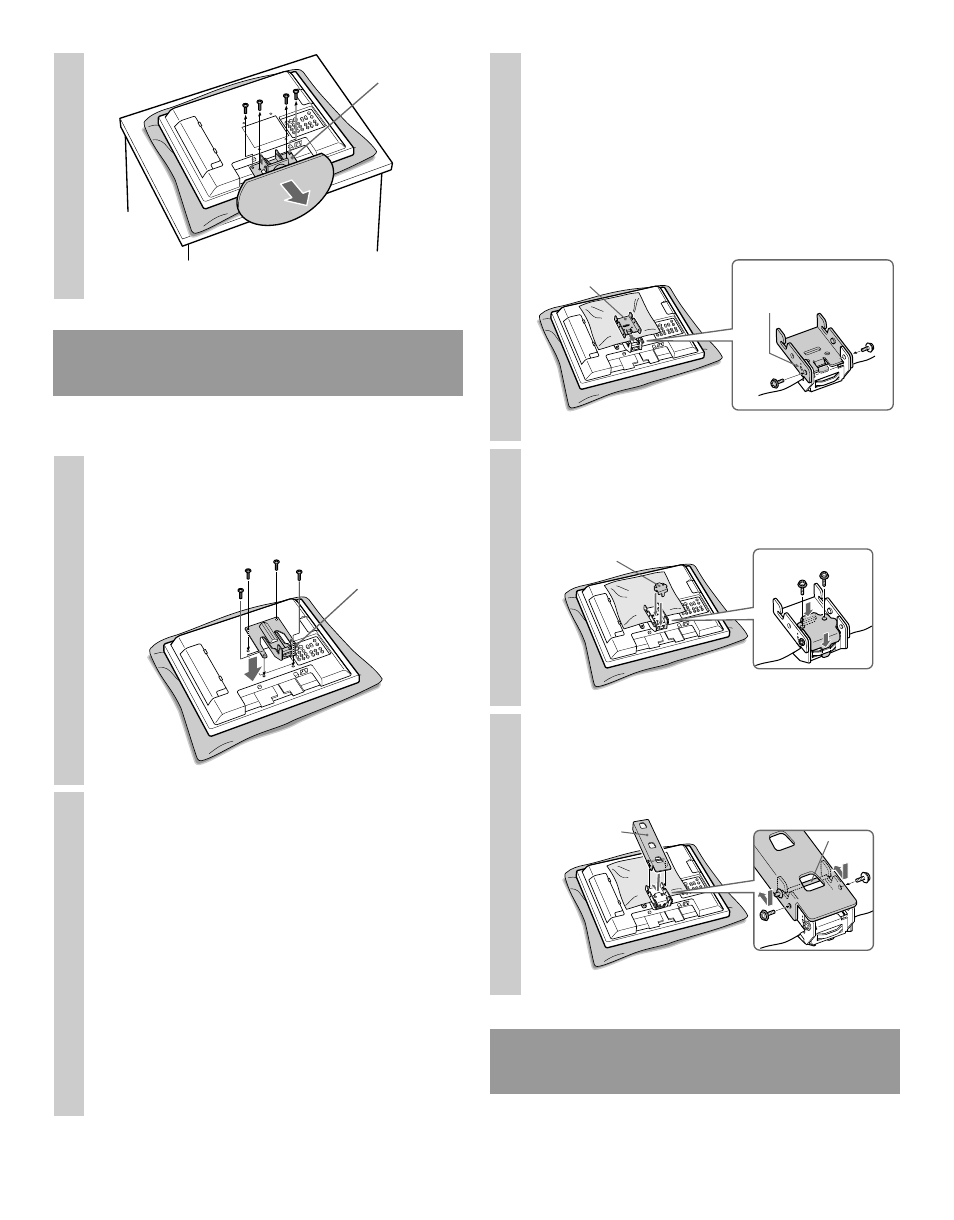
Step 5: Attach brackets B, C, D,
and E to the TV
Refer to the Instructions for the SU-WL11.
1
Attach bracket B to the TV.
Using the four screws which were removed in
Step 4, secure bracket B to the TV.
2
Connect the cables.
For details on the cable connection, refer to the
Operating Instructions for your TV.
Bracket E
3
Determine the mounting angle
then choose a bracket C that
corresponds to your desired angle.
Bracket C comes in three
different tilting angles. Attach
bracket C to B by using two of
the supplied screws.
4
Attach bracket D to bracket C,
and secure the brackets together
with two of the supplied screws.
5
Attach bracket E to bracket C,
and secure the brackets together
with two of the supplied screws.
Step 6: Secure the TV to the wall
Refer to the Instructions for the SU-WL11.
Bracket C
Bracket D
Shaft
The angle 0°, 5°, or 10° is
marked on the side of
bracket C.
Bracket B