Turning the screen all white, Adjusting the brightness of background of picture, Adjusting color matrix – Sony FWD-50PX1 User Manual
Page 91
41
(GB)
Screen Saver Function / Adjusting Color Matrix
Turning the screen all white
You can reduce after image and burn-in by turning the
screen all white for about 30 minutes.
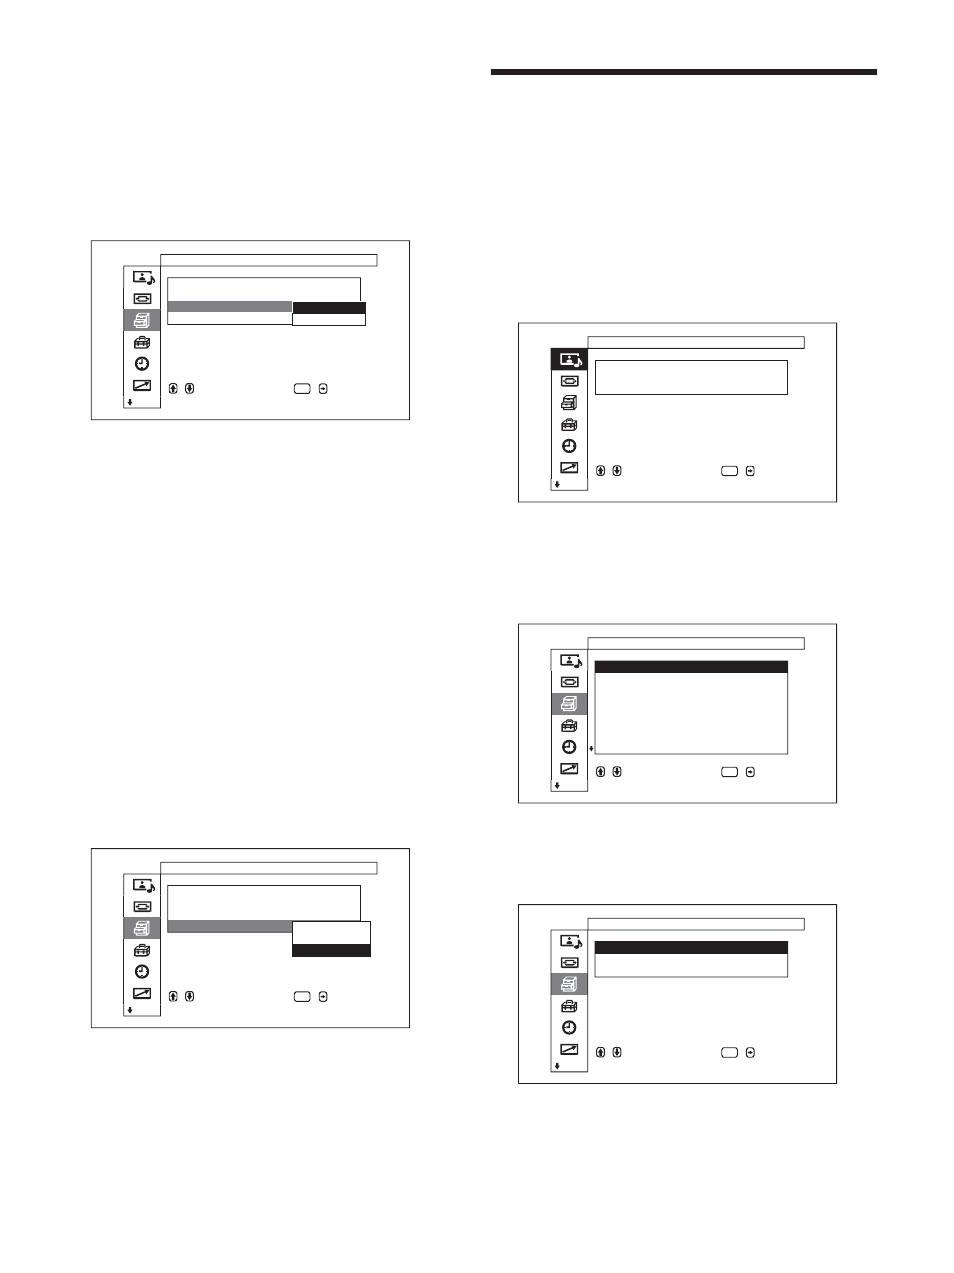
1
In the Screen Saver menu, press
M/m to move the
cursor (yellow) to “All White” and press ENTER.
The following menu appears on the display panel.
C u s t o m
S e t u p
S c r e e n
S a v e r
P i c .
I n v e r s i o n
:
O f f
P i c .
O r b i t
A l l
W h i t e
:
O f f
B a c k g r o u n d
:
B l a c k
s e t
,
t o
s e l e c t ,
,
t o
ENTER
O f f
O n
2
Select On with
M/m and press ENTER.
To cancel All White
Select Off in step
2
.
Adjusting the brightness of
background of picture
When Wide Mode set to 4/3, you may find an after
image or burn-in occuring in the area where the
picture (aspect ratio 4:3) separates from its
background (dark bands showing on both sides of the
picture).
You can reduce an after image or burn-in by adjusting
the brightness of background.
1
In the Screen Saver menu, press
M/m to move the
cursor (yellow) to “Background” and press
ENTER.
The following menu appears on the display panel.
C u s t o m
S e t u p
S c r e e n
S a v e r
P i c .
I n v e r s i o n
:
O f f
P i c .
O r b i t
A l l
W h i t e
:
O f f
B a c k g r o u n d
:
B l a c k
s e t
,
t o
s e l e c t ,
,
t o
ENTER
G r a y
D a r k
G r a y
B l a c k
2
Select the brightness of background with
M/m and
press ENTER.
Gray : Sets it much brighter.
Dark Gray : Sets it brighter.
Black : Sets it dark.
The lower the brightness contrast between the
picture and its background, the more reduction in
after image and burn-in may result.
Adjusting Color Matrix
The Color Matrix can be set so that pictures are
displayed in natural colors when the input from a
DVD player and so forth connected to the component
input adapter has a signal format of 480p (525p),
1080i (1125i) or 720p (750p).
1
Press MENU.
The main menu appears on the display panel.
,
t o
s e l e c t ,
,
t o
ENTER
P i c t u r e / S o u n d
C o n t r o l
P i c t u r e
M o d e
: S t a n d a r d
A d j u s t
P i c t u r e
A d j u s t
S o u n d
e n t e r
a d j .
m e n u
2
Press
M/m to move the cursor (yellow) to
“Custom Setup” and press ENTER.
The Custom Setup menu appears on the display
panel.
C u s t o m
S e t u p
P o w e r
S a v i n g
: S t a n d a r d
S p e a k e r
O u t
:
O n
C l o s e d
C a p t i o n :
D i s p l a y
:
O n
S c r e e n
S a v e r
C o l o r
M a t r i x
H D
M o d e
:
R G B
M o d e
:
P C
s e t
,
t o
s e l e c t ,
,
t o
ENTER
3
Press
M/m to move the cursor (yellow) to “Color
Matrix” and press ENTER.
The following menu appears on the display panel.
C u s t o m
S e t u p
4 8 0 p
:
Y / C B / C R
1 0 8 0 i
:
Y / P B / P R
7 2 0 p
:
Y / P B / P R
C o l o r
M a t r i x
s e t
,
t o
s e l e c t ,
,
t o
ENTER