Step 3: adjusting the picture position, Step 3: adjusting the picture, Position – Sony VPL-BW7 User Manual
Page 22
GB
22
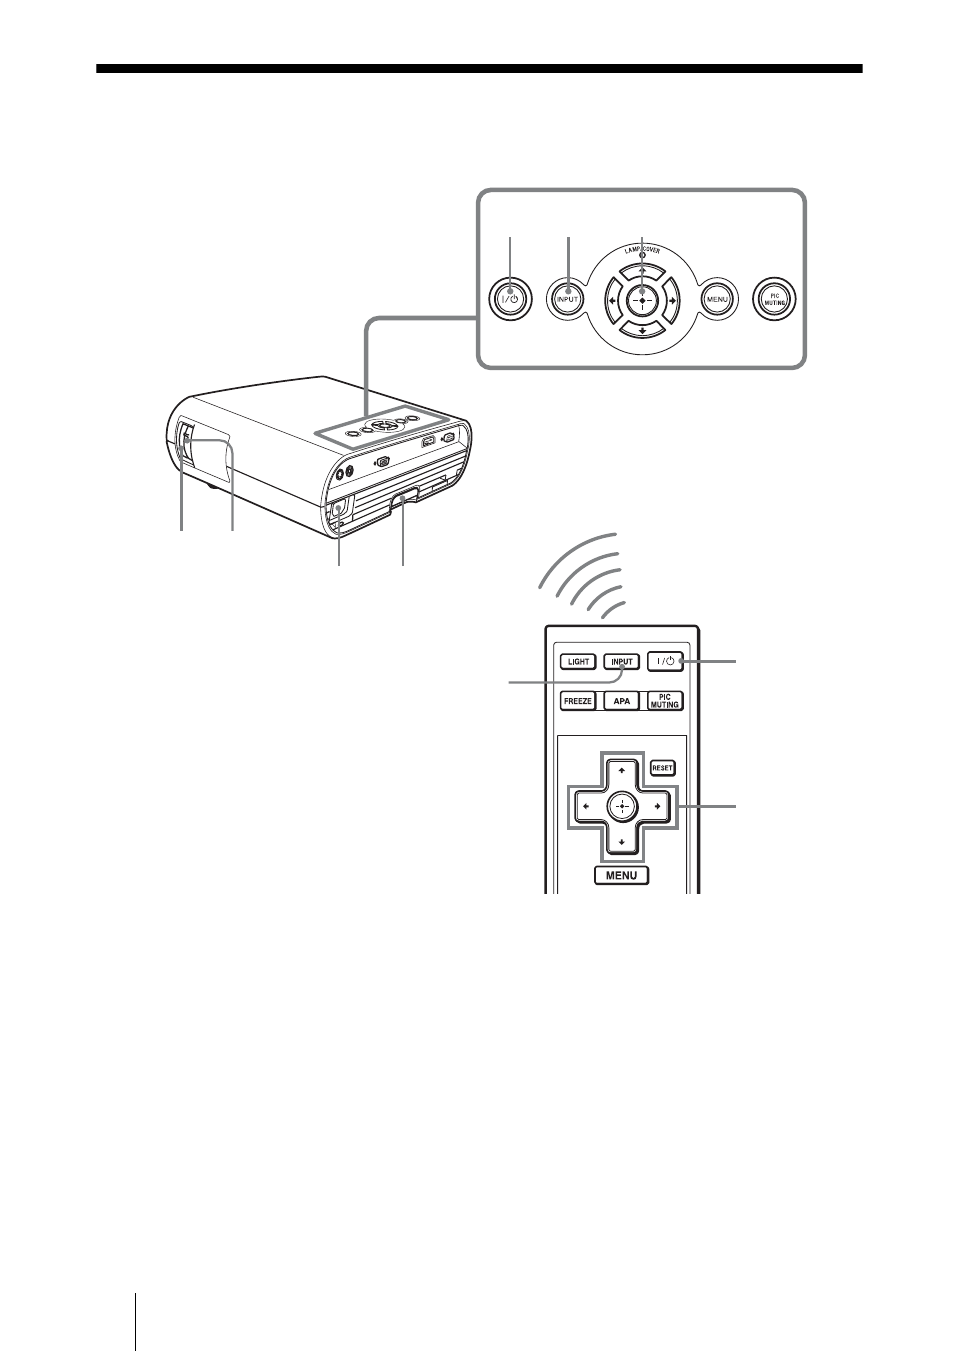
Step 3: Adjusting the Picture Position
Project an image on the screen and adjust the picture position.
1
After connecting the AC cord to
the projector, plug the AC cord
into a wall outlet, connect all
equipment, and remove the lens
cover.
The ?/1 (On/standby) switch lights in
red and the projector goes into standby
mode.
2
Press the
?
/
1
(On/standby)
switch to turn on the projector.
The ?/1 (On/standby) switch flashes in
green, then lights in green.
3
Turn on the equipment
connected to the projector.
Refer to the operating instructions of the
connected equipment.
4
Press INPUT to project the
picture on the screen.
Each time you press the button, the input
indication and equipment to be projected
change. (
1,2 4
7
8
2
4
1
5
6
6
See also other documents in the category Sony Home Theater Systems:
- HT-SL40 (44 pages)
- HT-SF800M (2 pages)
- DHC-FL7D (76 pages)
- DAV-S880 (84 pages)
- DHC-FL5D (76 pages)
- DHC-FL5D (224 pages)
- HT-SL40 (216 pages)
- HT-SL40 (2 pages)
- DAV-S550 (84 pages)
- DAV-LF1 (488 pages)
- DAV-LF1 (2 pages)
- DAV-LF1 (1 page)
- DAV-LF1 (116 pages)
- DAV-FC8 (92 pages)
- DAV-HDZ273 (92 pages)
- DAV-FR8 (1 page)
- DAV-FR8 (2 pages)
- DAV-FR8 (1 page)
- HCD-FR8 (108 pages)
- IZ1000W (88 pages)
- IPELATM PCS-HG90 (2 pages)
- BLU-RAY DISC BDV-T37 (80 pages)
- HT-DDW990 (2 pages)
- HT-DDW990 (80 pages)
- 4-130-029-13(1) (64 pages)
- HT-SS100 (2 pages)
- HDX267W (104 pages)
- RHT-G2000 (12 pages)
- HCD-HDX265 (1 page)
- DAV-DZ660 (116 pages)
- HT-1750DP (48 pages)
- HT-SF1200 (68 pages)
- HT-CT350 (180 pages)
- HT-CT350 (180 pages)
- HT-DDW890 (80 pages)
- HT-DDW790 (64 pages)
- DX255 (100 pages)
- 4-178-247-11(1) (76 pages)
- NHS-130C (3 pages)
- DAV-SR4W (108 pages)
- HT-SF1300 (72 pages)
- HCD-HDX267W (104 pages)
- DAV-DZ171 (76 pages)
- DAV-DZ170 (2 pages)
- DAV-DZ170 (76 pages)