Mounting in enclosure door – Campbell Scientific CD295 DataView II Dual Line Display User Manual
Page 22
DataView II (CD295) Dual Line Display
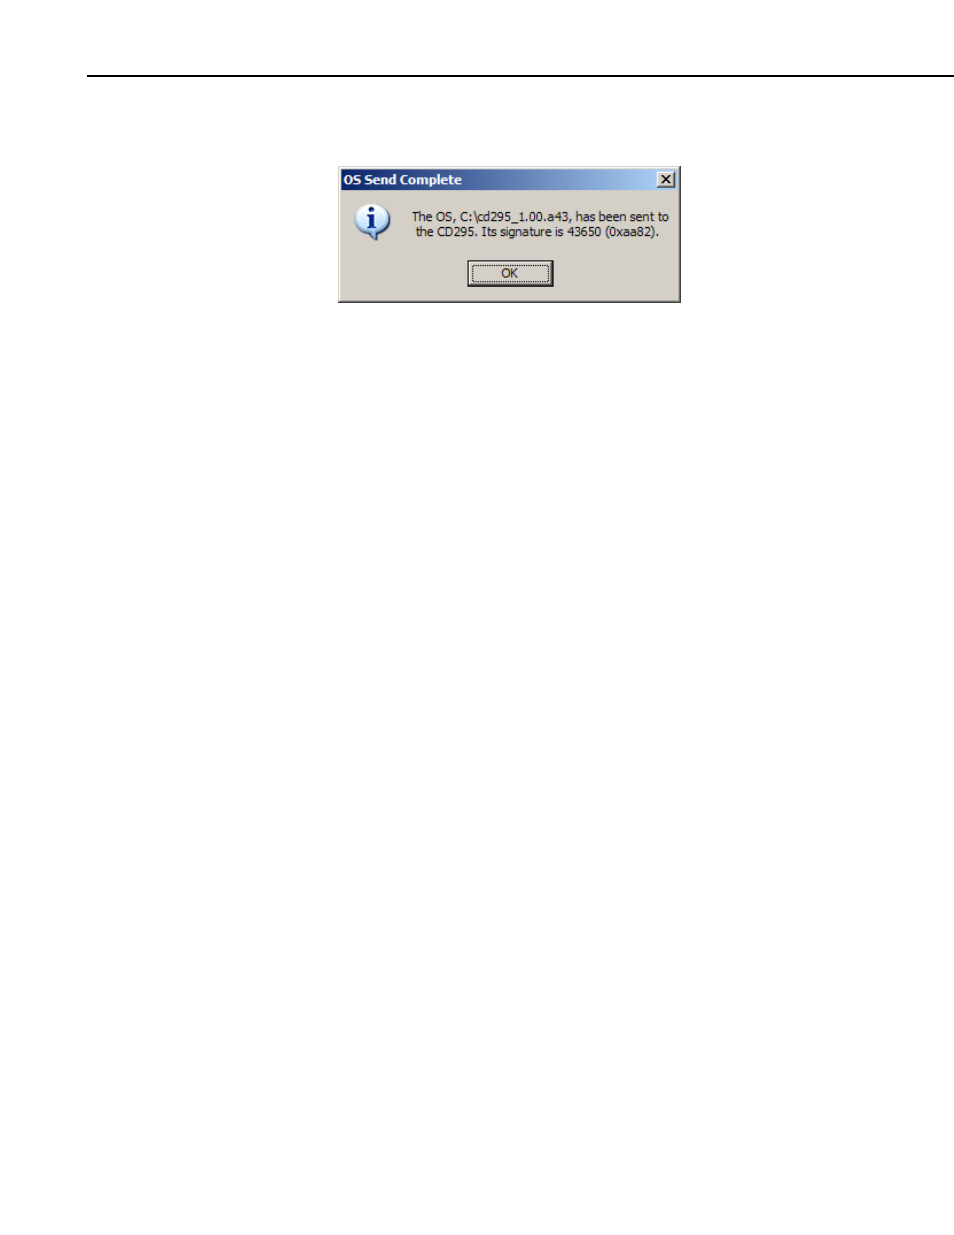
5. When the download is complete, DevConfig will display a popup to
confirm the success or to notify if there was an error.
6. Once the download is complete, disconnect power from the CD295 for at
least 30 seconds to ensure that it has been completely reset. After this, the
new operating system will run.
5. Mounting in Enclosure Door
If the DataView II will be exposed to the elements, it is important to fit the
CD295 door kit, as explained below.
1. Use the template provided to mark out the four mounting holes and cut-out
for the CD295.
2. Drill the four corner holes using a 4.5mm drill and cut out the mounting
hole using a jig-saw or nibbler.
3. Apply a thin coating of neutral-cure silicon sealant between the flange of
the CD295 and enclosure door.
4. Use the screws and nuts provided to attach the CD295. Insert the head of
the screw followed by a flat washer through the front of the CD295. On
the inside of the enclosure, fit the rubber o-ring washer then the second
flat washer followed by the dome nut.
5. If fitted, remove the nut, bolt and washers from the top-left mounting hole
of the CD295 front panel.
6. Remove the ‘nylock’ nut, stainless steel and rubber washers from the bolt
assembly fixed to the CD295 door. At this point, the Bolt assembly
holding tag should be exposed.
7. Insert the bolt assembly through the top-left mounting hole of the CD295
front panel
8. From the inside of the enclosure, fit the rubber washer, stainless steel
washer and ‘nylock’ nut onto the stainless steel bolt assembly.
9. After confirming that all hardware has been fitted in the correct order, tear
off the ‘Bolt Assembly Holding Tag’.
10. Tighten the ‘nylock’ nut until the black rubber washer is tightly
compressed.
18