Turning on the unit, Urning on the unit – Kenwood DNX7210BT User Manual
Page 6
10
10
11
T
urning On The Unit
The method of turning on is different depending on the model.
Press the
The unit is turned on.
●
To turn off the unit:
Press the
Press the
The unit is turned on.
●
To turn off the unit:
Press the
If it is your first time turning the unit on after installation, it will be necessary to perform
.
1
1
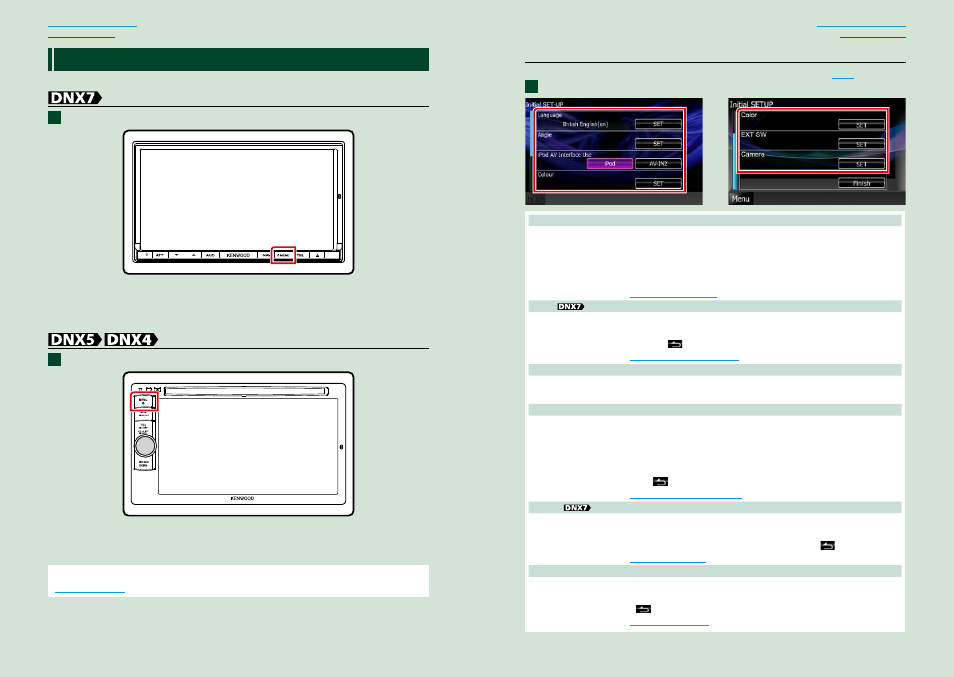
Initial setup
Perform this setup when you use this unit first time or when you reset the unit
.
Set each item as follows.
Language
Select the language used for the control screen and setting items. Default is “British English (en)” for
DNX7210BT/DNX5210BT/DNX4210BT and “Russian” for DNX5510BT.
1
Touch [SET].
2
Touch [
2] or [3] to select the desired language.
3
Touch [Enter].
Angle
Adjust the position of the monitor. Default is “0”.
1
Touch [SET].
2
Touch desired angle number and [
].
.
iPod AV Interface Use
Set the terminal which your iPod is connected to. Default is “iPod”.
1
Touch [iPod] or [AV-IN2].
Color
Set the screen and button illumination color. You can select whether to allow color scan operation or
select a fixed color for operation.
1
Touch [SET].
2
Touch [ON] or [OFF] of [Panel Color Scan].
3
If you want to change color, touch [SET] of [Panel Color Coordinate].
4
Touch your desired color and [
].
.
EXT SW
Control the external devices.
1
Touch [SET].
2
Set device name, output pattern, and pulse set for each device. Then, touch [
].
.
Camera
Set the parameters for the camera.
1
Touch [SET].
2
Set each item and touch [
].
1
Continued