Connecting to a ventilation duct, Installation instructions – ASKO T793 User Manual
Page 25
Connecting the exhaust duct to the Left
or Right Side Outlet
To connect the exhaust duct to the left or right
side outlet, follow the steps below:
1. Using a flathead screw-driver, turn the ex-
haust outlet cover you plan to use to the
right or left to align the tabs holding the
cover in place.
2. Remove the exhaust outlet cover.
3. Remove the stub pipe from the rear ex-
haust outlet and place it in the outlet you
plan to use.
4. Push the duct onto the stub pipe and se-
cure it with a clamp.
5. With the duct attached, insert the stub pipe
into the hole. It should snap into place.
6. After you push the dryer into place, check
for kinks in the duct.
7. Use the exhaust outlet cover you removed
from the to cover the rear exhaust outlet.
Warning!
To reduce the risk of fire, this appliance must
be exhausted OUTDOORS or the equivalent.
Never cover the end of the dryer stub or ex-
haust duct with anything to catch lint, except
for UL approved vent basket.
Connecting to a ventilation duct
You will need a UL-CSA-approved, 4-inch
ridged metal exhaust duct.
Note
The more bends and the longer the duct, the
less air will circulate through the machine,
which will impede drying performance. We
recommend that you cut off any excess ex-
haust duct and run the duct with as few bends
as possible. And make any necessary bends
as gentle as possible.
Note
Maximum duct length of 60 feet is allowed.
Subtract 4 feet of duct for each 90° elbow. If
more than 20 feet of duct is needed, the diam-
eter must be increased to 6” or 8” (152 mm
or 203 mm).
Note
When installing in warm climates (77° F and
above) with high humidity levels, do not route
the air exhaust duct upwards.
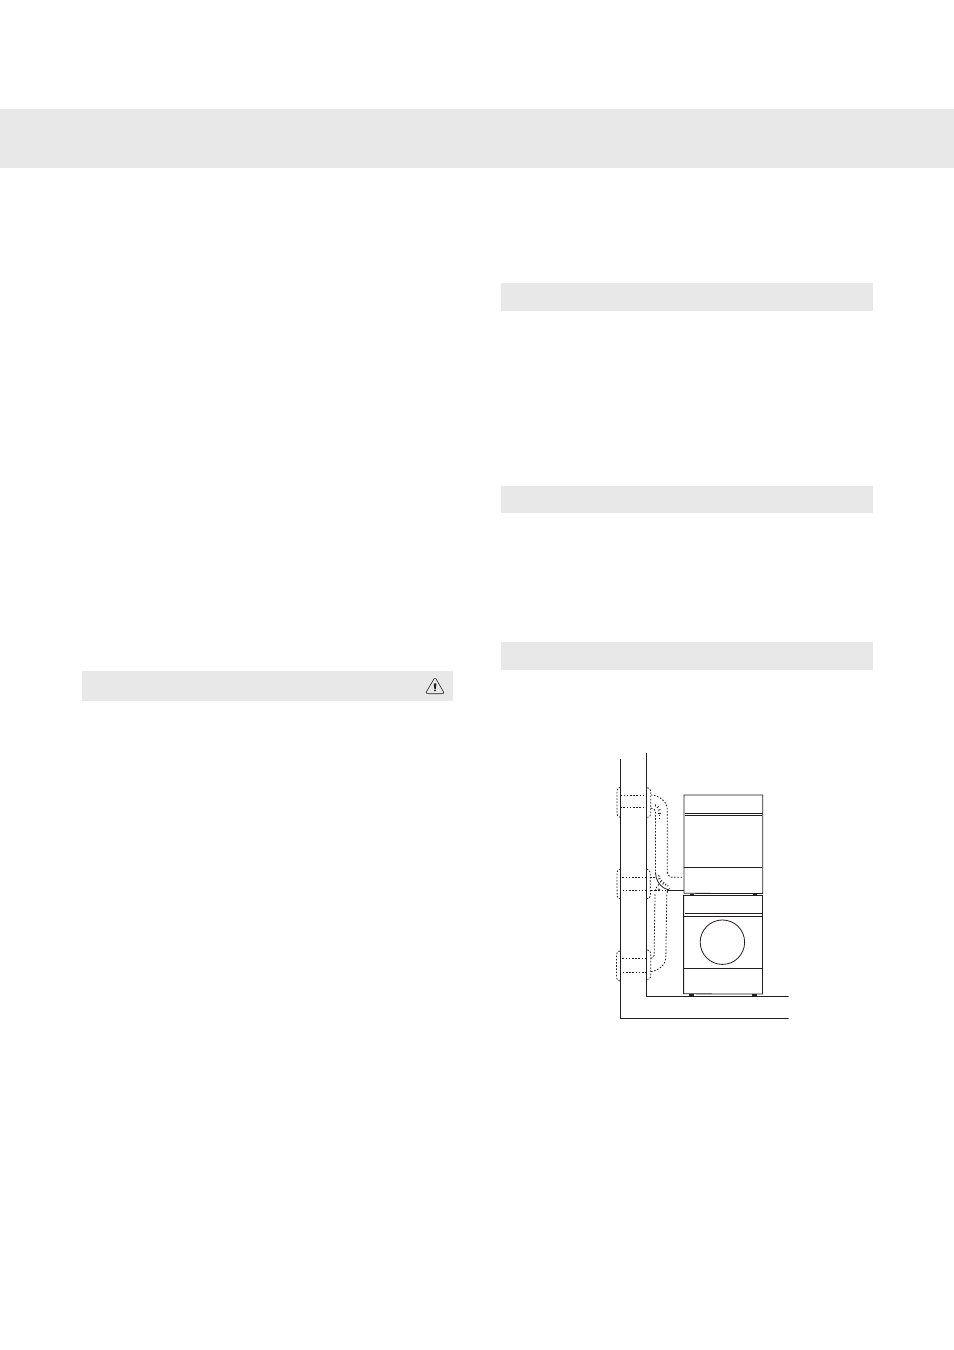
Examples of
installations
Subtract 4 feet
for every 90° el-
bow
25
Customer Care Center
1-800-898-1879
www.askousa.com
Installation instructions