Speedtech 68-74 Nova Torque Arm User Manual
Page 8
8 |
P a g e
There will be an approximate ¼” gap between the X member and the side plates.
This is to accommodate variances in the factory assembly. Make sure the X
member is centered and tack weld it in place so that it does not move. Now
assemble and test fit the entire rear suspension (see below) in order to make sure
everything is square and there is no interference between any parts. Do not skip
this part, it is vital to be sure all components fit correctly before the X member is
fully welded in.
Rear End Brackets
9” Ford
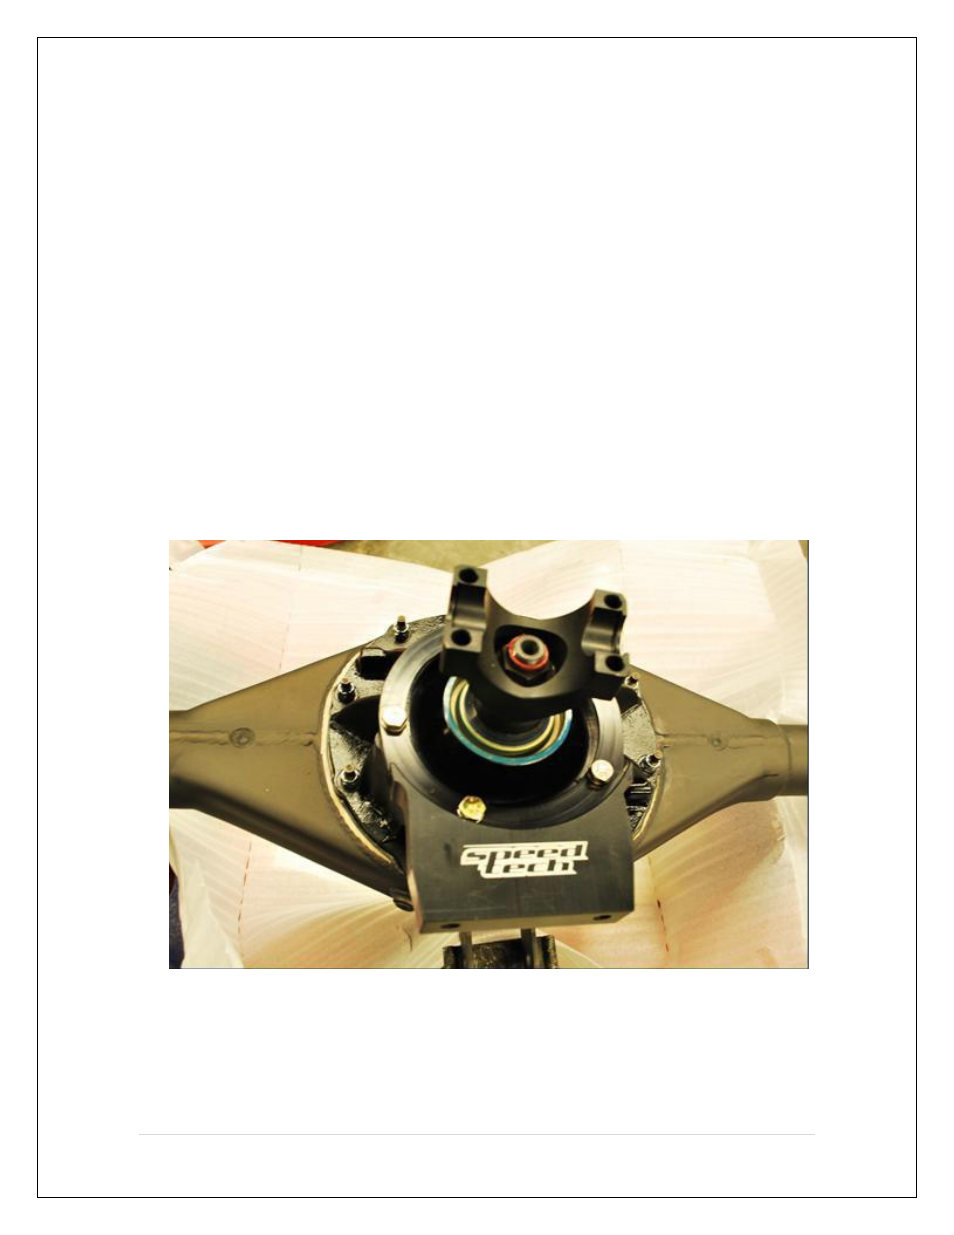
6A. The pinion mount is a straight bolt-on over the existing pinion support.
Remove the five original bolts, position the pinion mount, and reinstall using the
new hardware supplied with the mount. Note: This bracket is designed to work
with the original Ford pinion mount clocking position. Some aftermarket 9“ centers
have non-Ford clocking. Non-Ford pinion mount clocking WILL NOT WORK
CORRECTLY. Please verify that your center is correct. If you are not sure, please
contact your axle manufacturer before beginning the installation.
The two small lower rear Torque Arm mount tabs must be welded to the housing
as per the guidelines supplied with the bracket kit.