G. circuit breaker – Schumacher 1050-PE User Manual
Page 4
4
This battery charger is equipped with a self-resetting circuit
breaker. This device protects the charger from temporary over-
loads. In the event of an overload, the circuit breaker will trip
open and after a short cooling off period will reset automati-
cally. This process is known as cycling and can be recognized
by an audible clicking sound.
1.
Before charging any battery, make sure electrolyte (battery
liquid) in each cell is at correct level.
2.
Set Switch #2 in the OFF position.
3.
If the battery is being charged inside the vehicle, use
connection procedure outlined in Section E. Should the
battery be removed from the vehicle, follow the instructions
in Section C, (step 6) and Section F. Plug the power cord in
AC outlet.
4.
Set switch to desired charge position 2 amp or 10 amp.
NOTE: This battery charger is not automatic and can
overcharge a battery if permitted to operate for extended
periods of time.
Switch #1
Switch #1
2 Amp
10 Amp
Step 2
Step 4
123
123
123
Never place charger directly above battery being charged. Gases from battery could damage charger.
Never allow battery acid to drip on charger when reading specific gravity or filling battery.
Do not operate charger in a closed in area or restrict ventilation in any way.
Do not set battery on top of charger.
1.
Connect charger to battery following instructions given in
section K, steps 1-4.
2.
Plug charger into AC outlet, then move switch to the Engine
Start position.
3.
During extremely cold weather or when the battery is fairly
exhausted, charge the battery for approximately 10-15
minutes at the 10 amp rate before cranking the engine.
4.
Crank engine by turning the ignition key on (for 10 seconds
maximum time).
5.
If engine fails to start, let the battery charge for 3 more
minutes, then try the engine start again. DO NOT try to
START your vehicle with the charger WITHOUT THE
BATTERY as car damage may result.
1234
1234
1234
Engine
Start
Switch
#2
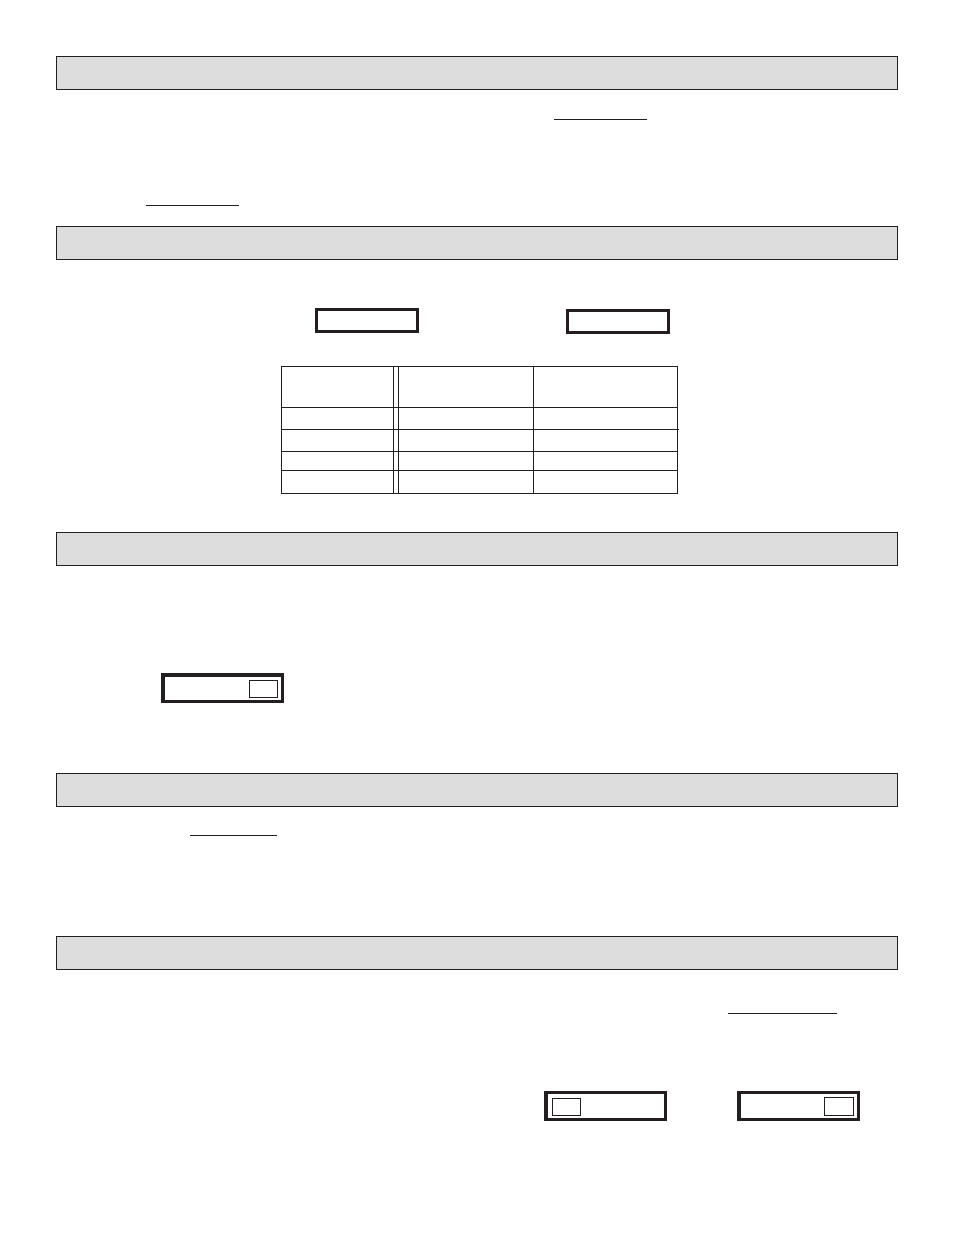
This model is equipped with two switches allowing the operator to select the ampere charge rate to a battery as follows:
Charge Rate
Switch #1
Switch #2
Settings
Positions
Positions
OFF
Either Position
OFF
2 Amp
2 Amp
Charge
10 Amp
10 Amp
Charge
50 amp Either Position Boost/Engine Start
2 Amp
SWITCH #1
10 Amp
Charge
SWITCH #2
Boost/
Engine
Start
1234
1234
OFF
G.
CIRCUIT BREAKER
NOTE: Clicking sound is normal. Wait until charger automati-
cally resets itself.
CAUTION: Persistent clicking (more than 30 minutes) may in-
dicate reverse connection or shorted battery cells.
H.
OUTPUT SELECTOR SWITCHES
I.
ENGINE START
J.
CHARGER LOCATION PRECAUTIONS
K.
BATTERY CHARGING