MBRP S7230304 User Manual
Page 4
S7230 © 10/11
PAGE 4 OF 4
Installation of MBRP Inc. Header Kit
Reference the chart at the bottom of this page for assembly torque
specs.
1. Install the OEM Manifold Gaskets onto the Cylinder Head with 4 of the
supplied M10 Bolts in the BOTTOM ROW ONLY on both sides.
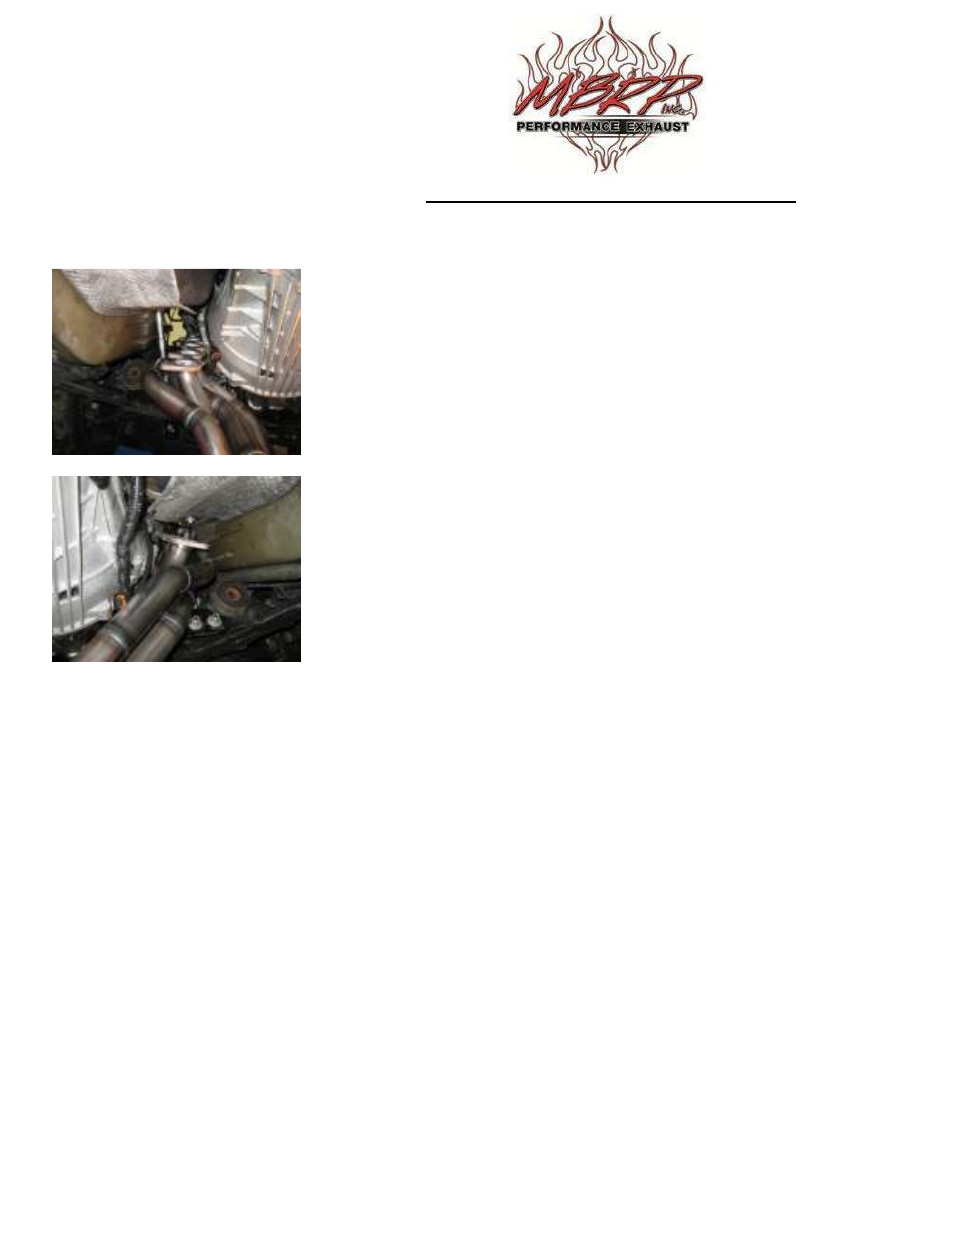
2. Install the MBRP Headers into position and lower them down
onto the bolts previously installed in the Cylinder Heads. The header
flange is slotted to allow this. Be careful not to damage the Gaskets
while installing the headers.
Refer to Figures 11 and 12.
3. Install the remaining M10 Bolts and tighten to 30 lb-ft. A 13mm ratchet
wrench will be extremely helpful with this step.
4. Reinstall the Aluminum Engine Mounts and torque to specification.
Lower the engine down onto the mounts, reinstall the nuts and torque to
specification.
5. Remove the OEM O2 Sensors from the Manifolds and transfer them to
the MBRP headers. Connect the O2 Sensors to the harness. Use wire ties
to secure the wiring away from the exhaust.
6. Reinstall the Steering Shaft, and Lower Chassis Brace. Torque to the specifications shown below.
7. Reinstall the Air Intake, Airbox Assembly, Battery, Battery Box, and the Strut Tower Brace.
Torque Specifications.
Aluminum Engine Mount to Block
41 lb-ft
Engine Mount Nut
46 lb-ft
Steering Shaft Pinch Bolt
35 lb-ft
Lower Chassis Brace
48 lb-ft
Congratulations! You are ready to begin experiencing the improved power, sound and driving excitement of your
MBRP Inc. performance headers. We know you will enjoy your purchase.
Figure 12
Figure 13