Smokers – MBRP UT3001 User Manual
Page 3
UT3001, UT4001 © 10/09
PAGE 3 OF 4
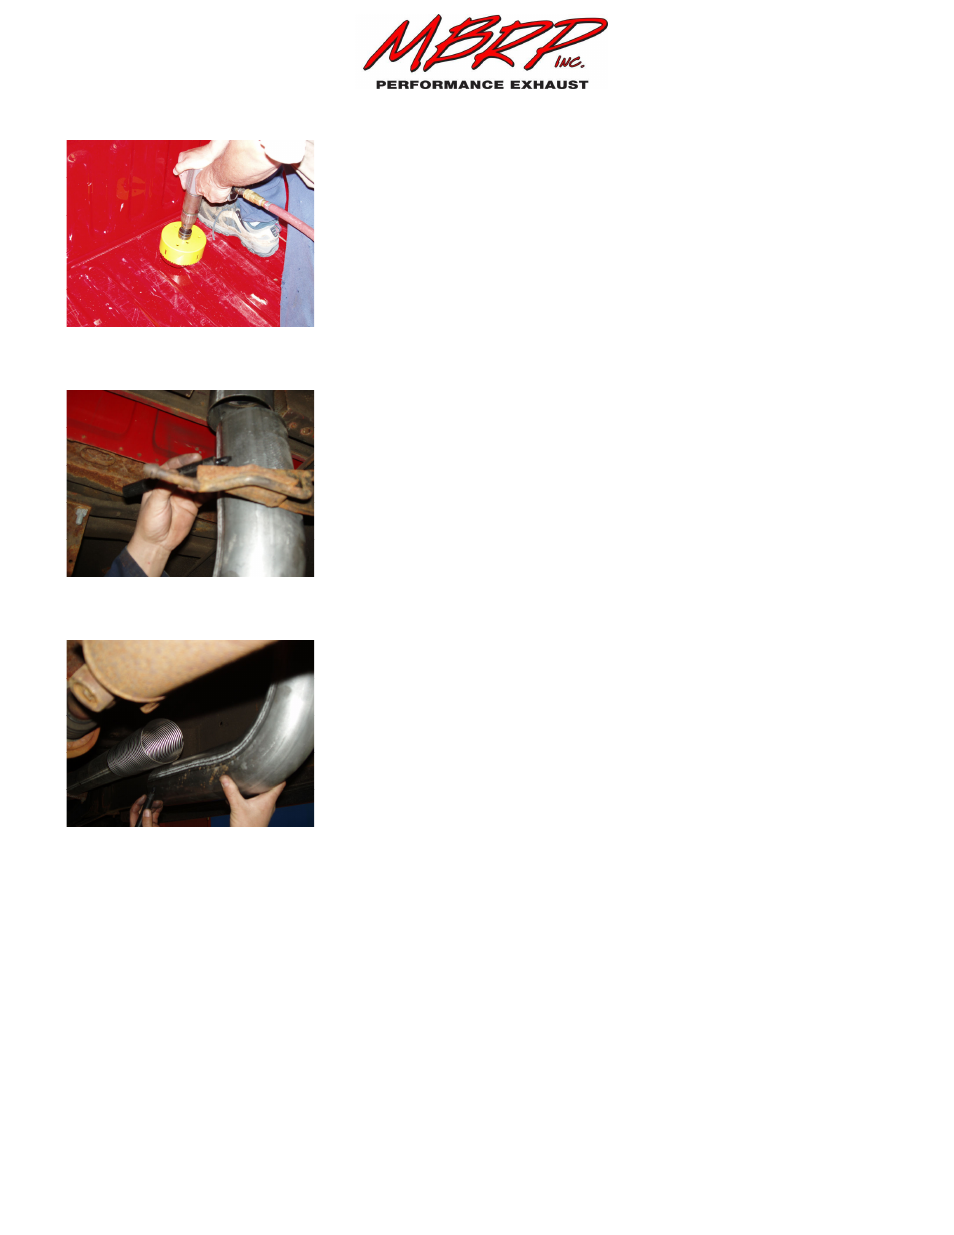
5.
Confirm the base of the Stack is resting in the same position as
in Step 4. Re-trace and center punch if needed. This is where the
Extension Pipe will pass through the floor. Remove the Stack
from the bed of the truck. Drill a hole using a 5” saw. It may be
required to cut a part of a bed floor rail away. Refer to Figure 4.
6.
Measure from the Extension Pipe slip joint to the exhaust
system that you are connecting to. Mark and cut the shorter side
of the Elbow to the required length so that it lines up with the
vehicle’s exhaust system. Cut the vehicle’s exhaust system in a
place where the Flex Pipe can be placed between the exhaust
system and the Elbow. It may be necessary to cut the Elbow
again as well as cut the Flex Pipe to ensure proper fit. Refer to
Figure 5.
7.
Attach the Elbow to the Extension Pipe slip joint and then
attach the Flex Pipe to both the Elbow and the vehicles exhaust
system. Be sure to slide the required Clamps over the 20”
Elbow and Flex Pipe before connecting it to the vehicle’s
exhaust system. Refer to Figure 6.
8.
Slide the Bed Mounting Bracket onto the Extension Pipe.
Install the assembly on the outlet of the Elbow with the required
Clamp. Reinstall the Stack by sliding the inlet over the
Extension Pipe and then securing the Stack to the Stack
Mounting Bracket with the Clamp supplied with your Stack.
Align the system and tighten all Clamps to ensure that your
““““
Smokers
Smokers
Smokers
Smokers
TM
TM
TM
TM
””””
exhaust system remains properly aligned.
9.
Slide the Bed Mounting Bracket to the desired position on the Extension Pipe to allow installation of
the mounting hardware. Ensure the Stack is vertical. Trace the Bed Mounting Bracket hole from the
bracket to the floor and drill a hole to accommodate the 3/8” hardware supplied. Secure the Bed
Mounting Bracket to the truck and tighten the Clamp to the Extension Pipe. This Clamp will ensure
the Stack remains in position and doesn’t vibrate.
Figure 4
Figure 5
Figure 6