2 installation, Pre-requisites, Installing the nonstop xml parser – HP Integrity NonStop H-Series User Manual
Page 8: Extracting the pax files, Pre-requisites installing the nonstop xml parser
2 Installation
This chapter describes the procedure to install and verify the NonStop XML Parser on NonStop
systems.
Pre-requisites
Before getting started, ensure that you have the following software installed on the NonStop system:
•
Open System Services (OSS) environment running a H06.27 or J06.16 RVU or later
•
c89 C++ compiler
•
OSS Core Utilities (T1202)
•
C++ runtime library version 2 and version 3
Installing the NonStop XML Parser
Installing the NonStop XML Parser on a NonStop system involves:
•
“Extracting the PAX files” (page 8)
•
“Verifying the extracted files” (page 10)
Extracting the PAX files
You can extract the PAX files to one of the following directories:
•
The OSS directory using DSM/SCM
•
A user-specified installation directory using DSM/SCM and PINSTALL
•
The OSS directory using the COPYOSS command
Extracting the PAX files to the OSS directory using DSM/SCM
Perform the following steps to extract the PAX files to the standard OSS directory (/usr/tandem/
xml/t0970h01
) using the Distributed Systems Management/Software Configuration Manager
(DSM/SCM):
1.
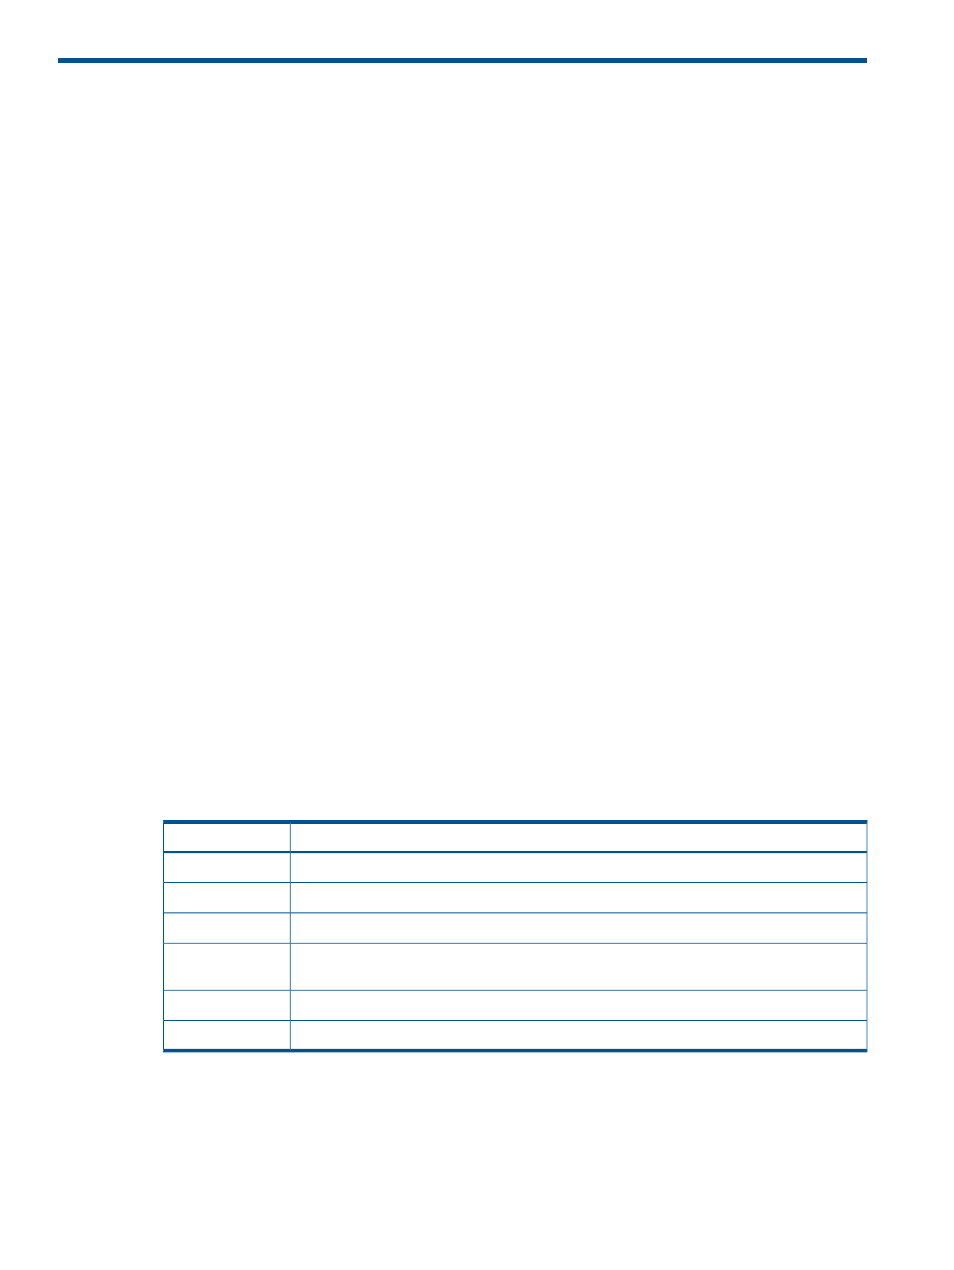
Obtain the following product files from the disk (distribution subvolume (DSV) locations) or
tape:
Contents of the PAX
PAX files
ICU samples, license information, ICU data, and ICU header files
ICUCPAX
ICU libraries and tools built with IEEE float and C++ libraries version2 and version3
ICUIPAX
ICU libraries and tools built with Tandem float and C++ libraries version2 and version3
ICUTPAX
Xerces-C++ samples, license information, Xerces-C++ documentation, and Xerces-C++ header
files
XERCPAX
Xerces-C++ libraries built with IEEE float and C++ libraries version2 and version3
XERIPAX
Xerces-C++ libraries built with Tandem float and C++ libraries version2 and version3
XERTPAX
2.
In the DSM/SCM planner interface, select the Manage OSS Files option for the target
configuration.
8
Installation