Adjusting the sound operation – Alpine CDA-7878R User Manual
Page 34
32
-EN
Adjusting the Sound Operation
→
→
→
←
←
←
High
range∗
(R)
High
range (L)
Mid range
(R)
Low range
(L)
Low range
(R)
Mid range
(L)
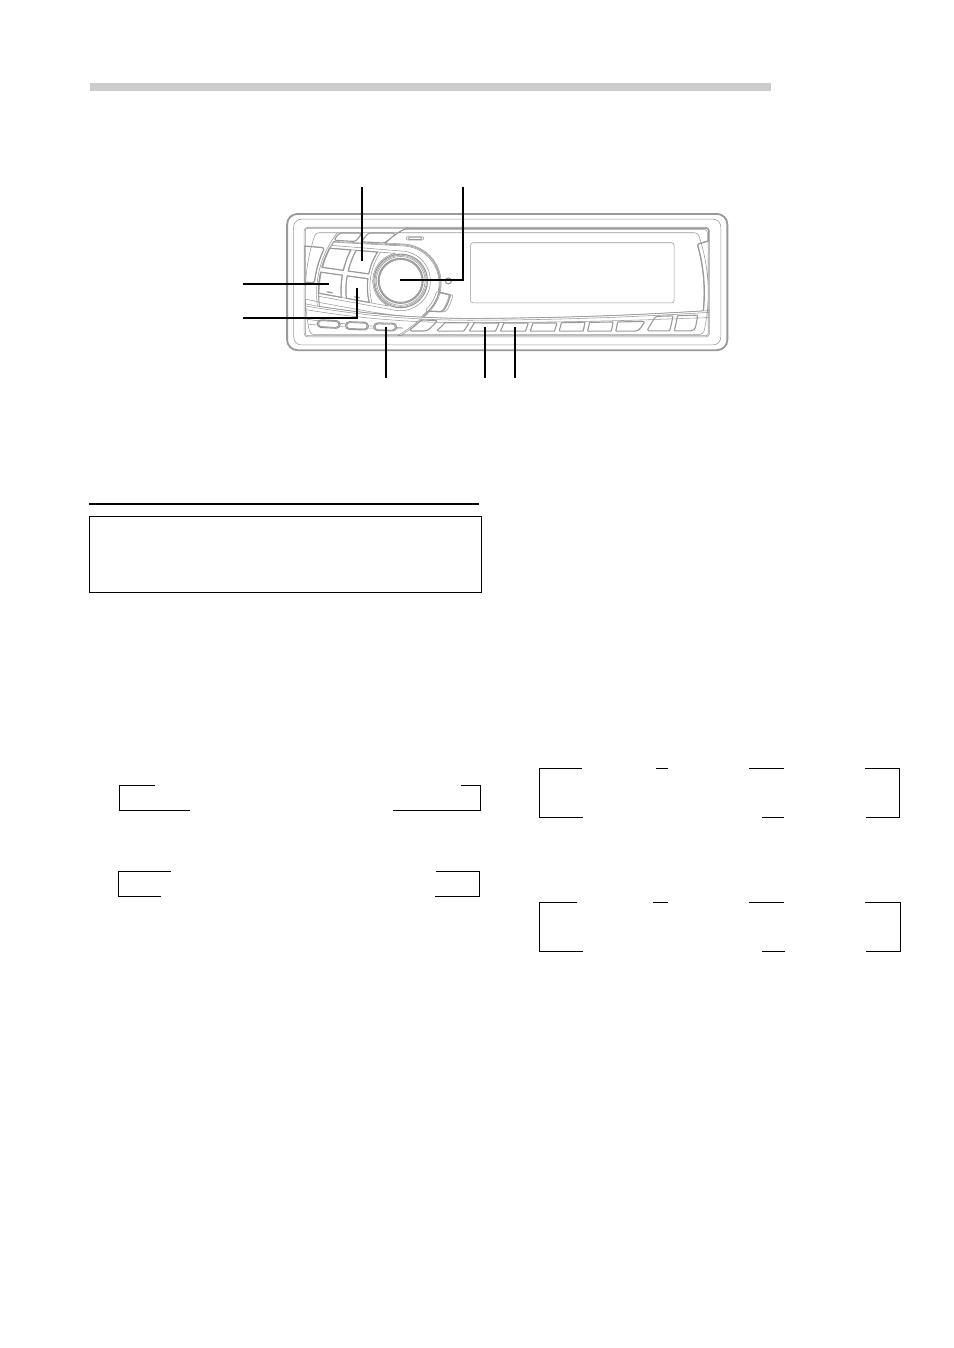
BAND
MODE/Audio Control
f UP
g DN
DIVIDER
1
2
→ Low range (LPF) → Front High range (HPF)
Rear High range (HPF)
∗ ←
4
Rotate the Audio Control knob to adjust the
slope.
Slope can be adjusted to FLAT, 6, 12, 18, or 24
db/oct.
5
To adjust another channel, repeat steps 2 to 4.
When the adjustment is completed, press the
DIVIDER button.
Adjust the output level
6
Press the BAND to select the channel to be
adjusted.
2 way system
3 way system
∗ Press the MODE button to switch to the Time
Correction Adjusting mode.
7
Rotate the Audio Control knob (Rotary
encoder) to adjust the output level.
You can adjust the level from –12 to 0.
8
To adjust another channel, repeat the steps 6 to
7, then press the DIVIDER button.
→
→
→
Low
range (L)
Low
range (R)
Front high
range (L)
Rear high
∗
range (R)
Rear high
range (L)
Front high
range (R)
←
←
←
Adjusting and Storing the Crossover/
Time Correction
Before performing the following procedures, refer
to “Crossover” (page 30) and “Time Correction”
(page 31).
1
Press and hold the DIVIDER button for at least 2
seconds.
Adjust the cut-off frequency/slope
2
Press the BAND button to select the channel to
adjust.
2 way system
3 way system
∗ Press the MODE button to activate the Output
Level-adjusting mode.
3
Press the g DN or f UP button to select
the desired cut-off frequency point (cross over
point).
2 way system
You can select the frequency from 20 Hz to 200
Hz (1/3 octave step) for each channel.
3 way system
Low range (LPF) /Mid range (HPF):
You can select the frequency from 20 Hz to 200
Hz (1/3 octave step).
Mid range (LPF) /High range (HPF):
You can select the frequency from 20 Hz to 20
kHz (1/3 octave step).
High range (HPF)∗ ← Mid range (LPF) ←
→ Low range (LPF) → Mid range (HPF)