Asus P7F-M User Manual
Page 122
5-28
Chapter 5: RAID configuration
2.
Enter a name for the recovery set and press
3.
When the
RAID Level item is selected, press the up/down arrow key to select
Recovery, and then press
4.
When the
Disks item is selected, press
you want to include in the recovery set. The
SELECT DISKS screen appears.
5.
Use the up/down arrow key to select a drive, press
disk, and then press
marks the selected drive. Press
6.
When the
Sync item is selected, use the up/down arrow key to select a sync
option that you want and press
7.
When the
Create Volume item is selected, press
warning message appears.
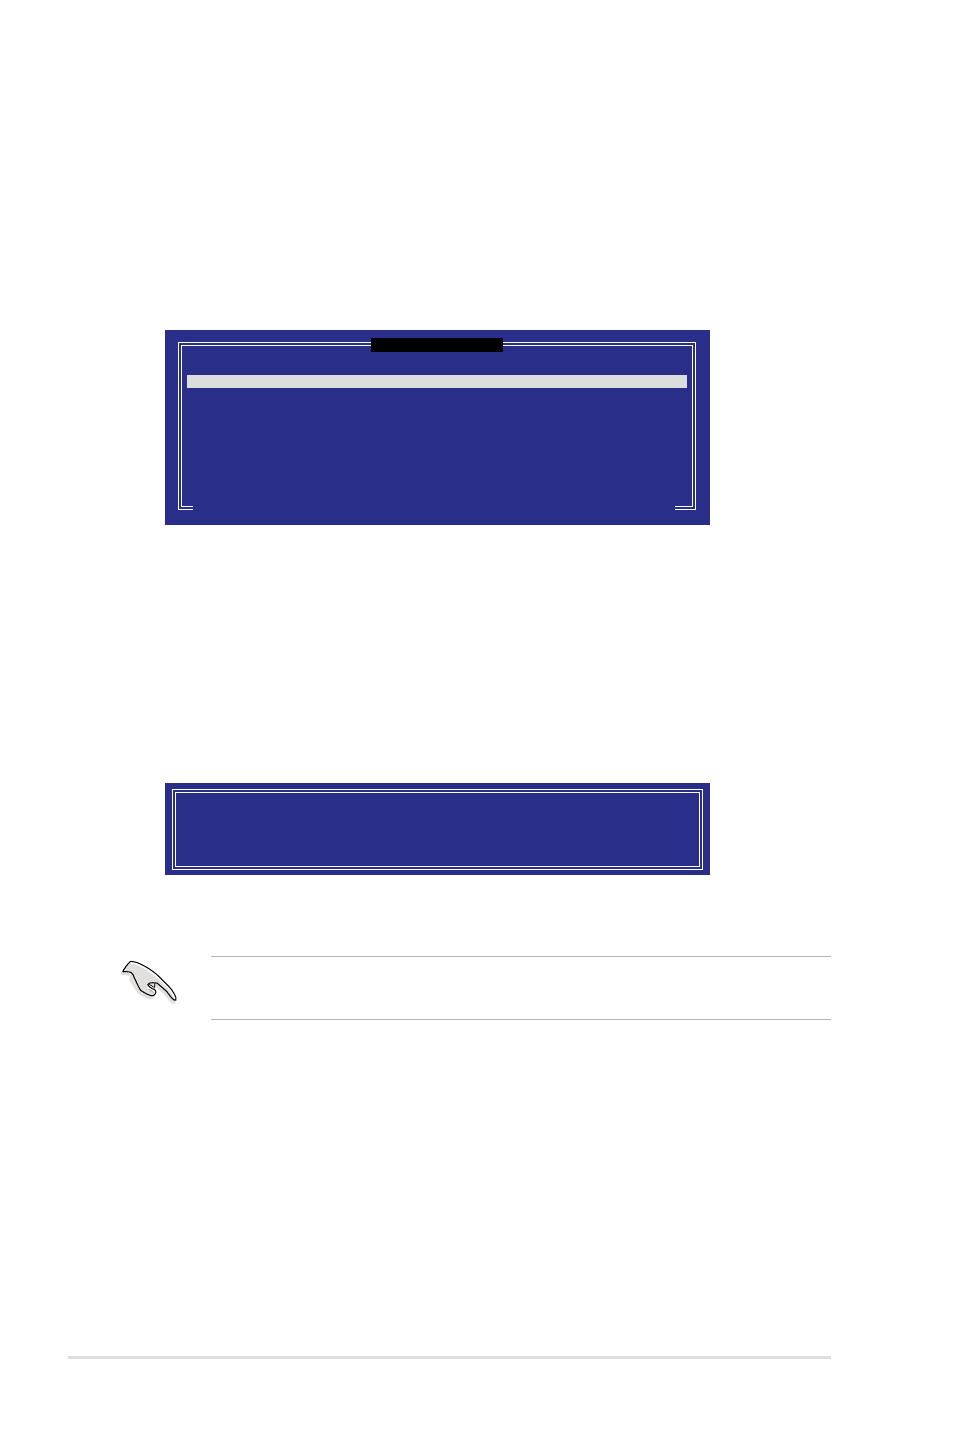
[ SELECT DISKS ]
Port Drive Model Serial # Size Status
0 ST3160812AS 9LS0HJA4 149.0GB Non-RAID Disk
1 ST3160812AS 9LS0F4HL 149.0GB Non-RAID Disk
2 ST3160812AS 3LS0JYL8 149.0GB Non-RAID Disk
3 ST3160812AS 9LS0BJ5H 149.0GB Non-RAID Disk
Select 1 Master and 1 Recovery disk to create volume.
[↑↓]-Prev/Next [TAB]-(M)aster [SPACE]-(R)ecovery [ENTER]-Done
WARNING: ALL DATA ON SELECTED DISKS WILL BE LOST.
Are you sure you want to create this volume? (Y/N):
8.
Press
go back to the
CREATE VOLUME menu.
If a recovery set is created, you cannot add more RAID sets even when you
have more non-RAID disks installed in your system.