ATON STORM A83C User Manual
Page 11
© 2007 • All rights reserved. 9
Storm Series LCR Theater Speakers
Mounting Rough-In Brackets
Once the mounting locations are decided upon, assemble the brackets and secure them to the
ceiling joists or wall studs using fl at-head screws or heavy-duty staples (see the ATON Ceiling/In-
Wall Rough-In Brackets Manual for detailed steps).
Retro-Fit
Retro-fi t installations are more diffi cult to complete than pre-construction because walls and
ceilings are intact. Typically wires must be fi shed into position through walls, fl oors and ceil-
ings. Holes must be cut and speakers mounted directly in the ceiling or walls with no rough-in
brackets.
Note: Before cutting holes in any existing wall or ceiling surface, probe the cavity behind
each speaker’s installation location for obstructions!
Cutting Speaker Openings in Ceiling or Wall - No Rough-in Brackets
1. Use a stud fi nder to locate the studs around the intended speaker location.
Note: A stud-fi nding device may not detect pipes, wiring, or other obstructions
located behind the drywall.
2. Use the inside portion of the speaker cutout template to confi rm speaker placement.
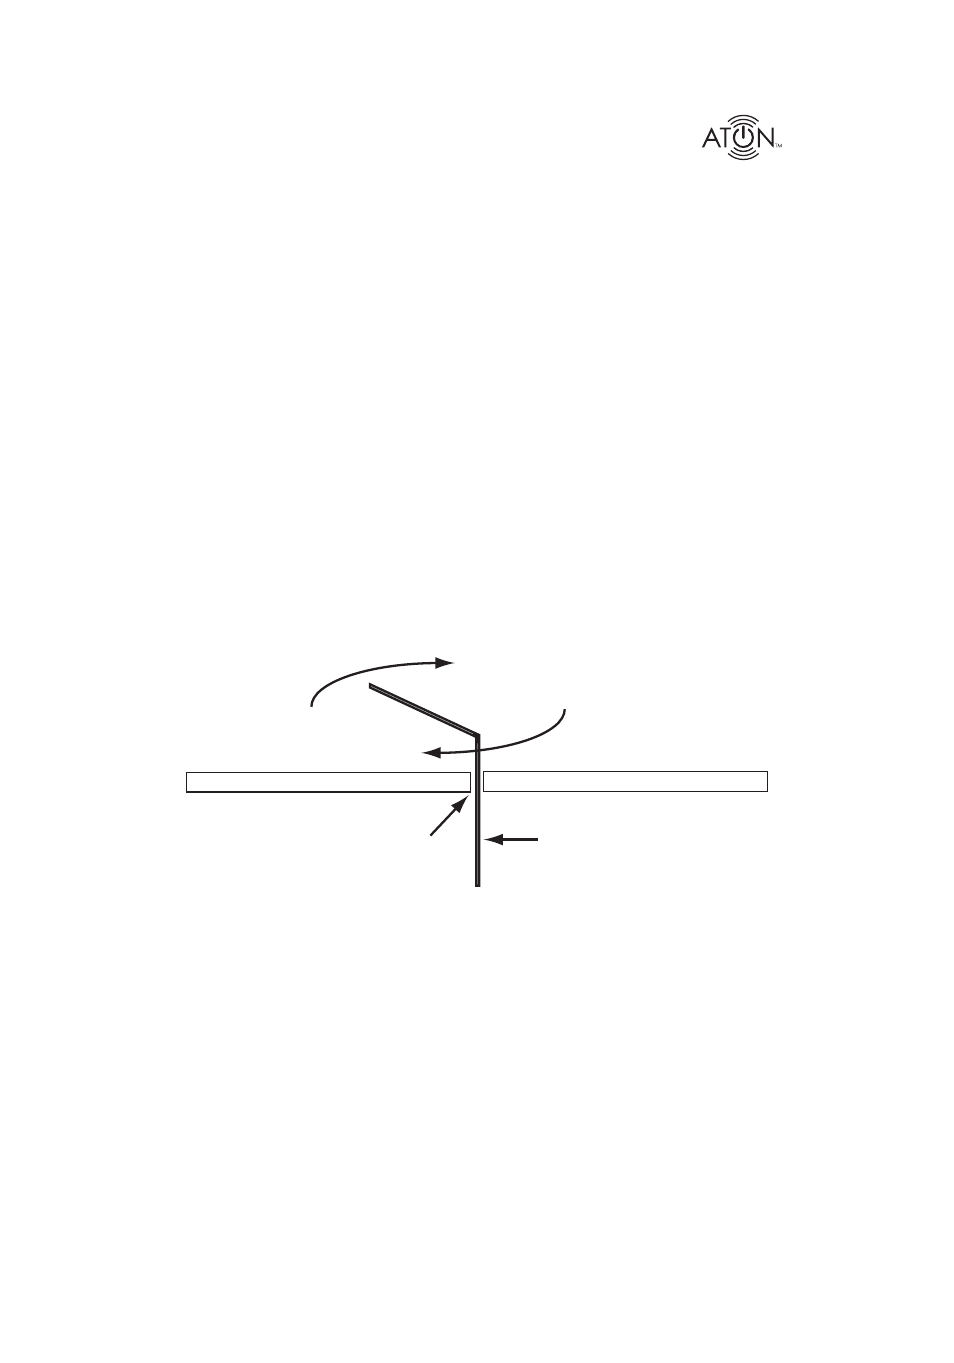
3. Remove templates and drill or carefully punch a pilot hole in the ceiling or wall. A bent piece
of wire or a coat hanger may be used to probe the stud bay for obstructions. If you experi
ence resistance of any kind–STOP! If any obstructions are detected, patch the pilot hole and
try again in another location.
Ceiling/Wall
Pilot Hole
Wire or
Coat Hanger
Figure 3.10: Probe Stud Bay Before Cutting!
4. Once it has been determined that the cavity is free from obstructions, position the cutout
template and use a pencil to lightly trace the perimeter of the template.
5. Cut the opening using a keyhole saw, drywall router, or razor knife.