Multiple search – Milestone XProtect Transact User Manual
Page 2
© 2007 Milestone Systems A/S XProtect is a registered trademark of Milestone Systems A/S SC30-strd-2-101007
If you select Wildcards from the Use menu, you are able to use the following wildcard characters: *
(find all occurrences of the preceding characters, e.g. bur* to find lines containing burger meal deal,
burrito, etc.), ? (to substitute any single character, e.g. burg?r or b?r??r) and # (to substitute any
single digit, e.g. 12#4 or 1##4).
Multiple Search
With multiple search, you are able to search for more than one phrase at a time:
1.
Select the Smart Client’s Browse tab.
2.
In the Browse tab’s Views section, select a view which contains the required transaction data and
images from the required camera(s).
3.
Below the view’s transaction data you will find a
search panel. In the search panel’s Search type
menu, select Multiple search.
4.
Now click the Setup… button. This will open the
Search Setup window.
5.
Click the window’s Add… button. This will open another window, in which you specify your search.
6.
In the Name field, type a descriptive name for the
search. Specifying a separate name, rather than just
referring to the search string, will make it easier to
recognize the search later. This is especially true if the
search string is going to contain wildcard characters.
7.
Now type the required search string in the Search
pattern field.
Tip: You are able to limit your search with the Use
menu and the Case sensitive feature, as described
under Simple Search Tips on the previous page.
8.
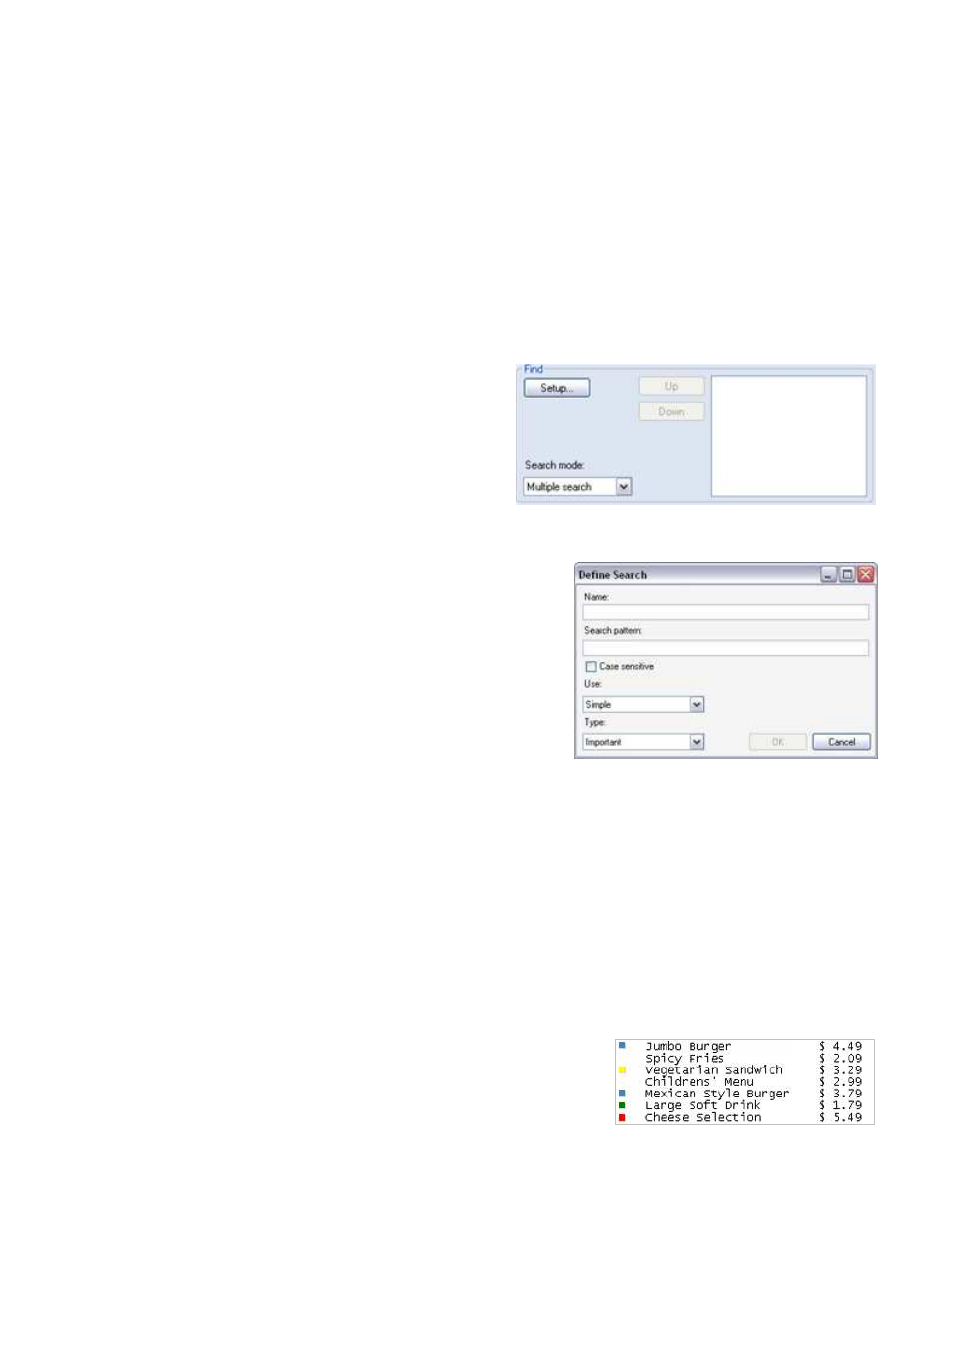
With the Type menu, you can select different highlight colors for indicating the importance of
particular searches when they occur in the search results. Select between four different
importance levels: Very important (highlighted by red square), Important (yellow square),
Normal (blue square) and Info (green square). When ready, click OK.
9.
You are now returned to the Search Setup window. By clicking its Add... button, you are able to
add further searches, as described in steps 5-8. When you are done adding searches, click OK in
the Search Setup window.
10.
Your multiple search begins. Transaction lines containing the required terms will be highlighted by
squares in the specified colors. The next 10 occurrences containing one of the required search
phrases are also immediately displayed in the search result window to the right in the search
panel.
In the example to the right, we have searched for the terms
cheese (very important, highlighted by a red square),
sandwich (important, highlighted by a yellow square), burger
(normal, highlighted by blue square) and drink (info,
highlighted by green square).
With the search panel’s Up and Down buttons, you are able to quickly browse between the
highlighted lines. You can also click an occurrence in the search result window and quickly jump
to the date and time of the occurrence. The view’s camera images will change correspondingly.
You can use your multiple search again and again, and in the Search Setup window you can edit
your multiple search whenever needed.