NSi Industries DLC400BP User Manual
Page 4
2.
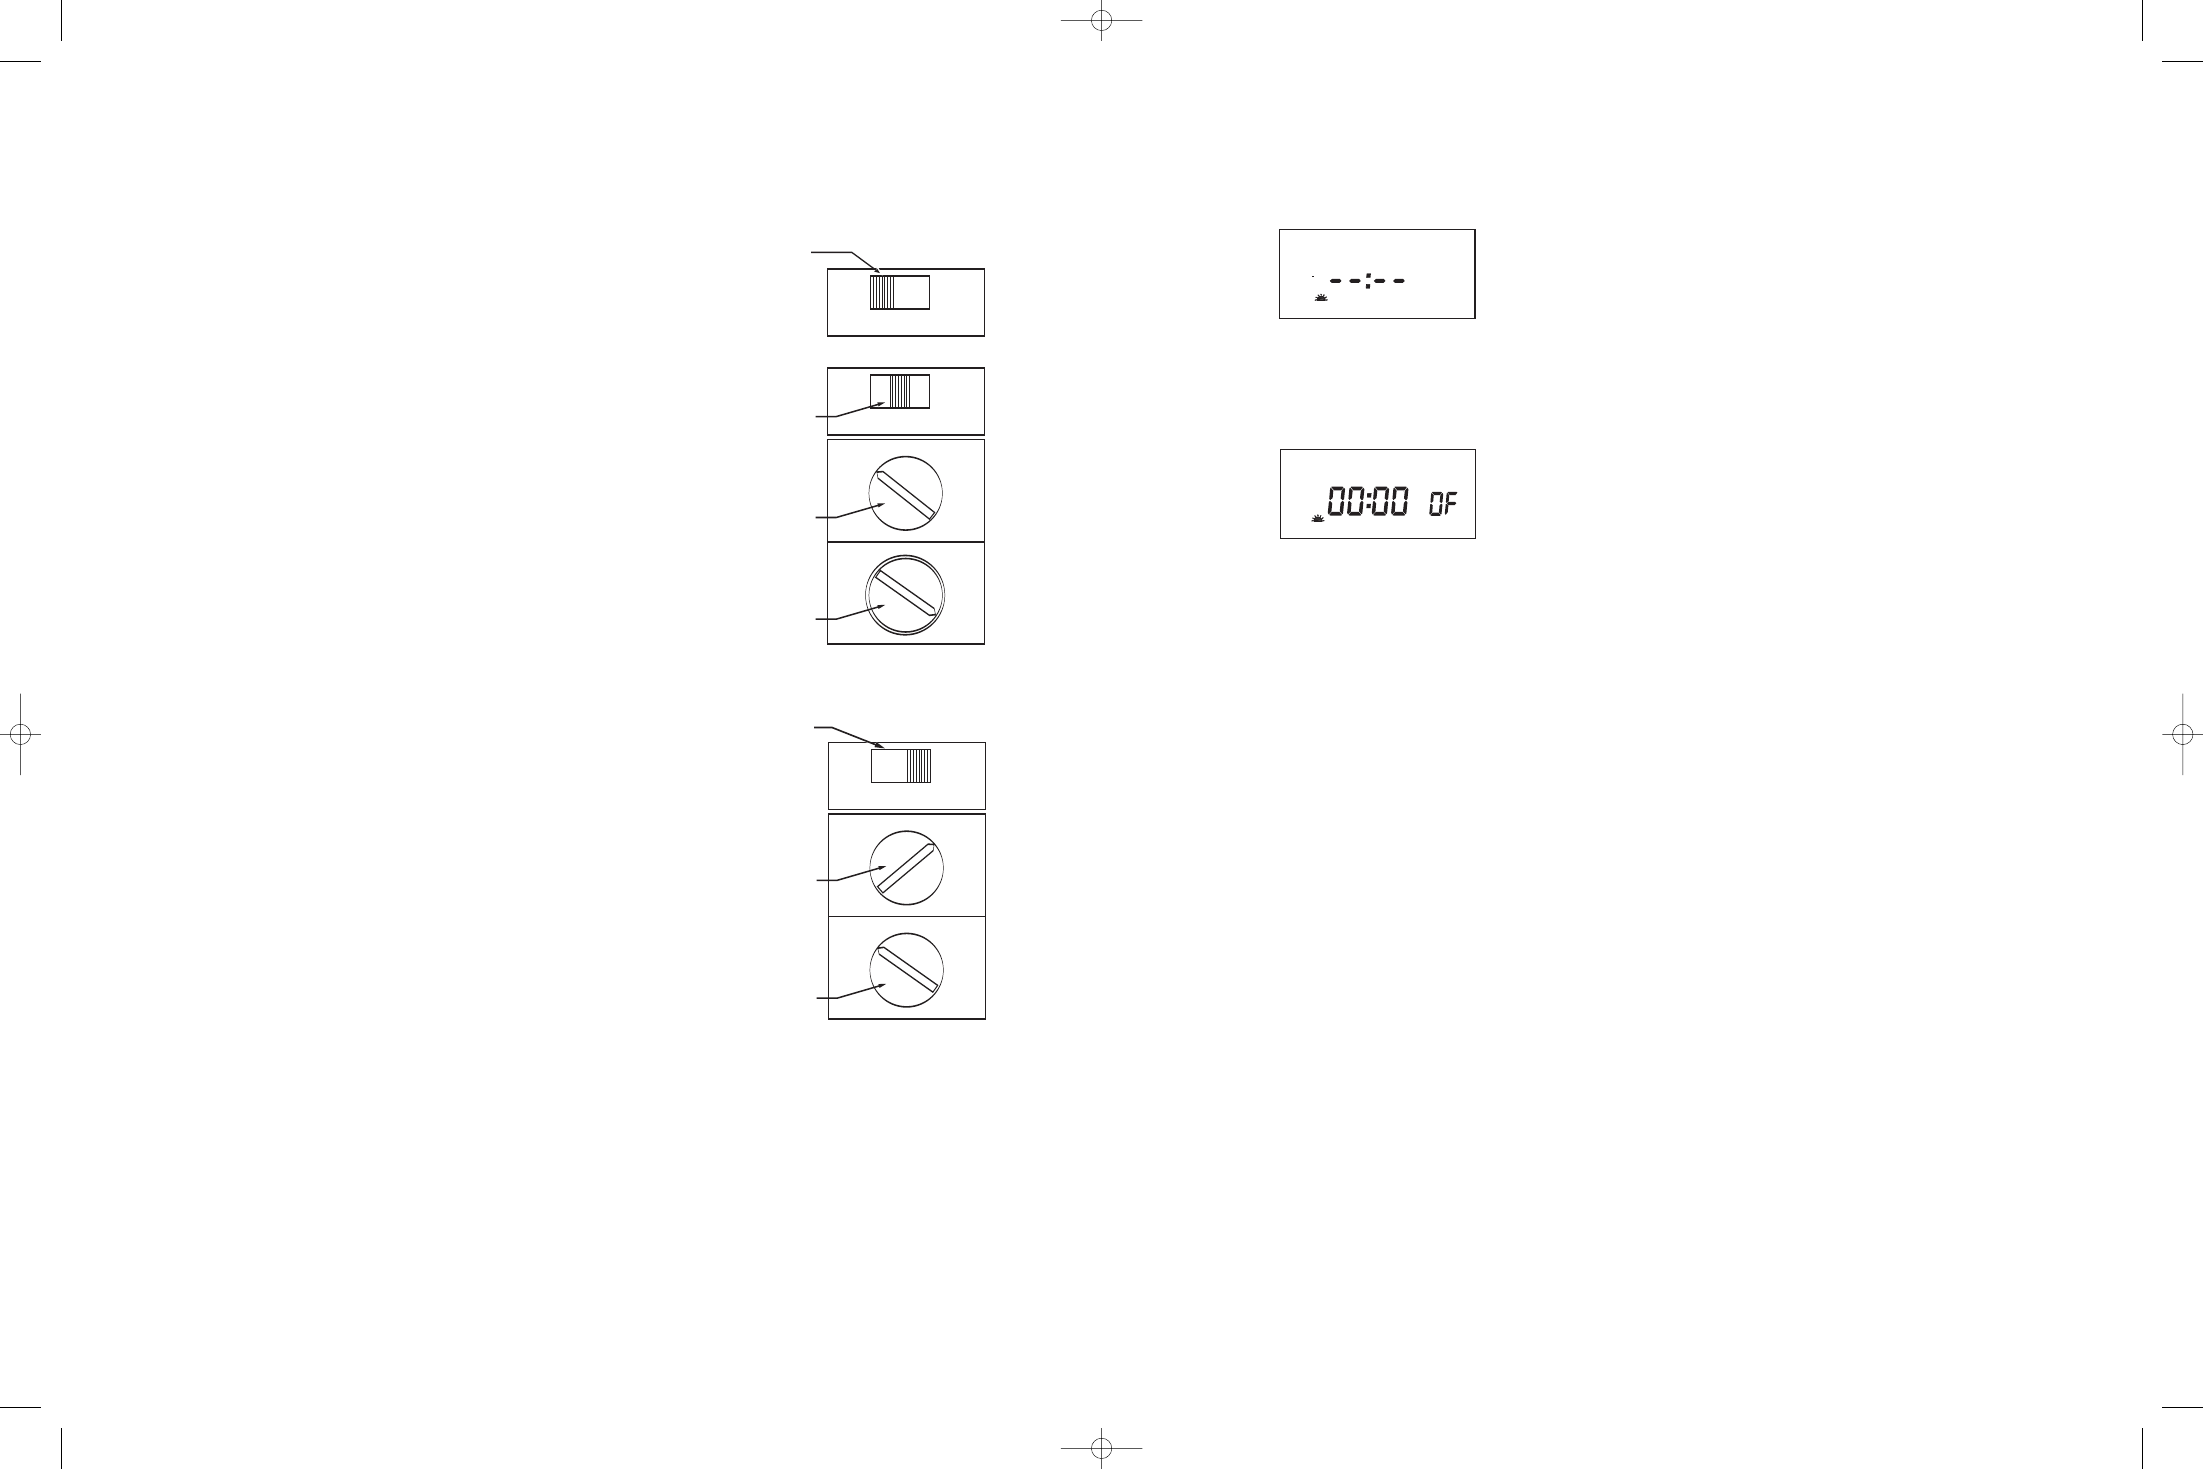
DATE MODE:
Press
MONTH, DATE
and
YEAR
to modify existing settings. Press
ENTER
. DAY
is automatically adjusted.
3. DST Daylight Saving Time: To review press
ENTER
. To modify press
MONTH
,
DATE
and
DAY
to change existing setting. Press
ENTER
.
4. SEASON MODE: Press
ENTER
to advance to
desired season. Press
MONTH
and
DATE
to
modify,
DEL
to delete. Press
ENTER
to confirm.
5. HOLIDAY MODE: Press
ENTER
to advance to
desired holiday. Press
MONTH
and
DATE
to
modify,
DEL
to delete. Press
ENTER
.
6. SCHEDULE MODE: Press
ENTER
to advance
to desired setpoint. Press
HOUR, MIN, EVENT
to modify time settings. Press
SELCT
and
DAY
to modify days, holiday and/or seasons,
DEL
to
delete. Press
ENTER
after each modification.
7. ASTRO MODE: Press
SELCT
to select desired
channel. Press LAT to change latitude. Press
ENTER
. Press
DAY
and
SELCT
to add or delete
days in the sunset mode. Press
ENTER
. Press
HOUR
and/or
MIN
to change offset time for sun-
set. Press
EVENT
to change offset from + to -.
Press
ENTER
and follow the same procedure
above to modify or review sunrise settings.
8. RUN MODE: Time, day and seconds are dis-
played. If today is a programmed holiday, an H
(Holiday) will be displayed steady. If today falls
within a programmed season that season # will
be displayed.
9.0 OVERRIDE
Override keys are effective only in the
run
mode. If
a channel is schedule for ON/OFF, then the chan-
nel will change the present load status until the
next scheduled event. CH# will flash when the load
is overridden from scheduled event.
EVENT
(in the RUN mode) key is used to update
the load status. It will execute the last scheduled
event for all channels.
8
NOTE:
A
+
sign will turn load ON that many hours
and/or minutes after sunset. A
-
sign will turn load
ON that many hours and/or minutes before sunset.
The display will show:
Press
SELCT
and then
ENTER
to activate sunrise
time.
NOTE:
To turn load OFF at a preset OFF
time, leave this field bank. Press
ENTER.
The display will show:
If an offset to sunrise time is required, press
HOUR
and MIN. Offset can be set to 4 hours and
59 minutes max. Press
EVENT
to select + or - and
then press
ENTER
.
NOTE:
A
+
sign will turn load OFF that many hours
and/or minutes after sunrise. A
-
sign will turn load
OFF that many hours and/or minutes before sunrise.
7.2
ASTRONOMIC ON AND TIME OFF
Set astronomic ON per sections 7.0 and 7.1
TIME OFF:
Press
MODE
until “sch01” appears. Press
ENTER
until a blank schedule appears then press
SELCT
to select channel 1 or 2. Press
HOUR
and
MIN
to
set desired OFF time. Press
SELCT
to select
desired days, holiday and/or seasons and then
press
ENTER.
TIME ON AND ASTRONOMIC OFF
Press
MODE
until “sch01” appears. Press
ENTER
until a blank schedule appears then press
SELCT
to select channel 1 or 2. Press
HOUR, MIN
and
EVENT
to set desired ON time. Press
SELCT
to
select desired days, holiday and/or seasons and
then press
ENTER
.
ASTRO OFF:
Set astronomic OFF per sections 7.0 and 7.1
8.0
REVIEW, MODIFY AND DELETE
Press
MODE
to advance to any of the following
MODES:
1. CLOCK MODE: Press
HOUR
and
MIN
to modi-
fy existing settings. Press
ENTER
.
MO TU WE TH FR SA SU H
CH1 2 3 4 ASTRO SEASON 1 2 3 4
AM
PM
ON
OFF
SIG1 SIG2 CLK DATE SCH
MO TU WE TH FR SA SU H
CH1 2 3 4
ASTRO SEASON 1 2 3 4
ON
OFF
MO TU WE TH FR SA SU H
CH1 2 3 4
ASTRO SEASON 1 2 3 4
ON
OFF
MO TU WE TH FR SA SU H
CH1
2 3 4
ASTRO SEASON 1 2 3 4
ON
OFF
MO TU WE TH FR SA SU
H
CH1
2 3 4
ASTRO
SEASON 1 2 3 4
ON
OFF
ON
OFF
ON
OFF
ON
OFF
ON
OFF
ON
OFF
ON
OFF
SIG1 SIG2 CLK
DATE
SCH
SIG1 SIG2
CLK
DATE SCH
ON
OFF
MO TU WE TH FR SA
SU
H
MO TU WE TH FR SA
SU
H
MO TU WE TH FR SA SU H
CH1 2 3 4 ASTRO
SEASON 1
2 3 4
CH1 2 3 4 ASTRO
SEASON 1
2 3 4
MO TU WE TH FR SA SU
H
MO TU WE TH FR SA SU
H
SIG1
SIG2 CLK DATE SCH
SIG1 SIG2 CLK DATE
SCH
SIG1 SIG2 CLK DATE
SCH
CH1
2 3 4
ASTRO
SEASON 1 2 3 4
CH1
2 3 4 ASTRO SEASON 1 2 3 4
CH1
2 3 4 ASTRO SEASON 1 2 3 4
MO TU WE TH FR SA SU
H
CH1
2 3 4
ASTRO
SEASON 1 2 3 4
ON
OFF
CH1
2 3 4
ASTRO
SEASON 1 2 3 4
O
MO TU WE TH FR SA SU H
CH1 2 3 4 ASTRO SEASON 1 2 3 4
AM
PM
ON
OFF
SIG1 SIG2 CLK DATE SCH
MO TU WE TH FR SA SU H
CH1 2 3 4
ASTRO SEASON 1 2 3 4
ON
OFF
MO TU WE TH FR SA SU H
CH1 2 3 4
ASTRO SEASON 1 2 3 4
ON
OFF
MO TU WE TH FR SA SU H
CH1
2 3 4
ASTRO SEASON 1 2 3 4
ON
OFF
MO TU WE TH FR SA SU
H
CH1
2 3 4
ASTRO
SEASON 1 2 3 4
ON
OFF
ON
OFF
ON
OFF
ON
OFF
ON
OFF
ON
OFF
ON
OFF
SIG1 SIG2 CLK
DATE
SCH
SIG1 SIG2
CLK
DATE SCH
ON
OFF
MO TU WE TH FR SA
SU
H
MO TU WE TH FR SA
SU
H
MO TU WE TH FR SA SU H
CH1 2 3 4 ASTRO
SEASON 1
2 3 4
CH1 2 3 4 ASTRO
SEASON 1
2 3 4
MO TU WE TH FR SA SU
H
MO TU WE TH FR SA SU
H
SIG1
SIG2 CLK DATE SCH
SIG1 SIG2 CLK DATE
SCH
SIG1 SIG2 CLK DATE
SCH
CH1
2 3 4
ASTRO
SEASON 1 2 3 4
CH1
2 3 4 ASTRO SEASON 1 2 3 4
CH1
2 3 4 ASTRO SEASON 1 2 3 4
MO TU WE TH FR SA SU
H
CH1
2 3 4
ASTRO
SEASON 1 2 3 4
ON
OFF
SELECTION OF FUNCTION MODES AND LIGHT LEVEL SETTINGS
Each channel can be assigned via the slide switches to one of three distinct function modes:
1)
Time ON/Time OFF
2)
Light level (photo) ON/time OFF
3)
Light level (photo) ON/light level (photo) OFF
NOTE:
Photosensor has instant ON and 20 seconds OFF delay.
1)
In Time ON/Time OFF Mode,
(Figure 1) the channel is controlled
by timer functions and light level is irrelevant. All events are exe-
cuted by timer schedule. For programming the timer, refer to sec-
tion 6.0.
2)
In Photo ON/Time OFF Mode,
(Figure 2, Arrow 2) channel will
turn
ON
and
OFF
based on the combination of timer, and light
level settings. Note, 2 conditions must be met for the channel to
turn ON. 1) The ambient light level falls below the ON fc setting
(Arrow 3) and 2) The channel is scheduled to be ON at that time.
Typically an
OFF
time setting for during the night will be set by the
user. Otherwise, the channel will turn
OFF
when the ambient light
comes above the “
OFF fc
” light level setting (Arrow 4). This mode
permits the channel to turn
OFF
and
ON
as many times as need-
ed, in the period between SUNSET and SUNRISE. In this illustra-
tion, the light level for ON fc is about 10 Foot-Candles, and the
light level for OFF fc is about 100 Foot-Candles. Refer to the sec-
tion 6.0 “Scheduling ON’s/OFF’s”.
3)
Photo ON/Photo OFF Mode:
(Figure 3, Arrow 5) channels that
are in this mode will turn
ON
and
OFF
based on the light level set-
tings. The timer settings will be ignored in this mode: All programs
either
ON
or
OFF
will not be executed.
A channel will turn
ON
when light level is below the
ON fc
light
level setting for that channel (Arrow 6). The channel will then turn
OFF
when light level goes above the
OFF fc
setting for that chan-
nel (Arrow 7).
In this illustration, the light level for
ON fc
is about 30 Foot-
Candles, and the light level for
OFF fc
is about 10 Foot-Candles.
Set both the ON fc and OFF fc light levels (using a small screwdriver) for every channel which
the slide switch is in the PHOTO ON / TIME OFF or PHOTO ON / PHOTO OFF position.
3
Figure 4
R
EPC 2
CH 1
CH 2
CH 3
CH 4
COM
COM +24VDC GND
8
9
11
10
(Return of 24 VDC –
Do Not Connect to
Chassis GND)
CLK
DATE
ON
SEASON 1
H
H
OFF
SEASON 1
SCH
CH 1
CH 1
CH 1
CH 1
MO
ON
CH
1
CH
MO
OFF
TU
WE
TH
FR
SA
SU
H
A
CH
1 2 3 4
SEASON
SCH
OFF
ON
TIME ON
TIME OFF
PHOTO ON
PHOTO OFF
PHOTO ON
TIME OFF
Figure 1
1
TIME ON
TIME OFF
PHOTO ON
PHOTO OFF
PHOTO ON
TIME OFF
ON
fc
Figure 2
3
1
100
280
20
15
25
10
30
5
45
OFF
fc
1
100
280
20
1525
1030
545
2
4
TIME ON
TIME OFF
PHOTO ON
PHOTO OFF
PHOTO ON
TIME OFF
ON
fc
Figure 3
5
1
100
280
20
15
25
10
30
545
OFF
fc
1
100
280
20
15
25
10
30
545
6
7
DLC400 5/1/07 11:26 AM Page 7