Y1 card components, Installing the y1 card, Aviom16/o-y1 – Aviom 16/O-Y1 User Manual
Page 8: A-net out
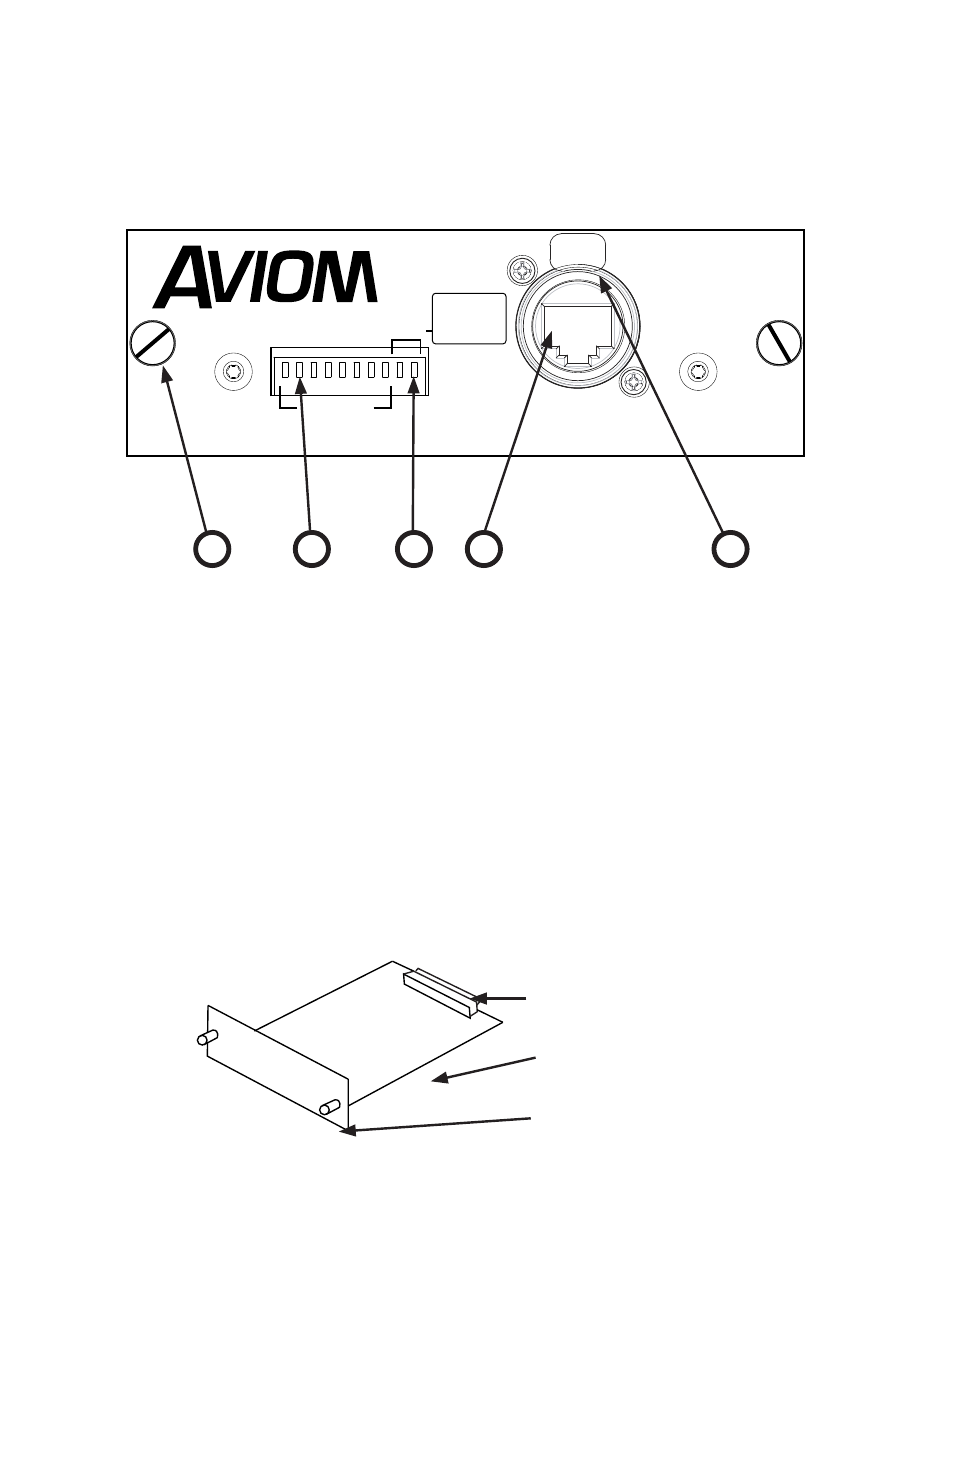
1 Thumb Screws
2 DIP Switch - Stereo Link
3 DIP Switch - Mode Selection
4 A-Net Output
5 Locking EtherCon RJ45 connector with release tab
Made in USA
AVIOM16/o-Y1
A-Net Out
Stereo Link
Mode
Dn/Up - Aviom
Up/Dn - 16 ch
Up/Up - 8 ch
Dn/Dn - Test
1
2
3
4
5
6
7
8
9
10
1
2
3
4
5
Y1 Card Components
Installing the Y1 Card
The Y1 card can be used in any expansion slot in the Yamaha mixing
console. The number of available expansion slots varies with each
model. In the Yamaha user interface, the expansions slots are
identified by number, starting with “1”.
To install the Y1 card:
• Start with the power to the Yamaha mixing console
off.
• Remove the mixer’s power cord from the wall
receptacle.
• Remove the cover plate on the rear of the Yamaha
Multi-pin connector
Align sides of Y1 card with guides
in the expansion slot.
Thumb screws