DeFelsko PosiTest AT v.4.0 User Manual
Page 6
Page 7
3.
Close the pressure relief valve on the pump completely. (turn clockwise)
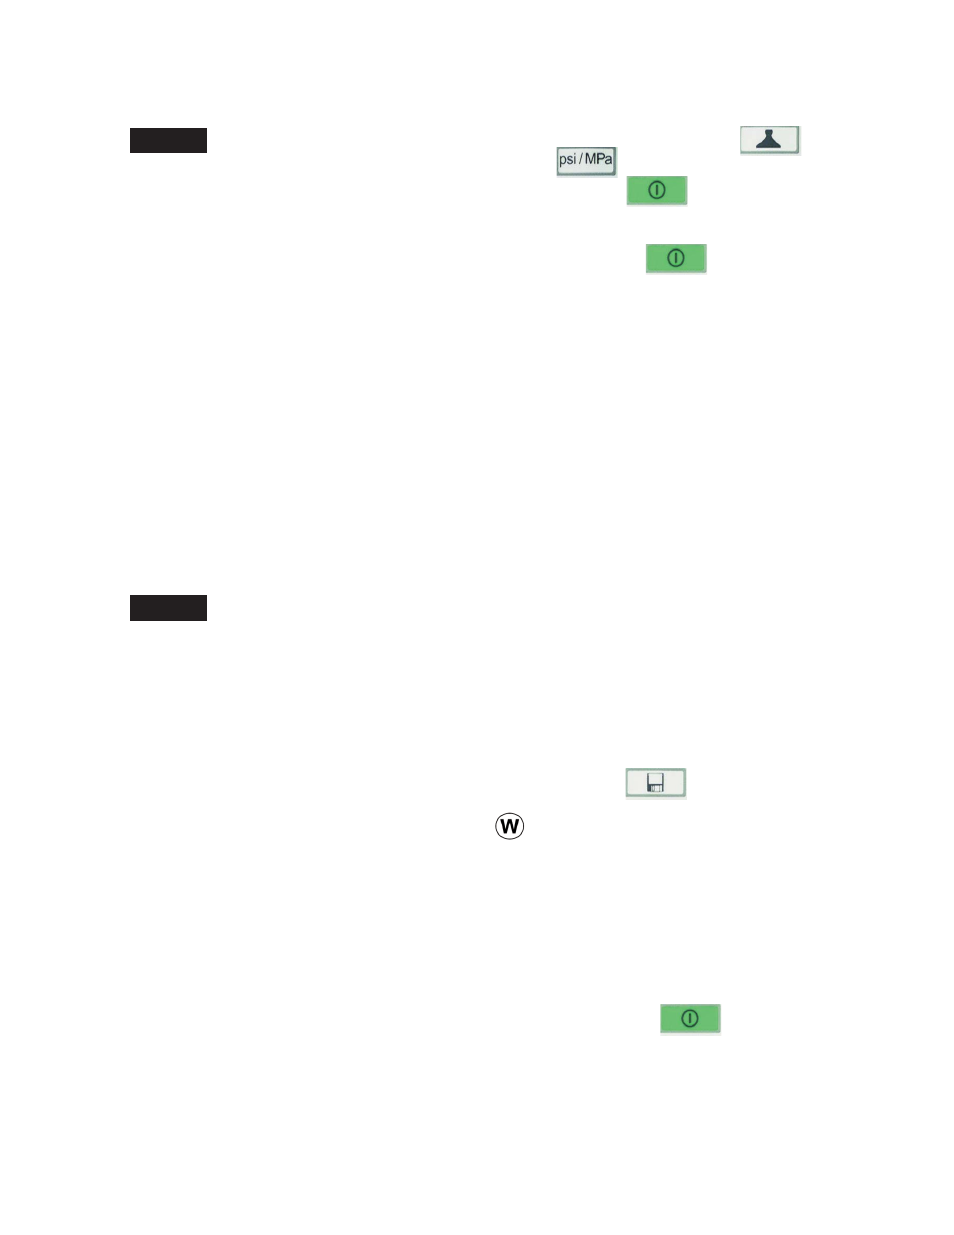
As required, verify and adjust the dolly size by pressing the
button. Select the pressure units by pressing the button. The
instrument will maintain these adjustments even after the button is
pressed.
4.
Zero the instrument BEFORE pumping by pressing the button. This
prepares the instrument for the test by clearing the display, and zeroing the
instrument.
5.
Prime the pump slowly until the displayed reading approaches the priming
pressure. The priming pressure is the point that the instrument begins calculating
and displaying the pull rate. It is also the pressure at which the ability to store
readings is enabled. Priming pressures for the various dolly diameters are:
10 mm
400 psi
2.8 MPa
14 mm
200 psi
1.4 MPa
20 mm
100 psi
0.7 MPa
50 mm
50 psi
0.4 MPa
For optimum results, prior to exceeding the priming pressure, return the
pump handle to its full upright position and then complete a single stroke at the
desired pull rate until the actuator separates the dolly from the coating.
6.
Open the pressure relief valve and remove the dolly from the actuator
assembly.
7.
Readings may be stored into memory by pressing the button (pg. 10).
NOTE:
Troubleshooting (PosiTest AT-M)
Digital display “freezes” at a low value
The Tester uses a sudden drop in actuator pressure as an indication that the dolly
has been pulled from the surface. The test stops and the highest pressure
remains on the display for easy viewing and recording. Pumping up pressure too
quickly at the beginning of a test can cause a sudden pressure pulse, fooling the
Tester into thinking the test is complete. If this happens, restart the test by
opening the pressure relief valve, closing it, then pressing the button. For
more information, see Step 5 above.
NOTE: